4
III. Installaon Preparaon
Please read the entire manual before installation. Due to the technical nature of amplifiers it is highly
recommended that your amplifier is installed by a professional installer or an authorized dealer.
Before You Start
1. Disconnect negative battery terminal. (Consult a qualified technician for instructions)
2. Avoid installing the amplier where it would be subject to high temperatures such as from direct sunlight or where it
would be subject to dust or excessive vibraon.
3. Use extreme cauon when drilling holes to avoid damaging fual lines or exisng vehicle wiring.
4. All amplier installaons require power signal and speaker wires (not included).
5. An amplier installaon kit (sold separately) is highly recommended to facilitate the installaon. Consult your dealer
for recommendaons.
Mounng Locaon
1. Choose a mounting location for the amplifier. Suggested locations include under a seat or in the trunk.
2. The amplifier can be mounted horizontal (recommended) or vertical. For optimum performance make sure to
provide ate least 1” of space around all sides. Do not mount the smplifier under carpets or where airflow is
restricted.
3. Do not install the amplifier where it may be exposed to moisture.
4. The optimum mounting location varies between vehicles. Remember to test all amplifier functions before
completing the final mounting procedure.
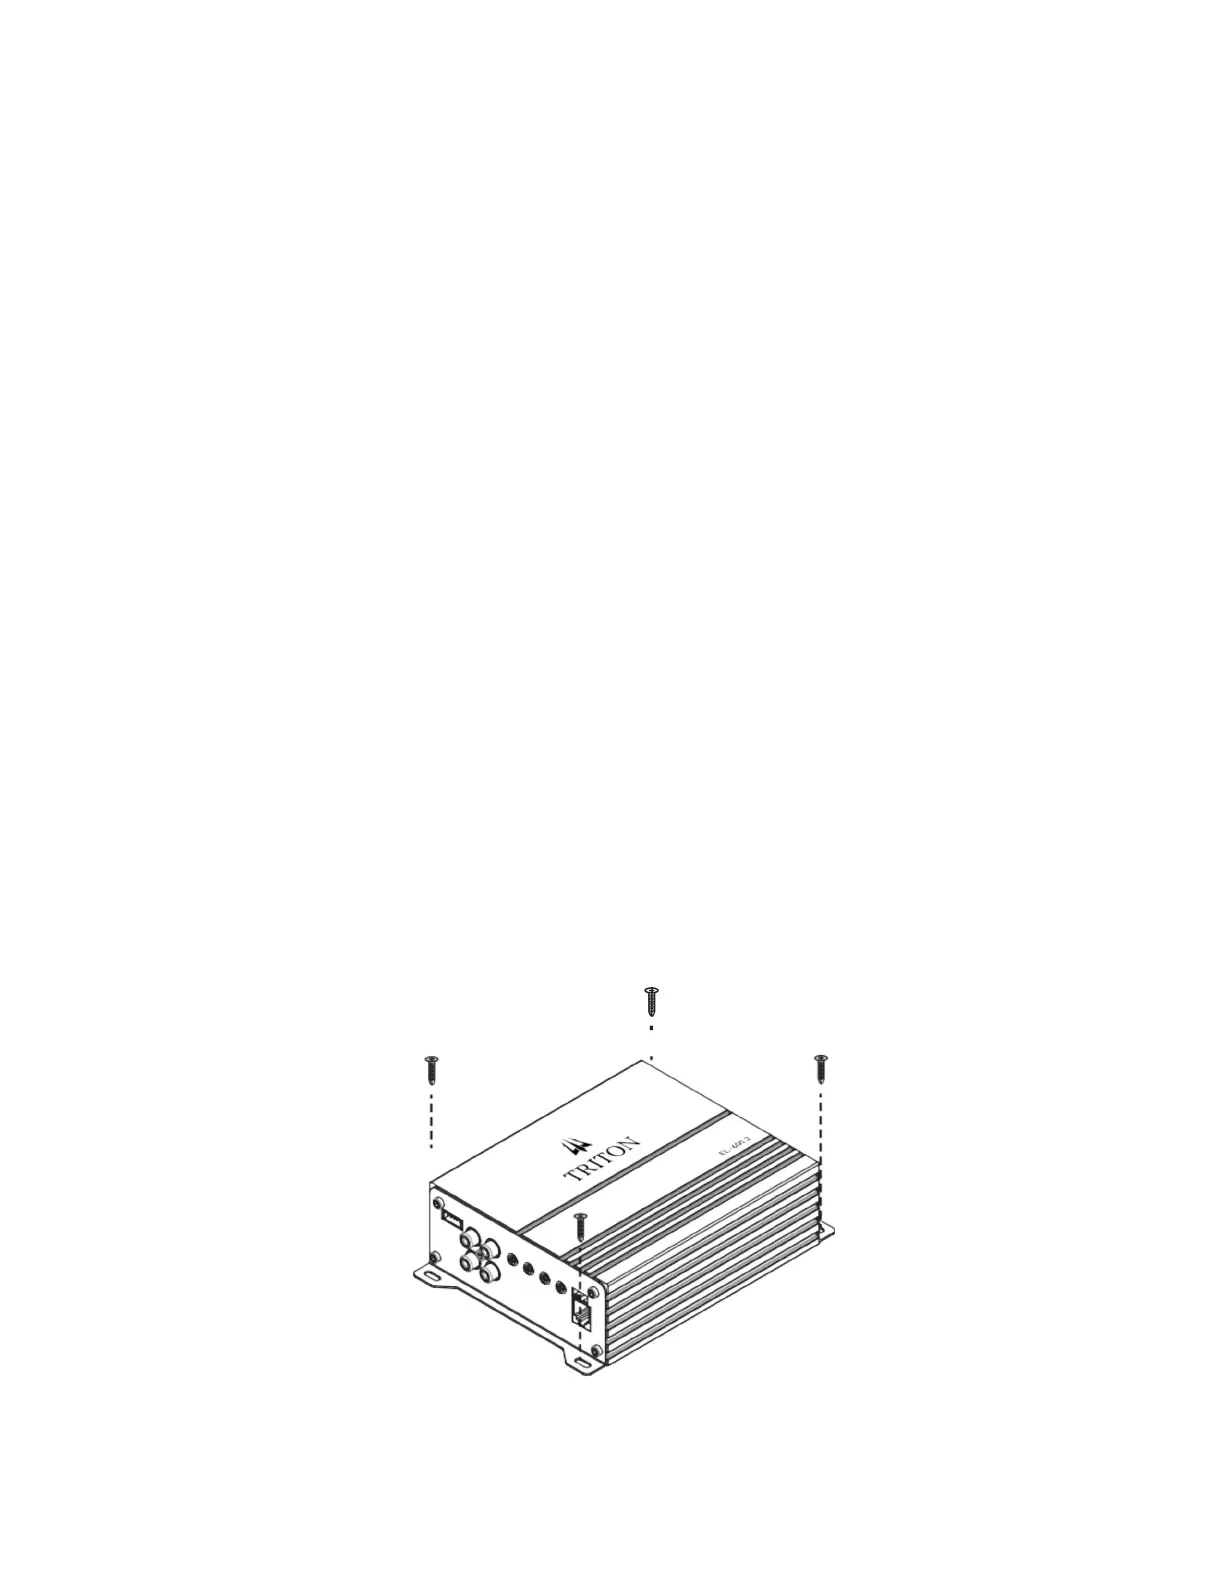
Typical
Mounng
Method
 Loading...