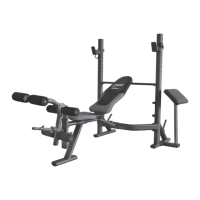
769AU-7
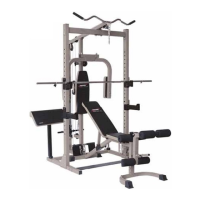
ASSEMBLY STEP (CAGE)
STEP 01
• Push (50 x 50mm) SQUARE END PLUG (33) into both ends of BASE FRAME (5), push (50 x 75mm) SQUARE END
PLUG (35) into top of FRONT SUPPORT FRAME (7). Connect two BASE FRAME (5) using BACK ACROSS FRAME
(1), MOTIF PLATE (2) with four REINFORCEMENT PATCH (27), (3/8” x 3” ) HEX BOLT (46), (3/8”) WASHER (56)
and (3/8”) LOCKNUT (55) as shown.
• Attach two FRONT SUPPORT FRAME (7) align the holes located on the bottom of FRONT SUPPORT FRAME (7)
to top holes of SUPPORT PLATE (6) using two REINFORCEMENT PATCH (28), (3/8” x 3”) HEX BOLT (46), (3/8”)
WASHER (56) and (3/8”) LOCKNUT (55).
• Connect two FRONT SUPPORT FRAME (7) using TOP ACROSS FRAME (4) with two REINFORCEMENT PATCH
(29), (3/8” x 3”) HEX BOLT (46), (3/8”) WASHER (56) and (3/8”) LOCKNUT (55) as shown.
• Push (50 x 50mm) SQUARE END PLUG (33) into CENTER VERTICAL FRAME (8) and BACK BASE FRAME (3) as
shown. Attach CENTER VERTICAL FRAME (8) and BACK BASE FRAME (3) to BACK ACROSS FRAME (1) using (3/8”
x 3-1/8”) HEX BOLT (45), (3/8”) WASHER (56) and (3/8”) LOCKNUT (55) as shown.
 Loading...