7
If the screws are used more than once (e.g. after removal)
they must be coated with low-strength screw sealant
again (e.g. Loctite) or the screws provided as spare parts used.
Use of roof thickness adapters
Slide in the base ring (1) and, depending on the thickness of
the roof, the roof thickness adapters (2 or 2+3 included in
scope of delivery) for roof thicknesses of 25 to 50 mm into the
air distributor as far as they will go. If the roof is thicker, use
additional 10 mm roof thickness adapters (see Accessories).
Maximum roof thickness 110 mm
1
2
3
25 – 30 mm = 1
31 – 40 mm = 1+2
41 – 50 mm = 1+2+3
Fig. 19
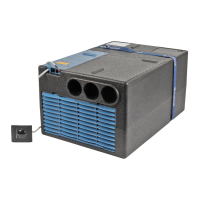
Securing the air distributor
Connect the cable from the air distributor and the control panel
cable to the control unit.
Fig. 20
Screw air distributor (arrow in direction of travel) to brackets
with 6 screws M6 x 12 mm.
Torque 1.8 Nm. If the torque is too great, the air distributor
can be damaged or its function impaired.
The covering tape that is available as an accessory can
be used to compensate for the gap between the air dis-
tributor and the roof.
1.8 Nm
Fig. 21
If the screws are used more than once (e.g. after removal)
they must be coated with low-strength screw sealant
again (e.g. Loctite) or the screws provided as spare parts used.
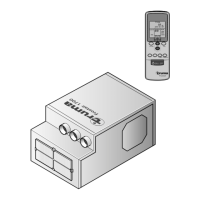
Insert the filter into the air distributor
Insert filters into panels and attach to the air distributor.
Fig. 22
Fig. 23

 Loading...