Do you have a question about the Turn of the century Menards SKU 355-1844 and is the answer not in the manual?
| Brand | Turn of the century |
|---|---|
| Model | Menards SKU 355-1844 |
| Category | Fan |
| Language | English |
Follow safety rules for installation and operation, including electrical safety and proper mounting.
Ensure fan is mounted to a suitable outlet box with correct screws for safety.
List of essential tools required for fan installation, not included with the product.
Optional tools that can assist during fan installation and maintenance.
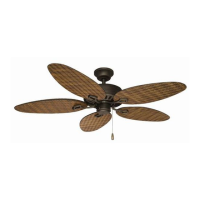
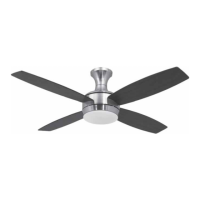
Details the parts included in the fan package, such as blades, motor assembly, and hardware.
Inventory of screws, washers, and wire nuts provided in the hardware bag for assembly.
Important step to turn off electrical power at the breaker box before installation.
Ensure the outlet box is metal, suitable for fan support, and securely mounted.
Install the mounting plate to the outlet box using provided washers and screws.
Lift and hang the fan assembly onto the mounting plate hook, ensuring correct tab placement.
Warning about the correct hook usage for balancing and preventing the fan from falling.
Ensure power is off before wiring to prevent electrical shock.
Set transmitter/receiver frequency switches and place receiver in the fan canopy.
Connect fan motor, receiver, and house wires using wire nuts, including ground wire.
Warnings about solid-state controls, tight connections, and optional light kits.
Neatly tuck wires, attach fan motor assembly to mounting plate using screws.
Tighten canopy screws firmly and ensure the assembly is secure before leaving unattended.
Disconnect power before removing the light plate; fan switch is insufficient.
Loosen screws, turn light plate counterclockwise, and disconnect wire plugs.
Remove screws from light kit plate, turn counterclockwise to detach from mounting ring.
Insert blades into housing, align holes, and secure with screws and washers.
Do not bend blade arms or insert objects between blades during installation or cleaning.
Check screws, measure blade levels, and use balancing kit to correct fan wobble.
Place key holes over screws, turn to lock, and tighten screws to secure light kit plate.
Connect white and black wire connectors between the light plate and fan.
Place key holes over screws, turn to lock, and tighten screws to secure the light plate.
Disconnect power before installing bulbs or glass shade; fan switch is insufficient.
Install appropriate bulbs and twist glass shade clockwise until snug, do not overtighten.
Install a 9 Volt battery; remove it if the transmitter is not used for long periods.
Explanation of HI, MED, LOW, OFF buttons for fan speed and the light control button.
Use the reverse switch on the motor housing to select warm (left) or cool (right) weather operation.
Illustrates downward airflow for cooling (warm weather) and upward airflow for heating (cool weather).
Regularly check connections, clean with soft cloth, and polish wood blades.
The fan motor has permanently lubricated sealed ball bearings; no oiling is needed.
Addresses fan not starting, noisy operation, and remote control problems with solutions.
Warning to ensure power is off at the electrical panel before attempting any repairs.
Technical specifications including fan size, speed, voltage, amperage, wattage, RPM, CFM, and weight.
Contact customer service for warranty claims, providing model number and sales receipt.
Covers motor defects for lifetime of original purchaser with replacement parts and labor terms.
Covers blades and accessories for one year against defects, including repair or replacement.
Excludes damages from unauthorized repairs, misuse, improper installation, or lack of maintenance.