EasyManua.ls Logo

Twin-Star International Tresanti ODP10555-48D913 User Manual

Twin-Star International Tresanti ODP10555-48D913
22 pages
To Next Page IconTo Next Page
Page #1 background imageLoading...
Page #1 background image
MP#MGA713
1
MODEL / MODÈLE / MODELO: ODP10555-48D913
A TWIN-STAR INTERNATIONAL BRAND
UNE MARQUE DE TWINSTAR INTERNATIONAL
UNA MARCA DE TWINSTAR INTERNATIONAL
ITM. / ART. xxxxxx
www.tsicustomerservice.com
© 2018, Twin-Star International, Inc; Delray Beach, FL 33445
Made in China • Fabriqué en Chine • Hecho in China
IMPORTANT :
Retain for future reference. Read carefully.
IMPORTANT :
Conserver pour référence future. Lire attentivement.
IMPORTANTE :
Conservar para futuras consultas. Lea cuidadosamente.
1-866-661-1218
Countries serviced: USA, Canada, Mexico, UK
Pays desservis : États-Unis, Canada, Mexique, Royaume-Uni
Países de servicio: E.U.A., Canadá, da, México, y el Reino Unido
(English, French, Spanish) (anglais, français, espagnol) (Inglés, Francés, Español),
8:30 AM – 5:30 PM EST Monday – Friday/8 h 30 – 17 h 30 HE lundi au vendredi/8 h 30 – 17 h 30 EST Lunes – Viernes

Other manuals for Twin-Star International Tresanti ODP10555-48D913

Question and Answer IconNeed help?

Do you have a question about the Twin-Star International Tresanti ODP10555-48D913 and is the answer not in the manual?

Twin-Star International Tresanti ODP10555-48D913 Specifications

General IconGeneral
Product NameTresanti ODP10555-48D913
BrandTwin-Star International
CategoryIndoor Furnishing
TypeElectric Fireplace TV Stand
MaterialWood, Metal, Glass
Assembly RequiredYes
Voltage120V
Wattage1500W
Remote ControlYes
TimerYes
Adjustable FlameYes
ColorBrown
Heating Area1000 sq ft

Summary

Customer Service Information

Important Instructions

Operation

Lock Button Functionality

Controls touch-screen lock/unlock and settings reset.

Height Adjustment and Memory Presets

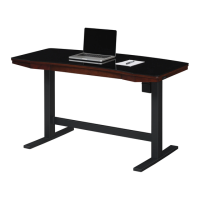
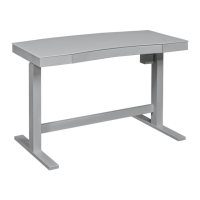
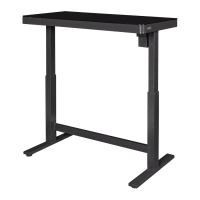
Save and recall heights using memory buttons; adjust height with buttons.

Safety Information

Assembly Instructions

Step 1: Attaching Components

Attach parts using specified hardware (AA, CC) and heed dampening pad warning.

Step 2: Assembling Legs

Connect leg components (B) using hardware (BB).

Troubleshooting

Care and Maintenance

Related product manuals