-2- USE INSTRUCTIONS TFS 100
17/38
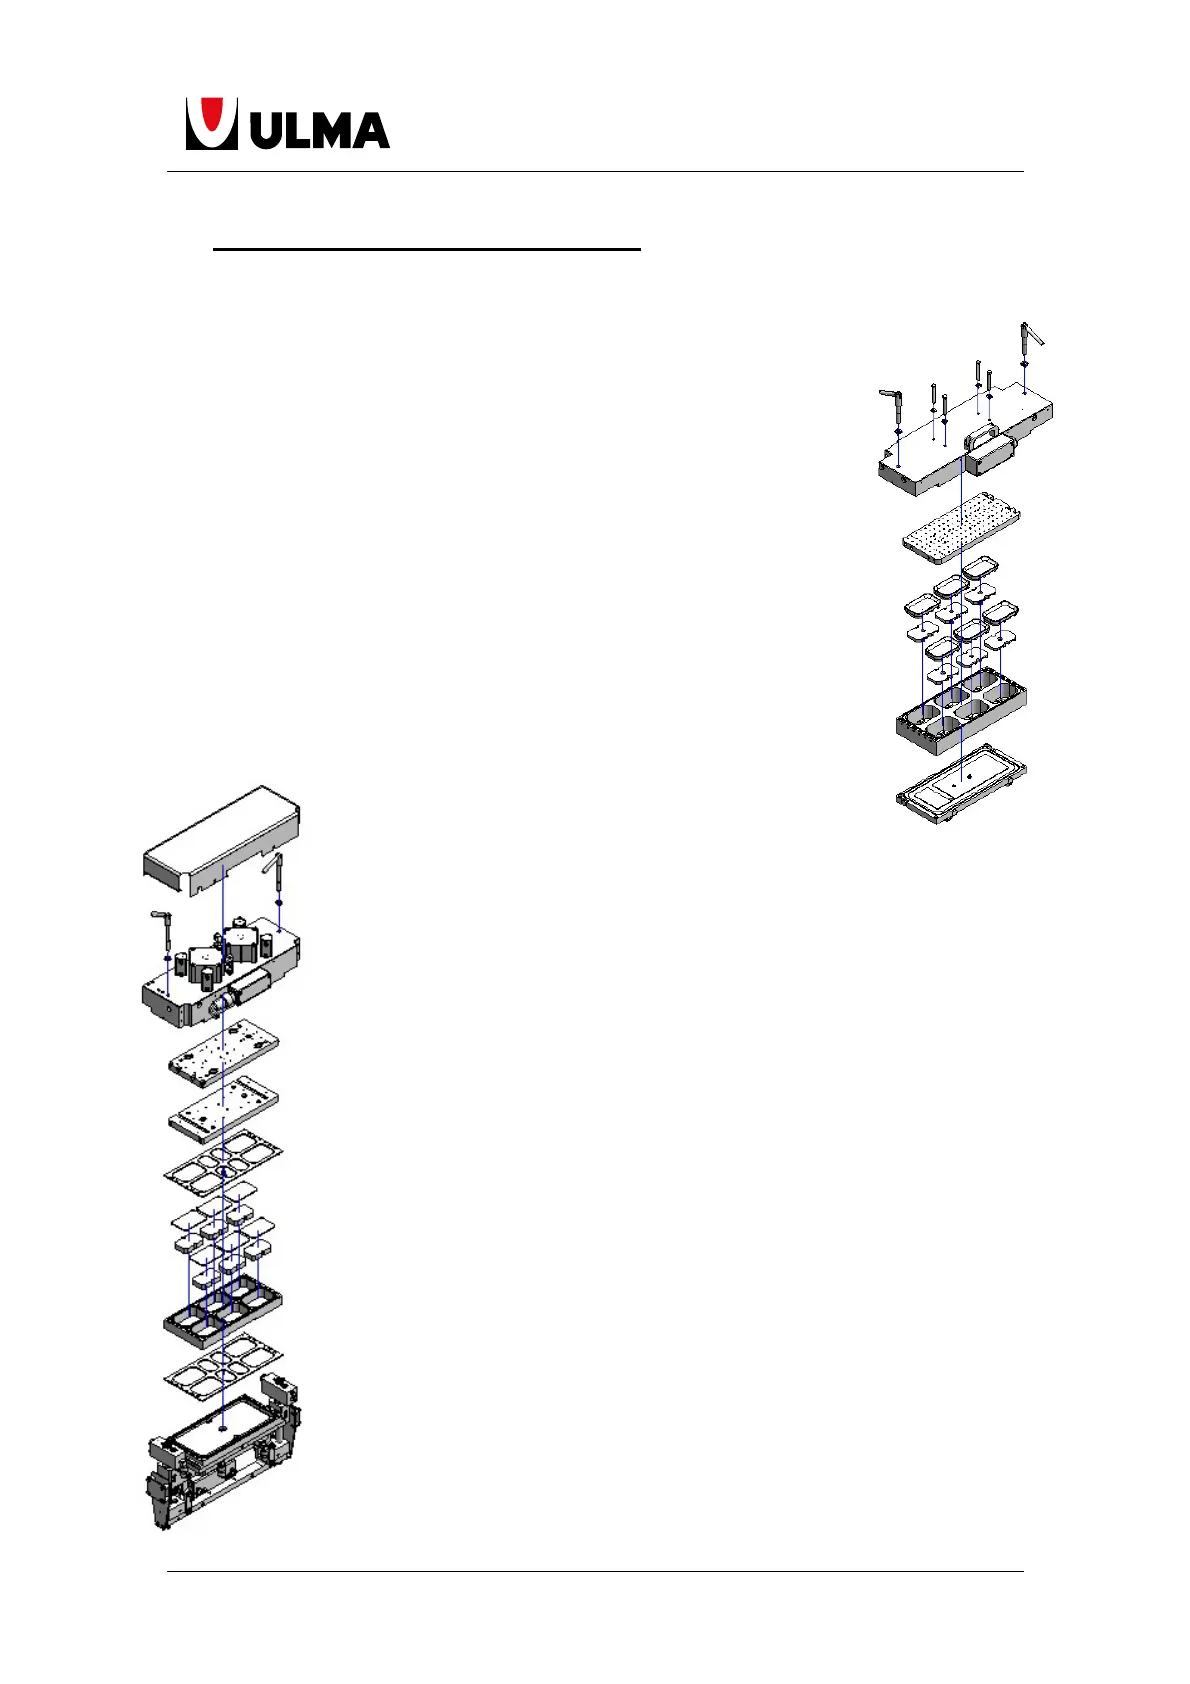
5 FORMAT AND MOULD CHANGE
Whenever the format needs to be changed, the machine must be shut-
down.
Follow these steps:
5.1 FORMING MOULD CHANGE
1.-Select the program number you wish to use.
2.-Purge the water from the cooling system
3.-Rotate the top former by loosening the side levers and the
connector. Cut the film and the forming drawer will remain visible with
its formats.
4.-Extract the mould towards the lower reel-holder area by lifting it
slightly. Remove it from the machine and place it in its appropriate
storage area.
5.-Use the new mould (from the same pass (trajectory) and carry out
the operation in reverse to point 5.
6.-Place the top former in its position once again and
tie it using the side levers.
5.2 SEALING MOULD CHANGE
1.-Open the cutting safety cover.
2.-In case the mould has pneumatic change, activated plate change.
That way, we can make the cylinders that tie the sealing plate loosen
the plate.
3.-Using heat protective gloves hold the sealing plate, that was
previously loosened, and move it to the charge zone.
4.-Place the hot plate in a safe place (hot plate).
5.-Take the new sealing plate and insert it in the former with the
grooves facing towards the former until its end hits the end of the
mooring cylinders.
6.-Return the selector from point 2 to its initial position and the plate will
be tied to the hot plate.
7.-Cut the film using a cutter and make a space in the steps before and
after the sealing module (If the base film is installed).
8.-Raise the frame around 15 mm and remove it through the space (of
the film) on the left side of the sealing module.
9.-Take the new frame and follow the procedure in point 8 in reverse.
10.-Place any corresponding blocks and frames.
11.-Place safety cover.
 Loading...