5
To get started, plug the time clock into a surge protector or uninterruptible power supply
(UPS). Then remove the cover using the enclosed key, this will give you access to the
buttons and switches.
Time Clock Overview
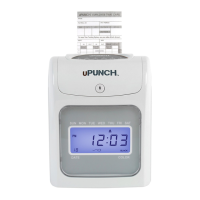
The IN and OUT buttons on the
time clock will be used later for
tracking time. These same buttons
are also used in the setup of your
time clock. To change the settings
on your time clock, remove the
cover with the included key to
expose the setup labels that
correspond with the IN and OUT
buttons.
03
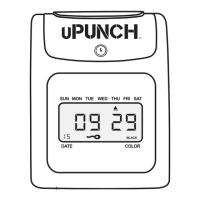
SETTING UP THE HN2000/4000 TIME
CLOCK
The HN Series calculating time clock allows users to punch in and out with paper
time cards. Before your employees can begin using your new time clock, you’ll
need to customize the settings to t the needs of your business.
The following is a detailed list of each button’s functionality.
Switch Function
SET
Enter and exit the setup mode (- / 0). When
the Set switch is pushed to the left (–), the
clock is ready for punching. When the Set
switch is pushed to the right (0), the clock
is in the setup mode and you can begin
setting up the menus.
Button Function
+ Increase value
- Decrease value
ENTER Conrm set value
BACK Backspace the set value
CLEAR Cancel the set value
MODE Advance to the next menu
RESET Restart the time clock
 Loading...