Operating Instructions
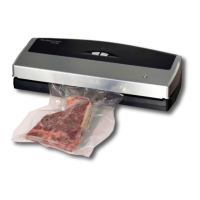
1. Select the Pouch
Select the proper size VacMaster
®
barrier vacuum pouch. Allow a minimum of
1” to 2” of extra headspace at the top of the pouch to ensure a quality, positive
seal.
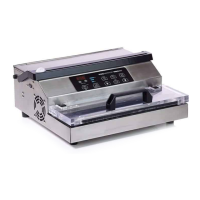
2. Plug in machine and switch power “ON”
The “WORKING” indicator light on the control panel will illuminate when the
power is on.
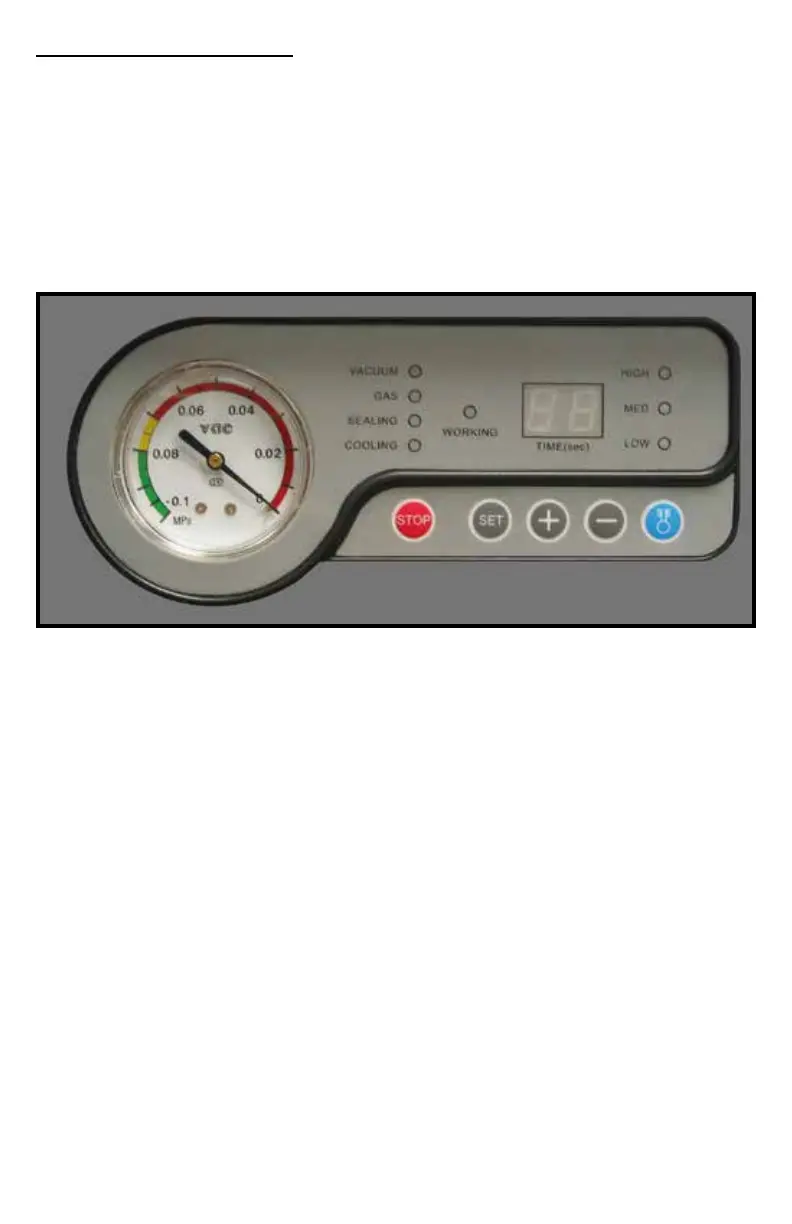
3. Adjust / Set Timing Controls
All adjustments must be made with lid in the OPEN position.
~ Vacuum Time: Press the “SET” button once and you will notice the
“VACUUM” indicator will light. Adjust the vacuum time “up” or “down” by
using the “+” or “-” buttons. For initial test set the vacuum time to 25
seconds. Adjust vacuum accordingly to achieve the vacuum required.
~ Gas Flush: Press the “SET” button until the”GAS FLUSH” indicator lights.
Adjust the gas ush time by using the”+” or “-” buttons. For an initial
test, set to .1 second. Adjust accordingly to ensure a proper modied
atmosphere.
~ Sealing Time: Press the “SET” button until the “SEALING” indicator lights.
Adjust the sealing time “up” or “down” using the “+” or “-” buttons. For
initial test set the sealing time to 1.2 seconds. Adjust sealing time
accordingly to achieve a positive seal.
~ Cooling Time: Press the “SET” button until the “COOLING” indicator
lights. Adjust the cooling time “up” or “down” using the “+” or “-” buttons.
For initial test set the cooling time to 2.0 seconds.
~ Press “SET” until all setting lights are clear and the machine is ready to
work. “ED” will appear on display.