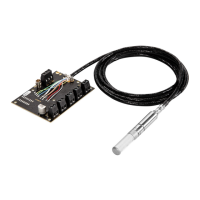
2. Immerse the probe head into heptane liquid and rinse out the oil (for maximum 1 minute).
3. Dry the probe with instrument air.
4. In case you are going to calibrate the probe, remove the filter and dry the sensor with
instrument air. Check that the sensor looks clean.
More information
‣
Sensor types (page 8)
‣
Calibration and adjustment (page 23)
6.3 Replacing filter
• New compatible filter
• Clean lint-free gloves
Without the filter in place, the sensor is easily damaged – handle
the probe head carefully.
CAUTION!
1. Put on clean gloves before touching the filter.
2. Turn the filter counter-clockwise to loosen it.
3. Remove the filter from the probe head. Be careful not to touch the sensor with the filter.
4. Install a new filter on the probe head. Tighten the filter properly (recommended force
5 Nm).
More information
‣
Filter types (page 10)
‣
Accessories and spare parts (page 30)
6.4
Calibration and adjustment
The module is fully calibrated and adjusted as shipped from the factory. To maintain the
accuracy of the measurement, calibrate and adjust the module as needed. Typical calibration
interval is one year, but depending on the application it may be necessary to check the
accuracy more frequently.
When adjustment is necessary, you can have Vaisala calibrate and adjust the module. To order
calibration services from Vaisala, visit store.vaisala.com. You can also do the adjustment
yourself using the Insight software.
Chapter 6 – Maintenance
23

 Loading...