t.
TMK INSIRI'CTIONS
I NLEI A}D EXHAUST
SYSIEM,
NNBMMRGER
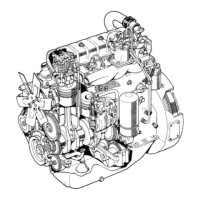
{LET
A||) EpUST SYStEr,l
A
+urbocharggd
gnglne
ls
much npre susceptlble
to
lnlef and exhausf
sys+em
iroublgs,
lmpurllles,
eic.,
than a
Inaturally
asplroiedr
englne,
Thergfore speclal
a++antlon
musi bo
pald
to the condltlon of fhe alr
lllier ånd lhe
lnlei
and
gxhaust
Dlogs.
INSP€CTING
THE AIR F ILTER
Th€ englne
performance
and llfe
are dependeni
on ihe
condltlon of
ihe alr fllter. A faulty
flller
leis through lmpurllles
rhlch
gradually
damage lhe iurbo
and +he englne.
A
clogged
fllter
results In loss of englne
porgr
and olso
of+6n
causes an ol I leak frorn tho
iurbo
lhrouoh
+he
shaft seallng rlng.
t. Check ihe cleaned fllter
bv
lnslde lt. l{ You
d€tecf holes
ls rorn
(
llght-coloured
polnfs
through ), replace ihe
fllter.
B.
IIISPECT
IIG TI€
I II-ET AIO
EXMUST PIPES
plåcl n9
a lamp
or lf
ihe f
I lier
rh lch let llgh+
4, Claan
ihe {ll+er
houslng
lrom fhs lnslde
io
remove dus+ and lmpurliles.
Check
that l-he
gasko+s
are Infac+ and
thai
+helr ma+lng faces
are clean. Push
ihe fllter Into
+h€
houslng
and
ensure that l1 ls
properly
ln
posl+lon.
Tlghlen
ihe reialnlng nul to the correcl
torque
(about
1...1,5 iurns after +he flange
gasket
+ouches
+hs fl lter
houslng
€dge).
tlotol The safeiv elerpnt
Inslde
the
alr
fllier ls
not
to
be rsnoved unnecessarl
ly In
connoctlon
rlih fhe lnspecllon
and
servlca
of
ihe
prlmary
flltar.
Do not clean
the
safety
slement, bul replace
li
once
a
year
o. then
necessary
(see
Operatorrs
Manual,
polnf
Serv
lce ).
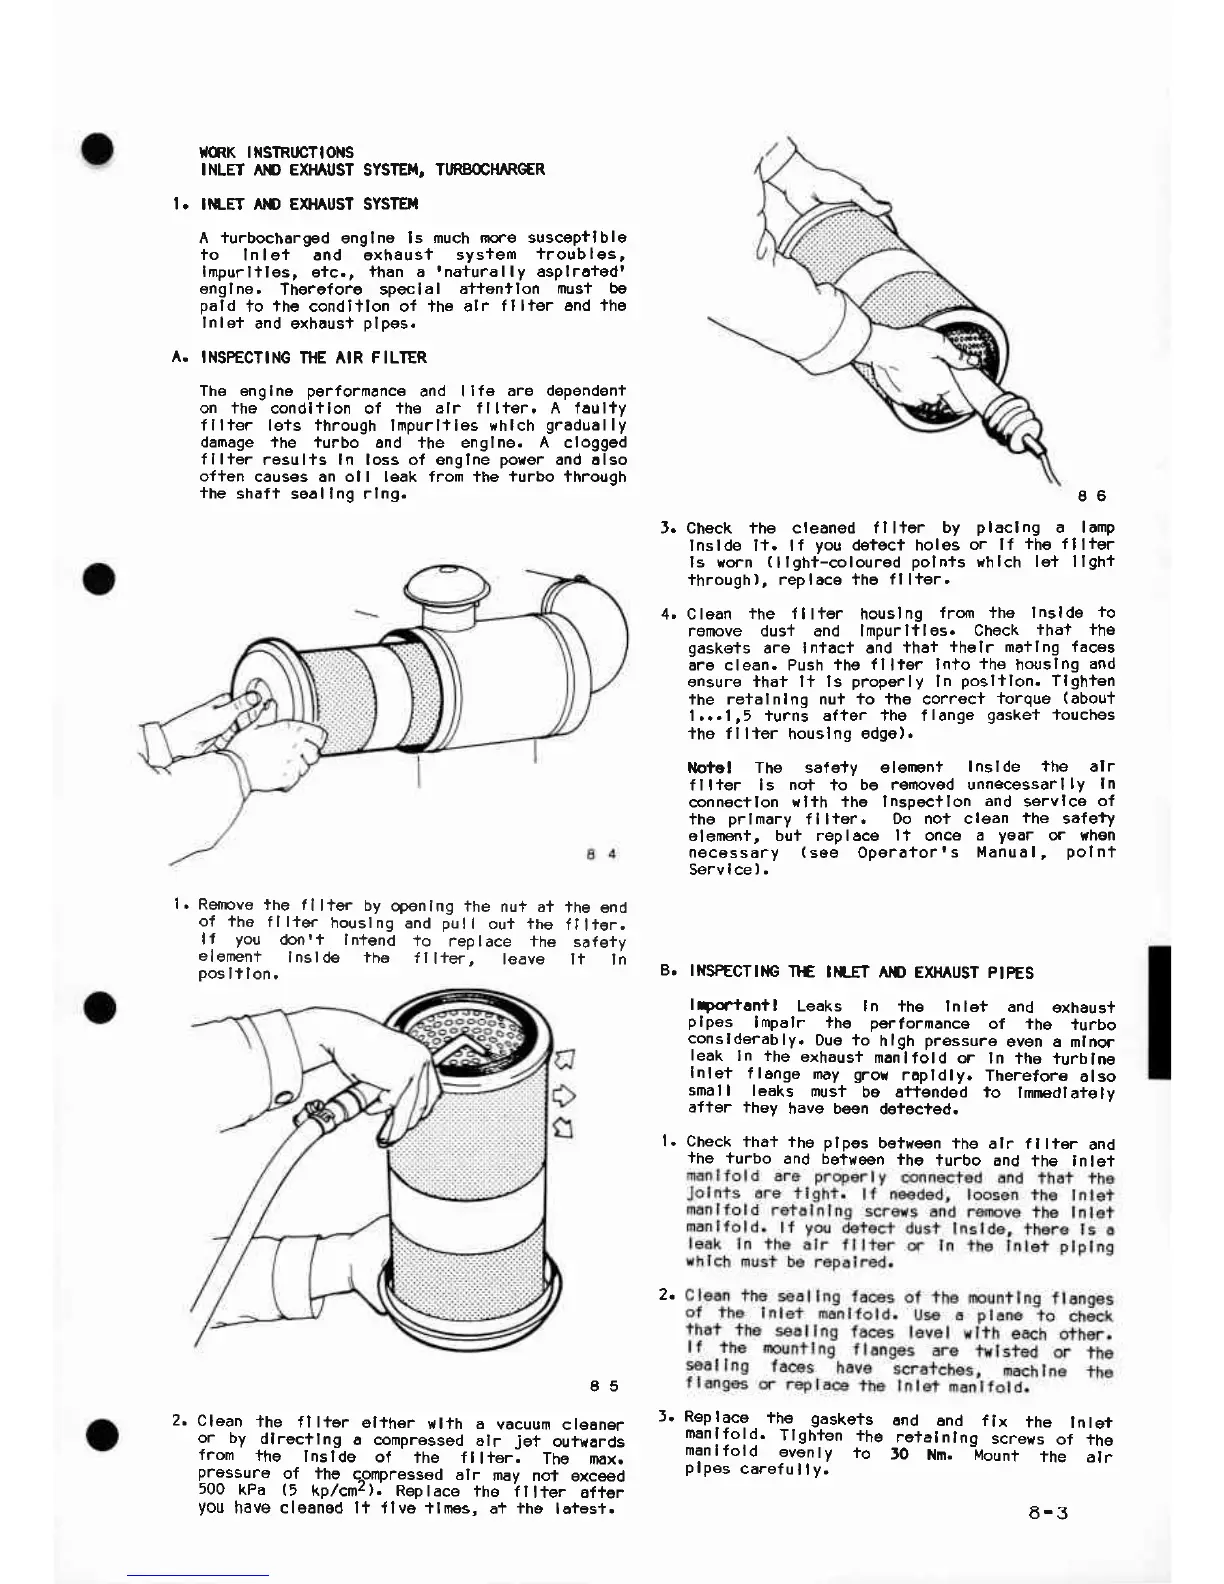
Refircve
the fllter
by
op€nlng the
nuf ai
of ihe
fllier
houslng
and
pull
out the
lf
you
dcntf In+end
io
reolace fhe
elerleni
Inslde ths
lll+er,
teave
ooslilon.
the end
f I
lter.
sa{eiy
It
ln
E5
Clean
+he
fllter
eliher
wl+h ö
vacuum
ctsener
or by
dlrgcilng
a compressed
alr
Jef
ouixards
from
the
lnslde
of
the fll+er.
The
max.
pressure
of thg
cpmpressod
alr may
noi
exceed
500
kPa
(5
kplcmz). Replace
th6
illter
ofler
you
have claanod lf flve tlmes,
a+
lhe
lotesf.
leftcntl
Leaks In the lnlet
and
exhaus+
plpes
impalr thg performonce
of the
+urbo
conslderably.
Due io
hlgh
prgssure
even a mlnor
leak
in the
exhausi
manlfold
or ln
tha iurblng
Inlet
flange
may gror
ropldly.
Therefore
also
sDall
leöks
musi
be aftended to
lmnedlaiely
öf'ter ihey
have been
deiected.
Check
thai the plpes
bgireen ihe
alr fllter
and
ihe
turbo
and bett{e€n
fhe
turbo and
the lnlei
Rep laco
ihe gaskets
cnd
end fix
the
lnlet
manlfold.
Tlghfen
ihe
retalnlng
screws
of +he
manttoto
evenly
io
r0
Nn. Mount
the
alr
plpes
carefu
lly.
6-3
 Loading...