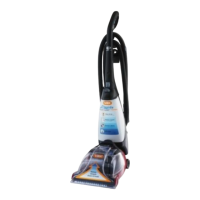
Fig.3/3: Slide upper handle down onto unit.
4
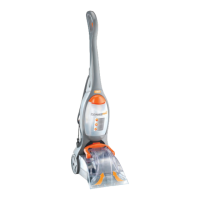
Fig.3/4: Insert the upper handle screw (as
shown) and tighten until secure.
NOTE: Make sure the power cord is out of
the way to avoid pinching.
Align tool caddy with screw holes on mid-
section and base.
Fig.8/1
Fig.8/2
Fig.8/5
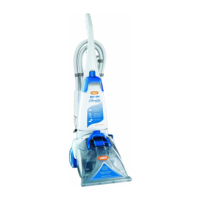
BACK
VIEW
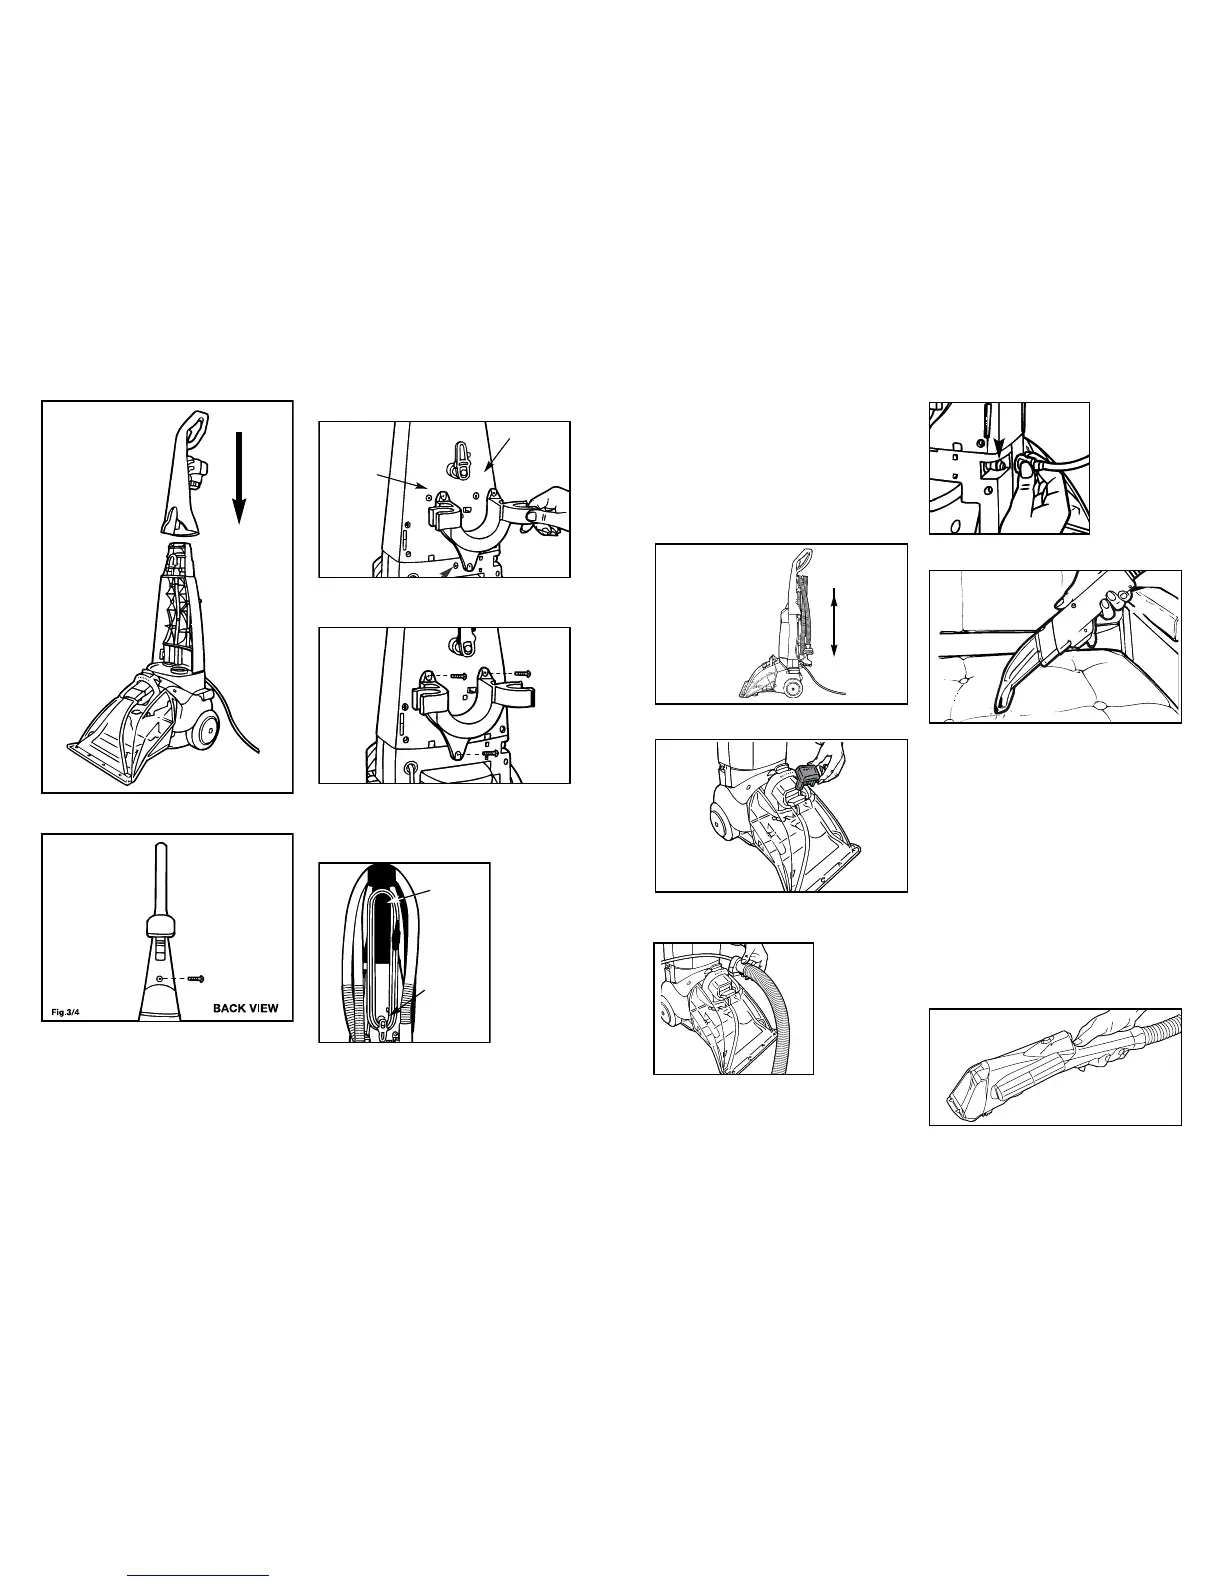
Upholstery / stair attachment
Fig.8/6
Fig.8/3
IMPORTANT: For best cleaning results use
a steady, moderate, forward and backward
motion.
IMPORTANT: If the sound of the motor
changes to a high pitch, this indicates the
dirty water tank is full and must be emptied.
8. Accessories
For cleaning upholstery and stairs
Remove the dirty water tank door from the
top of the dirty water tank.
Put carpet washer in its upright position.
Insert the
upholstery /
stair hose
adaptor into
the opening on
top of the dirty
water tank.
Connect the
hose solution
tube into the
fitting on the
lower left side
of handle
facing carpet
washer.
Fig.8/4
Step on power on/off pedal to turn cleaner
on. While depressing solution spray
trigger, pull attachment in backward
motion. Release trigger and push attach-
ment forward in the same path to
remove dirty water and solution from
upholstery. (For heavily soiled areas, repeat
if necessary.)
NOTE: Do not oversaturate the upholstery.
IMPORTANT: For best cleaning results use
steady, moderate, forward and backward
motion. Make sure upholstery is dry before
use.
NOTE: If the dirty water tank door is not
replaced, there will be no suction through the
nozzle and the unit will not operate properly.
Power Wash Brush usage
 Loading...