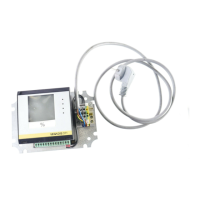
Capacitive electrodes EL 4 … 20 mA - compact 39
Set-up
Adjustment steps
On the following pages you see the menu plan
to the HART
®
-handheld in relation with
capacitive electrodes.
The most important adjustment steps are
marked in the menu plan with the figures
A␣ …␣ D.
General information to the HART
®
-handheld:
When you enter or modify parameters, you
have to push the key “
ENTER
“. Hence the
adjustment is saved in the handheld but not in
the sensor itself.
After you have pushed “
ENTER
“, you have to
push “
SEND
“, to transfer the adjustment to the
sensor.
After pushing of “
SEND
“ a warning is
displayed.
When you push “
OK
“, the adjustment is
transmitted to the sensor.
Another safety enquiry asks you to switch over
your system from manual to automatic
operation. Push “
OK“
With
“HOME“
you reach again the initial menu.
Generic: SENSOR
PV LRV
0.000 m
10.000
HELP DEL ABORT ENTER
4.1
(5.1)
Empty adjustment without
medium
Generic: SENSOR
1PV LRV
2PV URV
HELP SEND HOME
Generic: SENSOR
- WARNING-
Pressing ”OK“ will
change device output.
Put loop in manual
ABORT OK
Generic: SENSOR
- WARNING-
Return control loop to
automatic control.
OK
Generic: SENSOR
1PV LRV
2PV URV
HELP HOME
 Loading...