43
10 Applications and functions
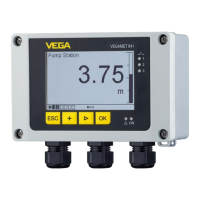
VEGAMET 841 • 4 … 20 mA
58864-EN-200401
2
3 ... 4 x h
max
90°
h
max
B
1
≥ 250 mm
(
9.84")
Fig. 21: Flow measurement with Khafagi-Venturi ume: h
max.
= max. lling of the
ume; B = tightest constriction in the ume
1 Position sensor
2 Venturi ume
Setup
An application wizard guides you through the most common selection
possibilities. Further application options are available on the corre-
sponding DTM/app pages. A more detailed description of all available
application options is included in the DTM online help.
The following steps must be carried out in the application wizard:
1. Select application
Selectfromtheoeredoptionstheapplication"Flow measure-
ment ume/Weir".
2. Assign measuring loop name
Assign a unique designation to the measuring point so that there
can be no confusion with other measuring points.
3. Select sensor input (only for devices with HART)
Denehowthemeasuredvalueshouldbetransmitted
(4 … 20 mA or HART). If HART is available for the sensor as well
as for the controller, the HART selection should be used because
a higher accuracy can be achieved.
4. Denesensorcharacteristicvalues
When using analogue 4 … 20 mA sensors, the measuring range
should be set accordingly in the sensor to achieve maximum ac-
curacy. This measuring range must also be stored in the assistant
together with the sensor type and the measuring unit.
Example Khafagi Venturi
ume
 Loading...