Copyright Velocomp LLC 2015-2018 www.velocomp.com
OPTIONAL: USING POWERPOD WITH ISAAC SOFTWARE
• Install free Isaac software for Mac/PC, available here:
https://velocomp.com/isaac-software-installation/
• Mac users: The first time you run Isaac, make sure to hold the “control” button on your
keyboard, then click on the Isaac icon, then select “Open” from the menu that appears.
This procedure temporarily bypasses the security features of OSX.
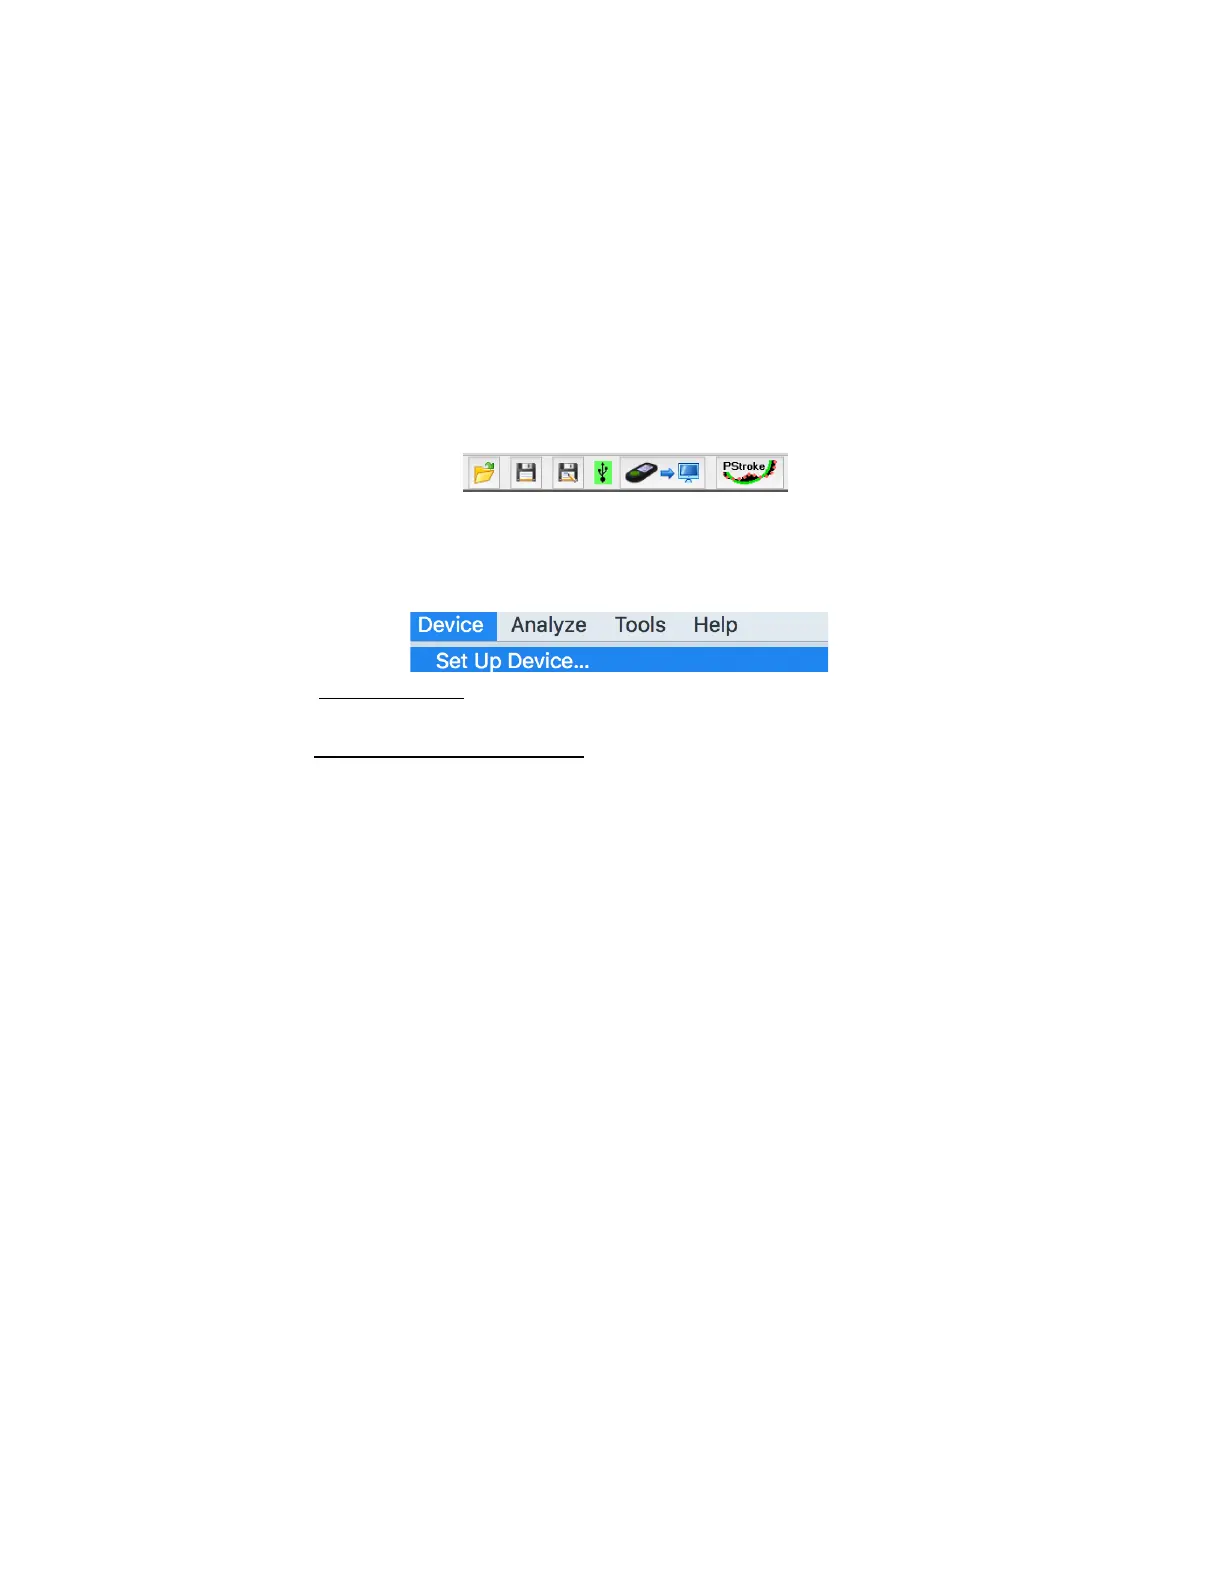
• Connect PowerPod to your computer using its USB cable. Click PowerPod button to turn
it on. When PowerPod is connected to Isaac, a green box will appear around the USB
icon located at the top of menu bar:
• Use the Isaac command “Device/Set Up Device…,” to fine-tune the settings of your
PowerPod.
1) Connect PowerPod to your computer and launch ISAAC software
2) Using ISAAC Software, “Device/Set Up Device...” wizard:
3) PowerPod Lite: Select Profile 1. POWERPOD LITE DOES NOT WORK WITH
PROFILES 2, 3, OR 4
4) PowerPod ANT or ANT/BLE: Select profile 1, 2, 3 or 4
5) Type in a name you’d like to have for your profile
6) Click the “Next” button and enter your bike and rider information as
instructed by the “Set Up Device” windows.
7) On the final step, select Best Accuracy
8) IMPORTANT: Follow PowerPod instructions steps 4) through 6) to pair your
PowerPod to your bike’s speed and (optional) cadence sensor
9) NOTE: After using the setup wizard, you will need to perform an O&B
calibration ride
 Loading...

