Installation
Preparation 1/2
Verkada Inc. 405 E 4th Ave, San Mateo, CA 94401
sales@verkada.com
All specifications are subject to change without notice
Copyright © 2023 Verkada Inc. All rights reserved.
11
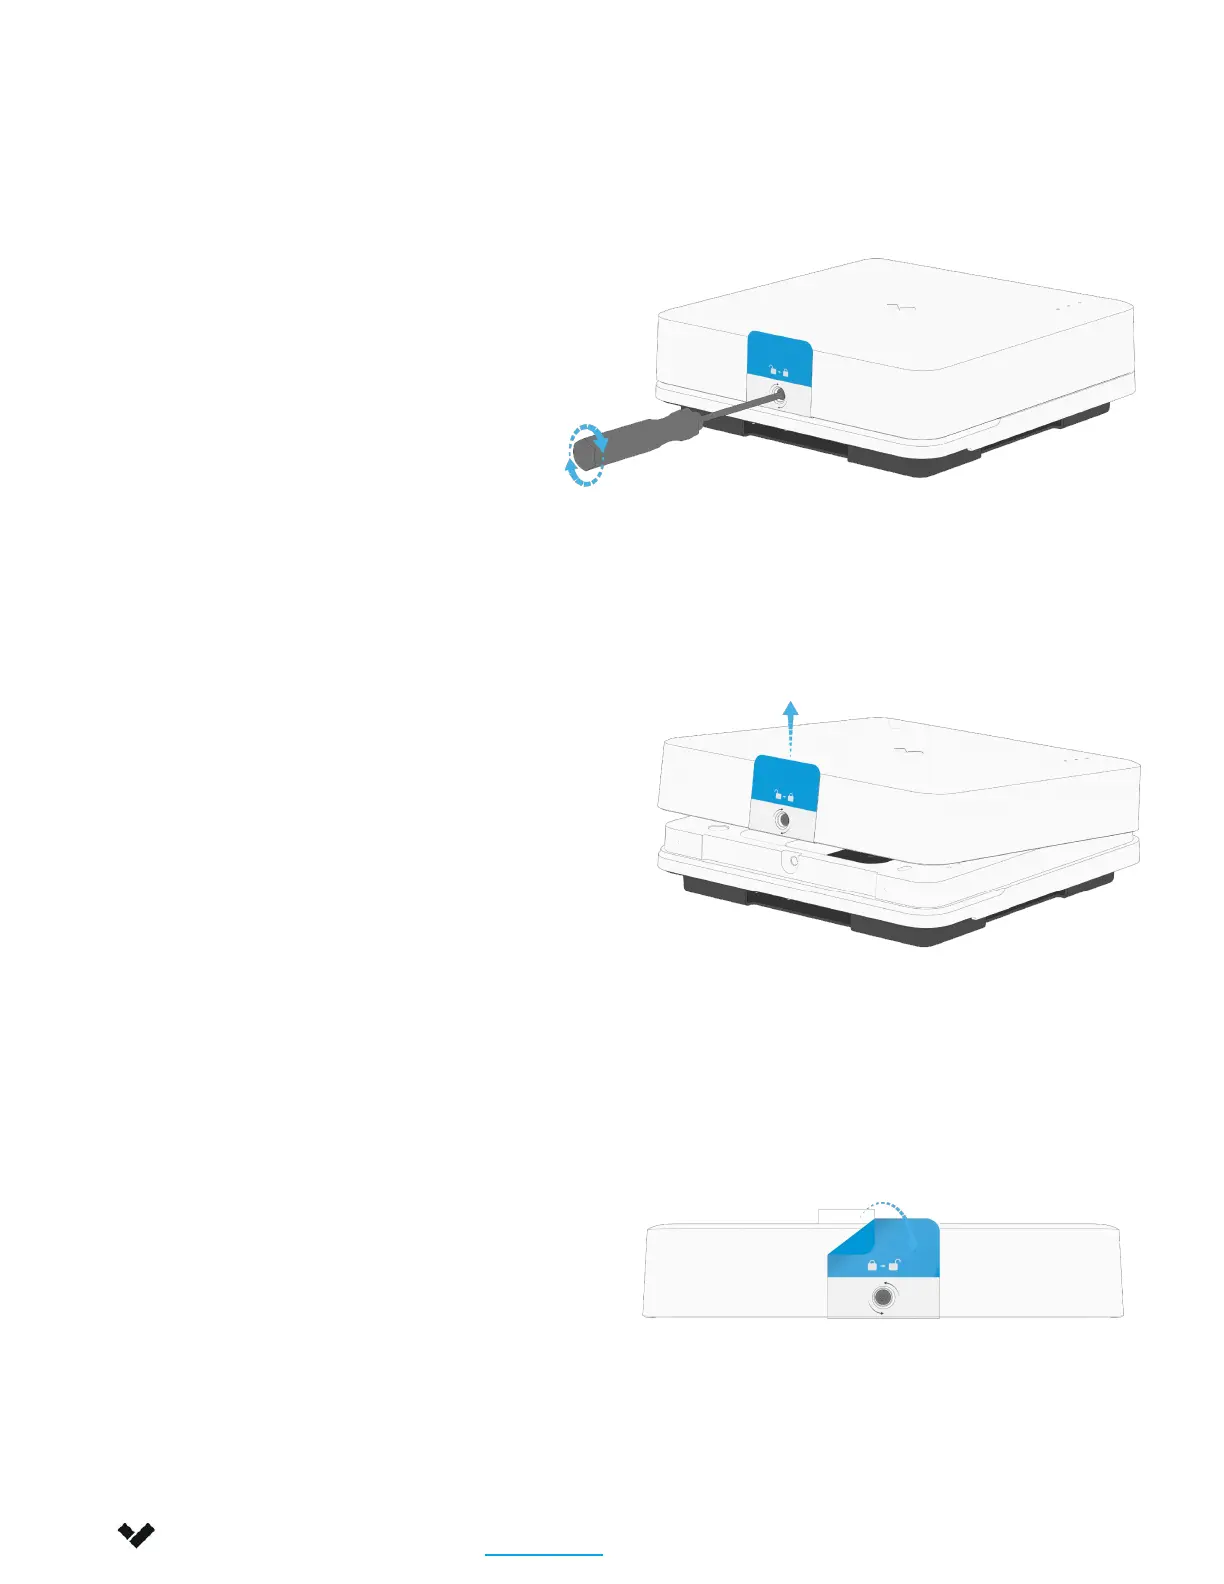
Lay the controller on a flat surface.
Loosen the captive security screw,
using the provided T10 Security Torx
screwdriver.
Pull up the pull-tab to lift the cover.
Remove the sticker from the cover.