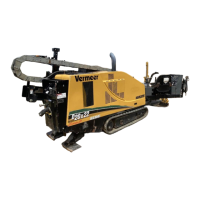
30-56 Overview D20x22 Series II Navigator HDD
AUTODRILL - ENABLE (NORMAL DRILLING)
Step 1: Select AutoDrill mode (Constant Thrust/Pullback Speed, Constant Thrust/
Pullback Pressure, or Constant Rotation Pressure) using AutoDrill Selector
Switch (2).
Step 2: Move and hold Rotation and Thrust/Pullback Handles to obtain the desired
rotation and thrust/pullback motion for the current drilling conditions.
Step 3: Momentarily press and release AutoDrill Button (1) and immediately release the
Rotation and Thrust/Pullback Handles. When the AutoDrill Button (1) is
pressed, the present thrust/pullback and rotation pressure set points are stored.
The Rotation and Thrust/Pullback Handles must be centered within one second from
the time the AutoDrill Button was pressed, not from the time the button was released.
Step 4: Use Speed/Pressure Trim Switch (3) to increase or decrease the speed/pressure
settings. Holding the Trim Switch for 2 seconds initiates a process of ramping
speed/pressure up or down.
If the R.A.T.T. mode has been activated, then the display will show the current
oscillating degree setting.
Step 5: Move either Rotation or Thrust/Pullback Handles out of NEUTRAL to stop drill
string motion and PAUSE AutoDrill.

 Loading...