www.vernier.com/start/gdx-q
USB Connection
1. If using a computer or Chromebook, install Vernier Graphical Analysis. If using LabQuest, make
sure LabQuest App is up to date. See www.vernier.com/ga4 for Graphical Analysis availability
or www.vernier.com/downloads to update LabQuest App.
2. Connect the sensor to the USB port.
3. Launch Graphical Analysis or turn on LabQuest. You are now ready to collect data.
4. This is a multi-channel sensor. To change the channel selections, see
www.vernier.com/start/gdx-q
Note: This sensor does not work with the original LabQuest. It works with LabQuest 2 or LabQuest 3.
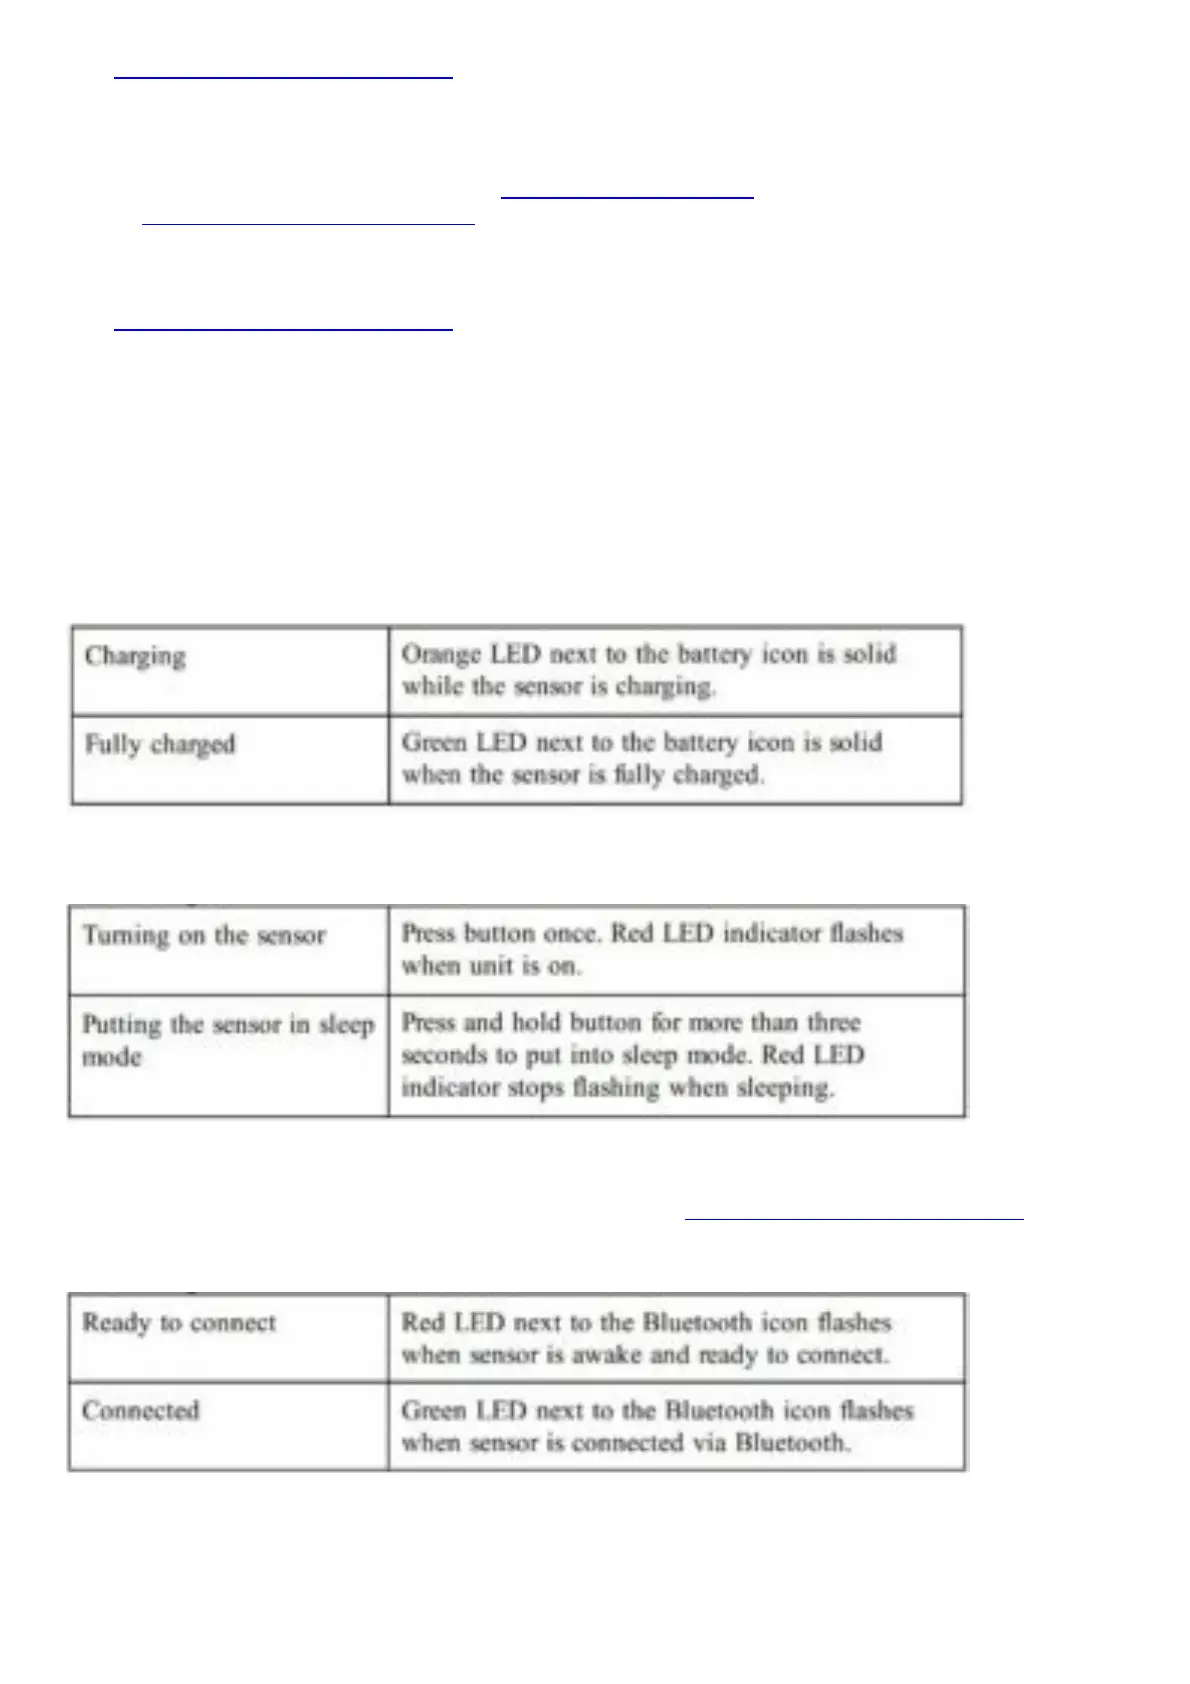
Charging the Sensor Battery
Connect Go Direct Static Charge to the included USB Charging Cable and any USB device for two
hours.
You can also charge up to eight Go Direct Static Charge Sensors using our Go Direct Charge Station,
sold separately (order code: GDX-CRG). An LED on each Go Direct Static Charge indicates charging
status.
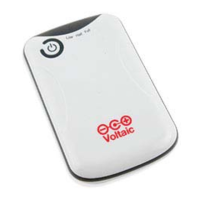
Powering the Sensor
Connecting the Sensor
See the following link for up-to-date connection information: www.vernier.com/start/gdx-q
Connecting via Bluetooth
Connecting via USB