2.4 Connecting the Leak-detection Cable
The leak-detection cable does not directly connect to the LP6000 controller. The 15-ft connection cable
included with the system connects the controller to the leak-detection cable.
To connect the leak-detection cable to the controller:
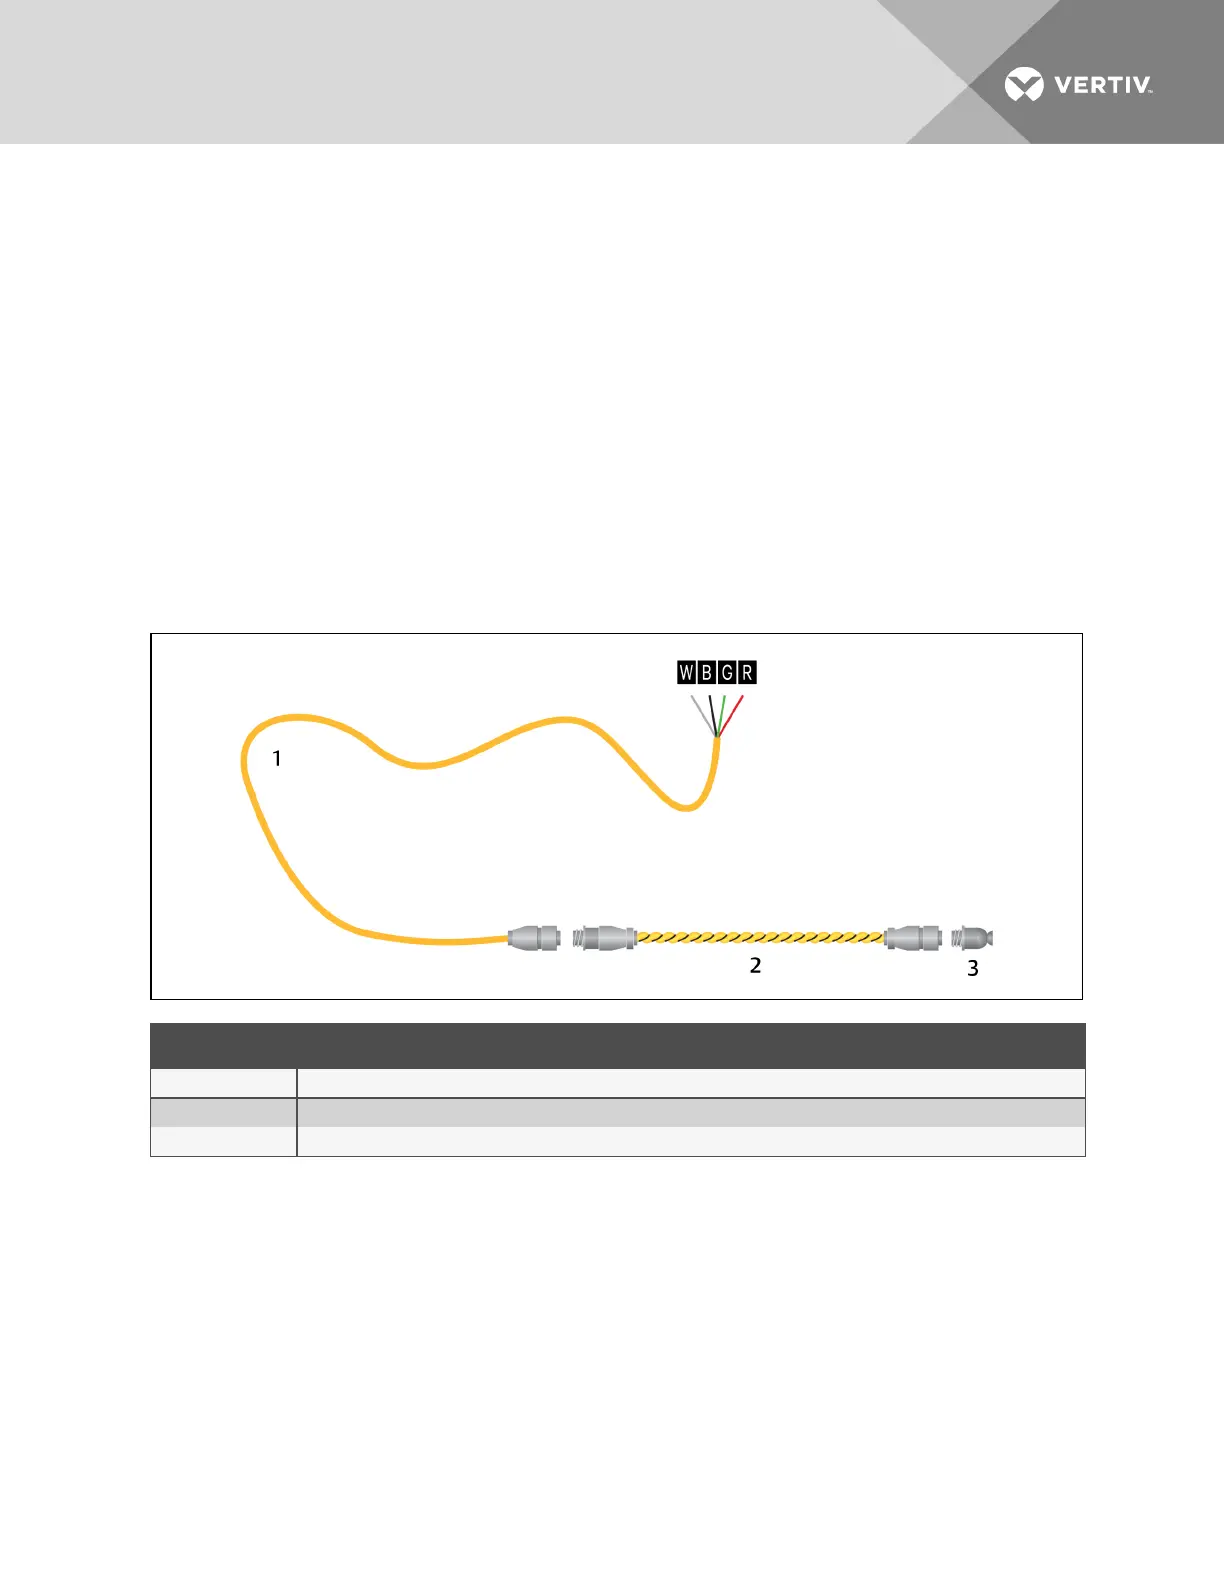
1. With the screws of TB2 facing up on the controller, connect the 4, stripped, bare wires of the
connector cable to the terminal block in the following order as shown in the following figure.
• White
• Black
• Green
• Red
NOTE: If the cable is removed from the terminal connector, make sure that the wires remain in the listed
order when the connector is re-installed.
Figure 4.4 Connector cable and leak-detection cable connection to controller
ITEM DESCRIPTION
1 Connector cable (CONNECT 15)
2 Leak-detection cable
3 End terminator (LT500-ET)
2. At the other end of the connector cable, unscrew the end terminator, and attach the male
connector of the leak-detection cable to the connector cable as shown in the figure above.
3. Attach the end terminator to the end of the cable run and to the end of each branch-
connector branch.
NOTE: A cable fault will register on the controller display if the end terminator is not attached.
You are now ready to connect power to the controller. See Connecting Power to Liqui-tect on page 15.
Vertiv | Liqui-tect LP6000 Installer/User Guide | 14
 Loading...