9. Music setting: Turn the Turntable or short press “Previous” and “Next” buttons can
select (Music scan, Equalizer, Play mode, Gain, Balance, Album cover, Wallpaper,
Lyric, Gapless, Memory play, Volume set, Custom volume).
10. Music player interface: Short press “Previous”and“Next”buttons to switch music.
Press “Menu” first, turn the turntable or short press “Previous”and“Next” button to
select (collection, play mode, EQ, gain, wallpaper).
a. Collection: When play the music, Short press “Menu” button first, short
press again to add into my favorite.
b. Play mode:
c. EQ: When play the music, Short press “Menu” button first, turn the
turntable or short press “Previous”“Down “button to select EQ(Rock,
Classic, Jazz,
Pop, Dance, Vocal, Blues, Heavy metal, Custom).
d. Gain: short press “Menu”button to select Low (L)/High(H)
e. Wallpaper: short press “Menu”button to select ON (show)/OFF(blank)
11. How customizable wallpapers:You need to have a jpg/png format picture
whose
size is 260*150,named “wall“,put into a folder named“wall“,then put the folder into
TF card and select ON in “wallpapers”
12. Lyric display: The player support LRC format lyrics, keep the same name for
music and lyrics, it will display the lyrics when play music.
13. Gapless playback: The player support Gapless playback, this keeps the songs
switching very fast.
14. Memory playback: You can select “last song” and “last position” here.
15. Volume:
Default: default volume is 30.
Memory: the volume you turn o the player last time.
Setting: Select the volume you have customized set.
Custom volume set: After you select “Custom” in “Volume set”, you can adjust the
custom volume.
16. Lenguage: The player support 4 kinds of language: English, Spanish, Japanise,
Chinese, Traditional Chinese.
17. Theme: The player support 3 kinds of Theme: A、B、C
18. Display setting:
a. Back-Lighting time: Default time is 1 minute; you can set the back light time
here
after no operation. Press “Power” button to recover.
b. Back-brightness: Default is 50%.
c. You can set the shutdown time after no operation, Default time is 5 minutes.
d. You can set to shutdown on preset time, Default set is o.
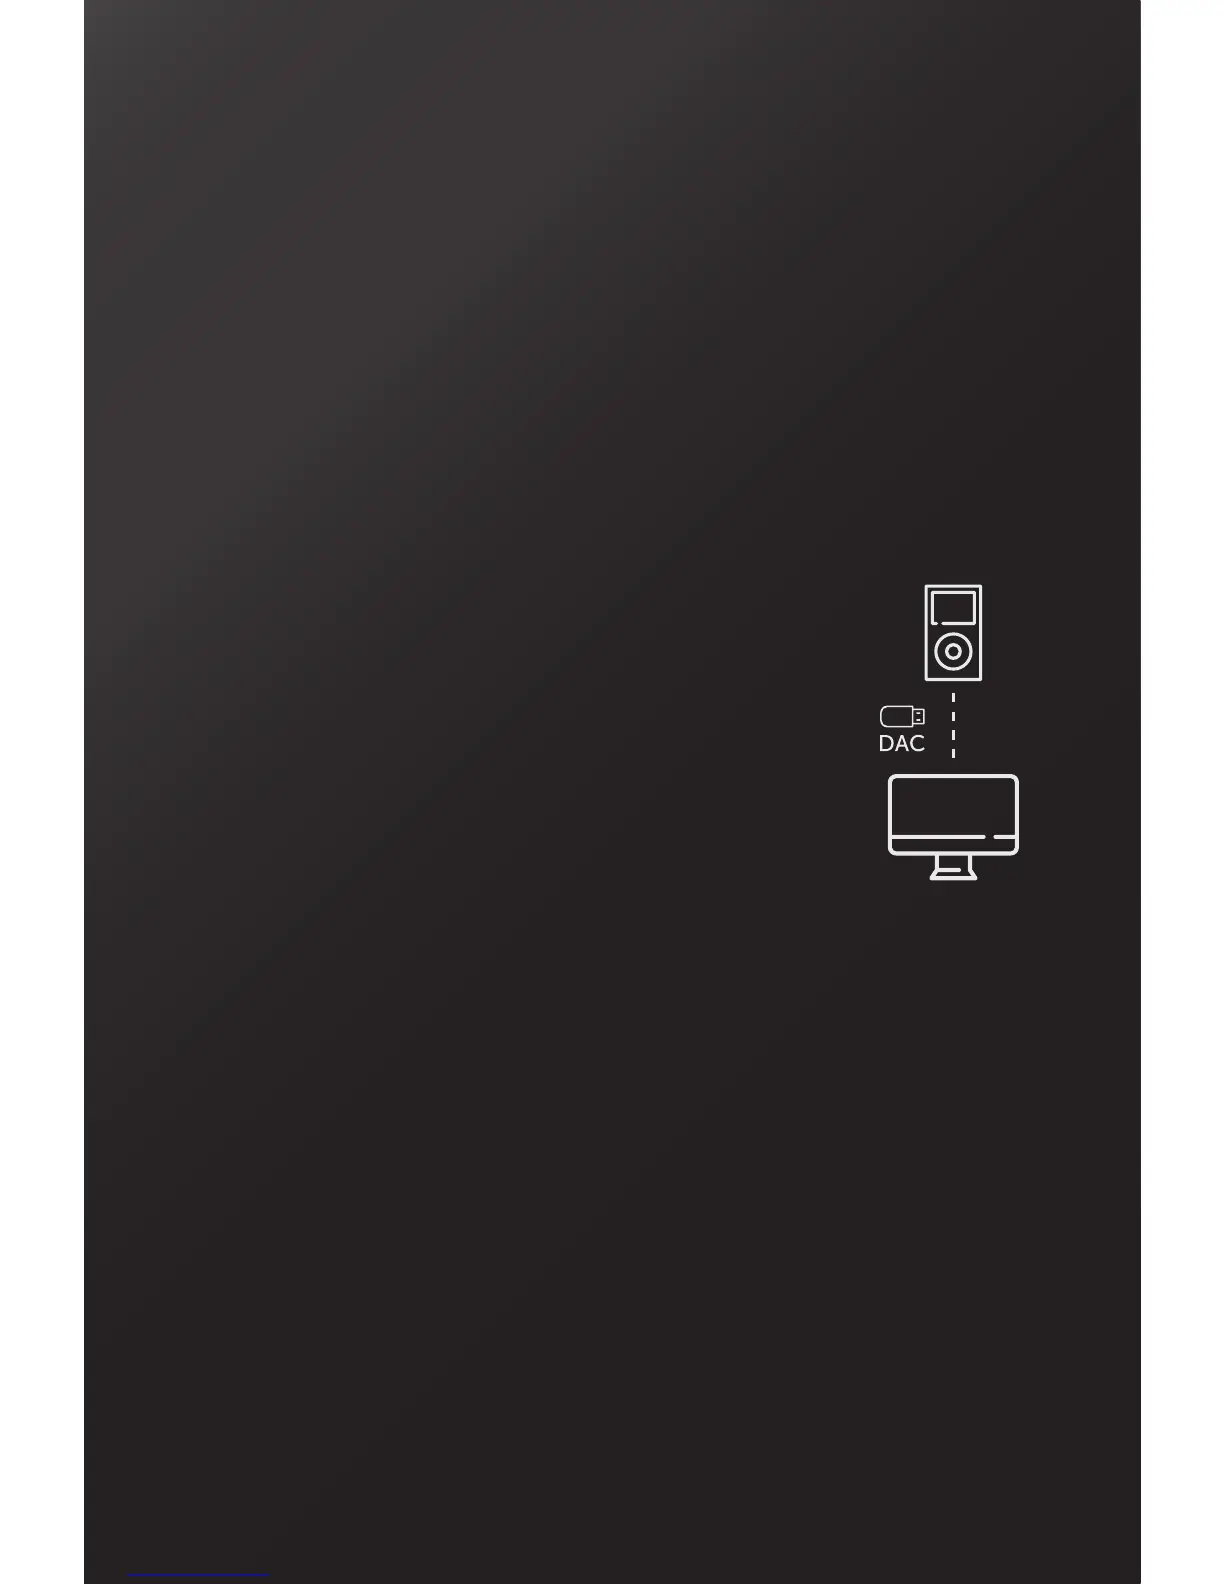
19. USB mode: Select USB Mode to activate the DAC or CHARGE mode. The DAC
mode allows you to decode in high quality musical files
from your computer, allowing you to access in the
highest level of detail to the headphone output
and/or the line output. If you select the DAC
mode, this screen will appear to connect the
device to your computer via USB.
You need to install the driver software (on TF card).
Please download de Drivers Software from this link:
http://www.vieta.es/zip/MP1_DAC_Windowsdriver.rar
For MAC OS computers, You must set the MP-1 player
as the Audio output device. System Preferences > Audio > Output
20. System reset:
Select “format TF card” or “restore factory” to confirm System Reset.
Tips: format TF card will delete all the files in TF card.
Restore factory is just restoring the system setting.
21. Firmware update: Put update file in TF card then Select “YES” in Firmware
update.
22. About the player:
Memory: scan the TF card space.
Version: scan the firmware version.
About: player Brand and model and company and company web.
23. Line out: The player support audio output;
Use 3.5mm cable, connect with the output device and this player (from LIME OUT
button), play music, the output device will be played.
 Loading...