K
Kimberly FosterAug 5, 2025
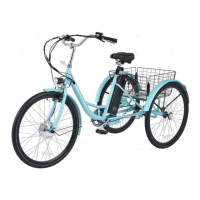
What to do if my Viribus Bicycle is not charging?
- RRebecca MillerAug 5, 2025
If your Viribus Bicycle is not charging, first ensure the charger is correctly connected to a working power source. If that doesn't work, you might need to revive the battery if it's in an over-low-power state. To do this: 1. Reinstall the battery onto your tricycle. 2. Raise the motorized front wheel. 3. Run the motor using the throttle handle for a while. 4. Stop the motor, disconnect the battery, and restart charging. If the issue persists, consider replacing the charger, its power cord, or the battery with a new, identical one.