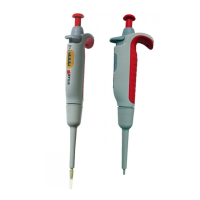
10. Cleaning or replacement of
discharge / recirculation valve
Note:
Subsequent to reassembly gravimetrically check the volume
(see chapter 12).
Warning!
Never use force during disassembly and assembly. Verify that all
components fit tightly and securely.
1. Set valve switch (12) to „recirculation“.
2. Remove the valve switch (12), then lift the discharge tube support
(16).
3. Unscrew the discharge tube securing nut (14) and pull out the
discharge tube (15).
4. Pull out the discharge/recirculation valve (13).
5. Clean all parts. Replace if necessary.
6. To reassemble, push in the discharge/recirculation valve by hand.
7. Push in the discharge tube (15). Tighten the securing nut (14).
8. Mount the discharge tube support (16) and the valve switch (12).
When battery power runs low, a crossed-out battery symbol
appears at the top left of the display. The batteries then
need to be replaced.
1. With your thumb, press on the latch (7) located below
the control keys. With your other hand, simultaneously
push the front part of the outer casing toward the top.
Attention!
Never use force!
2. Remove the old batteries and dispose of properly.
3. Insert two new micro batteries 1,5 V (LR03/AAA).
Observe proper alignment of poles.
4. To reassemble the casing, position the bottom edge in
place, then gently push downward until you can hear it
locking.
11. Battery replacement
28