Do you have a question about the Volvo Sirius and is the answer not in the manual?
Read all instructions before starting installation. Ensure all tools are available and note safety warnings.
Maintain surface temperature of +15°C. Follow guidelines for car washing and post-installation temperature.
Move the left-hand front seat to its rear position to facilitate access.
Remove gear selector panel, centre console side panel, and dashboard environment panel.
Remove sill trim, carpet, and seat cushions to access internal areas for routing and mounting.
Remove floor hatches, storage compartment, and folding panel from the cargo area.
Detach ceiling light, front, and luggage compartment roof panels for antenna mounting.
Procedure for detaching D-post panels, sill trim, and rear lamps for cable access.
Saw off a protruding plastic flange on the left-hand floor support to enable cable routing.
Route DIN cables under floor mats, carpets, and door sills towards the centre console and rear seat.
Prepare antenna area, route antenna cables along the right side to the wheel housing and control module.
Use cloth tape and butyl tape to secure antenna cables along the rear end face, hinge, and D-post.
Apply extra tape for joint protection where the antenna cable enters the car, forming a loop to prevent water.
Disconnect fuse holder connector, handle connector holders, and connect cable harness to the fuse box.
Install a 5A fuse in position 17 and connect the ground cable to the vehicle's ground terminal.
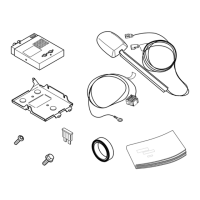
Install the Sirius control module and its bracket using the provided screws, ensuring a secure fit.
Connect DIN cables according to vehicle configuration: RTI, CD changer, SAT prep, or standard.
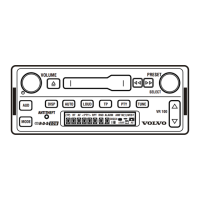
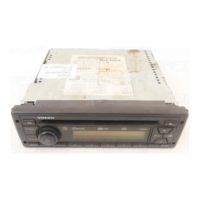
Connect radio, dashboard panel, and keypad connectors, then reinstall components in the centre console.
Reinstall centre console side panel, sill trim panels, seat cushion, and fold back rear seats/backrest.
Reinstall all previously detached panels in reverse order, ensuring correct fit for D-post panel.
| Brand | Volvo |
|---|---|
| Model | Sirius |
| Category | Car Receiver |
| Language | English |