Check to see that your completed frame looks like the image.
Note: The push buttons should be to the right.
8
STEP
7
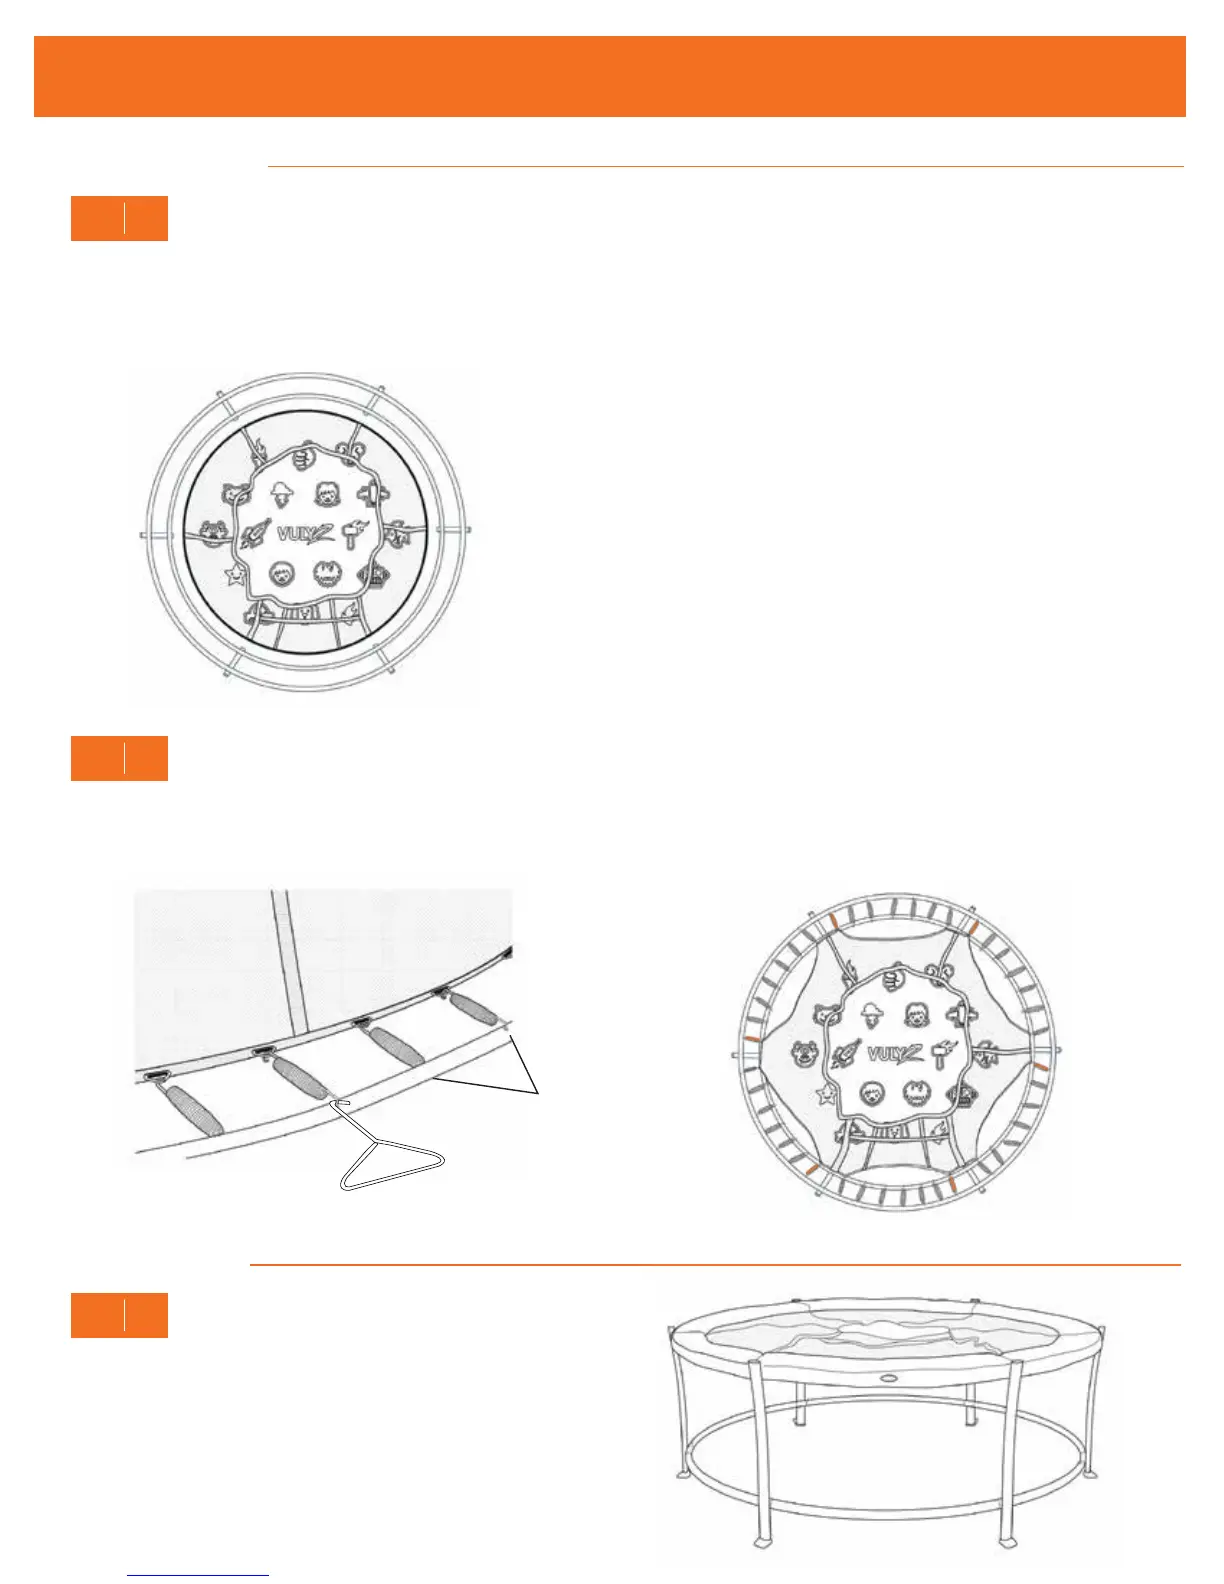
STEP
SAFETY PADS
VULY2
I
ASSEMBLY INSTRUCTIONS
6
STEP
7
Place the pads on the frame of the trampoline. Ensure that the logo on
the pad aligns with the entrance of the door, and that the holes in the
pads align with the holes in the frame joints.
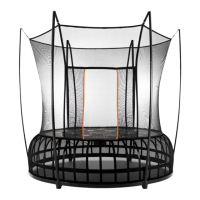
9
MAT AND NET
Lay your trampoline mat on the inside of the trampoline to ensure it is
flat and centred. Lay the trampoline net over the top. At this point,
you should ensure that the ‘red mark’ is positioned just to the right of
a joiner pole.
The long end of the spring hooks into the frame, alternating above and below the frame. The short end of the springs hook onto the mat ‘D’
shackles. Attach 1 spring on one side of the mat. Go to the opposite side of the mat and using the spring tool, attach another spring. Rotate around
the mat to ensure an even spring pressure as you attach.
Long End Hook
above frame, below frame
1
2
3
4
5
6