Page 6 For technical questions, please call 1-888-866-5797. Item 58389
SAFETY OPERATION MAINTENANCESETUP
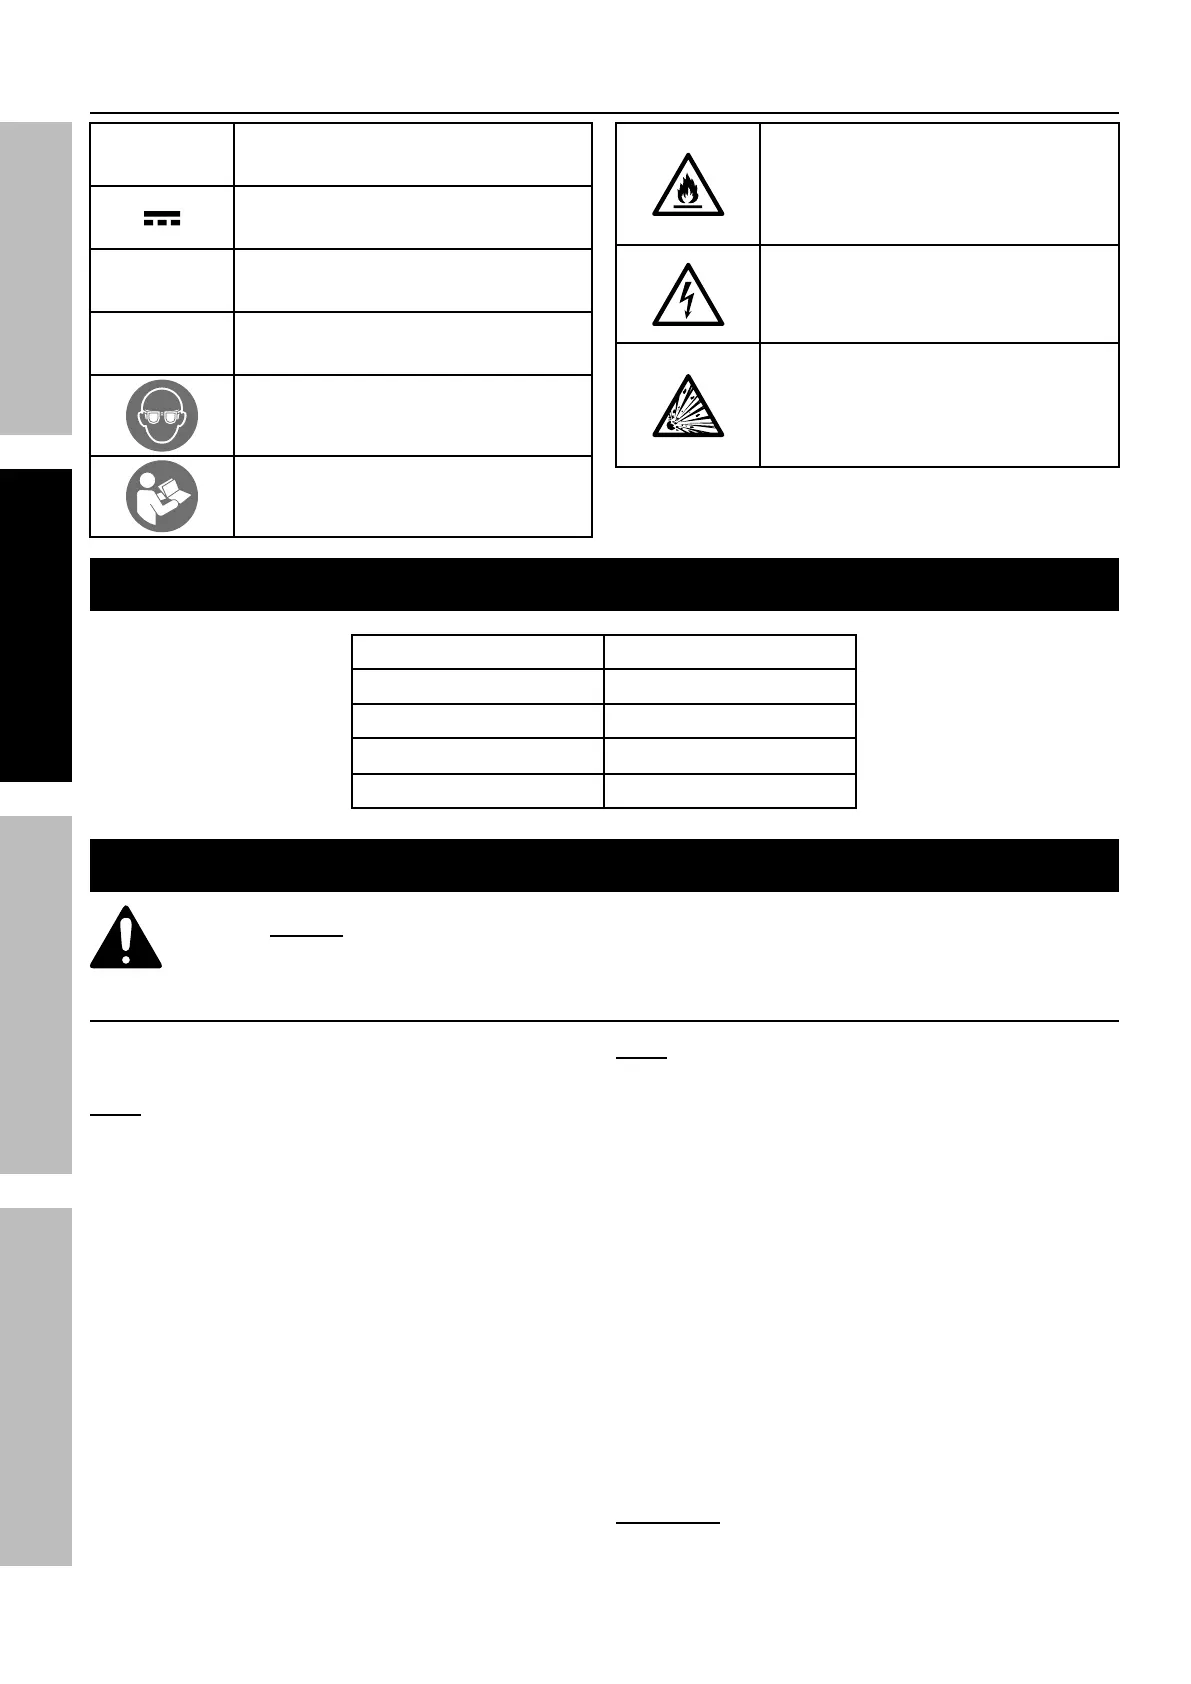
Symbology
V
Volts
Direct Current
A
Amperes
n
0
xxxx/min.
No Load Revolutions per Minute (RPM)
WARNING marking concerning Risk
of Eye Injury. Wear ANSI‑approved
safety goggles with side shields.
Read the manual before
set‑up and/or use.
WARNING marking
concerning Risk of Fire.
Do not cover Charger
ventilation ducts.
Charge on fireproof surface only.
WARNING marking concerning
Risk of Electric Shock.
Properly connect Charger’s power
cord to appropriate outlet.
WARNING marking concerning
Risk of Explosion.
Do not puncture, short, or open
battery packs and do not charge
damaged battery packs.
Specifications
Charger Input Rating 120VAC / 60Hz / 200mA
Battery Rating 18V / 1300mAh
Battery Type Li‑ion
No Load Speed n
0
= 0‑900/min
Chuck Size 3/8" (Ø10mm)
Setup - Before Use:
Read the ENTIRE IMPORTANT SAFETY INFORMATION section at the beginning of this
manual including all text under subheadings therein before set up or use of this product.
Charging
1. Place the Battery Pack on a dry fireproof surface in
a room where the temperature is from 50–104° F.
Note: If recharging a newly spent Battery Pack,
allow it to cool completely before charging.
2. Examine the Battery Pack. It must be
undamaged, and a Warrior 18V Li‑ion type
Battery Pack. Do not charge a cracked,
open, or leaking Battery Pack, or charge a
non-recommended type of Battery Pack.
3. The Battery Pack’s terminals are designed to fit
this Charger specifically. If the Battery Pack does
to not fit the Charger properly, do not try to insert it.
Do not force a Battery Pack into the Charger.
4. Plug the Power Supply into a grounded,
120VAC, 60Hz receptacle.
5. Connect the Power Supply to the Charger, then
connect the Battery Pack to the Charger.
Note: The Battery Pack’s capacity will increase
somewhat during the first few charging cycles.
A fully discharged Battery Pack will take about 3 to 5
hours to fully charge. Recharging the Battery Pack
for more than 5 hours can damage the battery cells.
6. While charging, the Battery Pack, Charger, and
Power Supply may become warm to the touch.
This is normal, and does not indicate a problem.
7. The red LED on the Battery Pack will light
continuously when it is charging and shut
off when Battery Pack is fully charged.
Unplug the Charger when finished.
8. Allow the Battery Pack to cool
completely before using it.
9. Press the Battery Button to release
Battery Pack from the Charger.
WARNING! TO AVOID SERIOUS INJURY:
Do NOT use a different Charger or
Battery Pack to power this Drill.
 Loading...