“A A”S ize /L R 6
“A A”S ize /L R 6
“A A”S ize /L R 6
OPEN
Charging the Unit with the Dynamo Hand-Crank
Make sure both the radio and the ashlight are turned to the O position before
using the Dynamo Hand-Crank.
Pull the Dynamo Hand-Crank outwards from the back of the unit.
Crank the handle at a speed of approximately 2 turns per second.
The Battery Indicator will turn red to indicate charging.
Turning the handle slower than the recommended speed will result in the
battery not receiving a charge.
NOTE: When using the unit for long periods of time, it is recommended to shut
o both the ashlight and radio and recharge the battery to full capacity before
continuing use.
NOTE: To preserve the battery, charge the unit using the Dynamo Hand-Crank at
least once a month.
Copyright © 2013 Digital Products International (DPI, Inc.) All other trademarks appearing herein are the property of their respective owners. Specications are subject to change without notice.
Playing the AM/FM Radio
Turn the FM/AM/WB switch to the AM or FM position.
Turn the Volume dial to turn on the radio and set the desired volume.
Adjust the Tuning dial to tune the radio.
Radio Reception
Adjust the position of the Telescopic FM Antenna to improve
FM radio reception.
An AM antenna is built into the unit. To improve AM radio reception,
adjust the position of the unit.
Playing Weatherband
Turn the FM/AM/WB switch to the WB position.
Turn the Volume dial to turn on the radio and set the desired volume.
Adjust the Tuning dial to tune one of the indicated weatherband frequencies.
Connect a 3.5mm audio cable (not Included) to the 3.5mm Audio Input on
the unit and other audio device.
Turn the Volume dial to power the unit on and set the desired volume.
Use the native controls on the connected audio device to play your audio
through the unit.
When not in use, make sure to disconnect the 3.5mm audio cable.
RADIO
LINE INPUT
CHARGING THE UNIT
POWER
CHARGING CONNECTED DEVICES
Charging a Device with the Dynamo Hand-Crank
Using a USB charging cable (not included), connect one end to the device and
the other to the USB Charger on the unit.
Make sure both the radio and the ashlight are turned to the O position
before using the Dynamo Hand-Crank.
Pull the Dynamo Hand-Crank outwards from the back of the unit.
Crank the handle at a speed of approximately 2 turns per second.
The device will charge slowly.
Note: To charge an iPhone in an emergency situation, crank the handle
continuously for 5-10 min.
Charging a Device with AC Power
Using a USB charging cable (not included), connect one end to the device and
the other to the USB Charger on the unit.
The device will now charge.
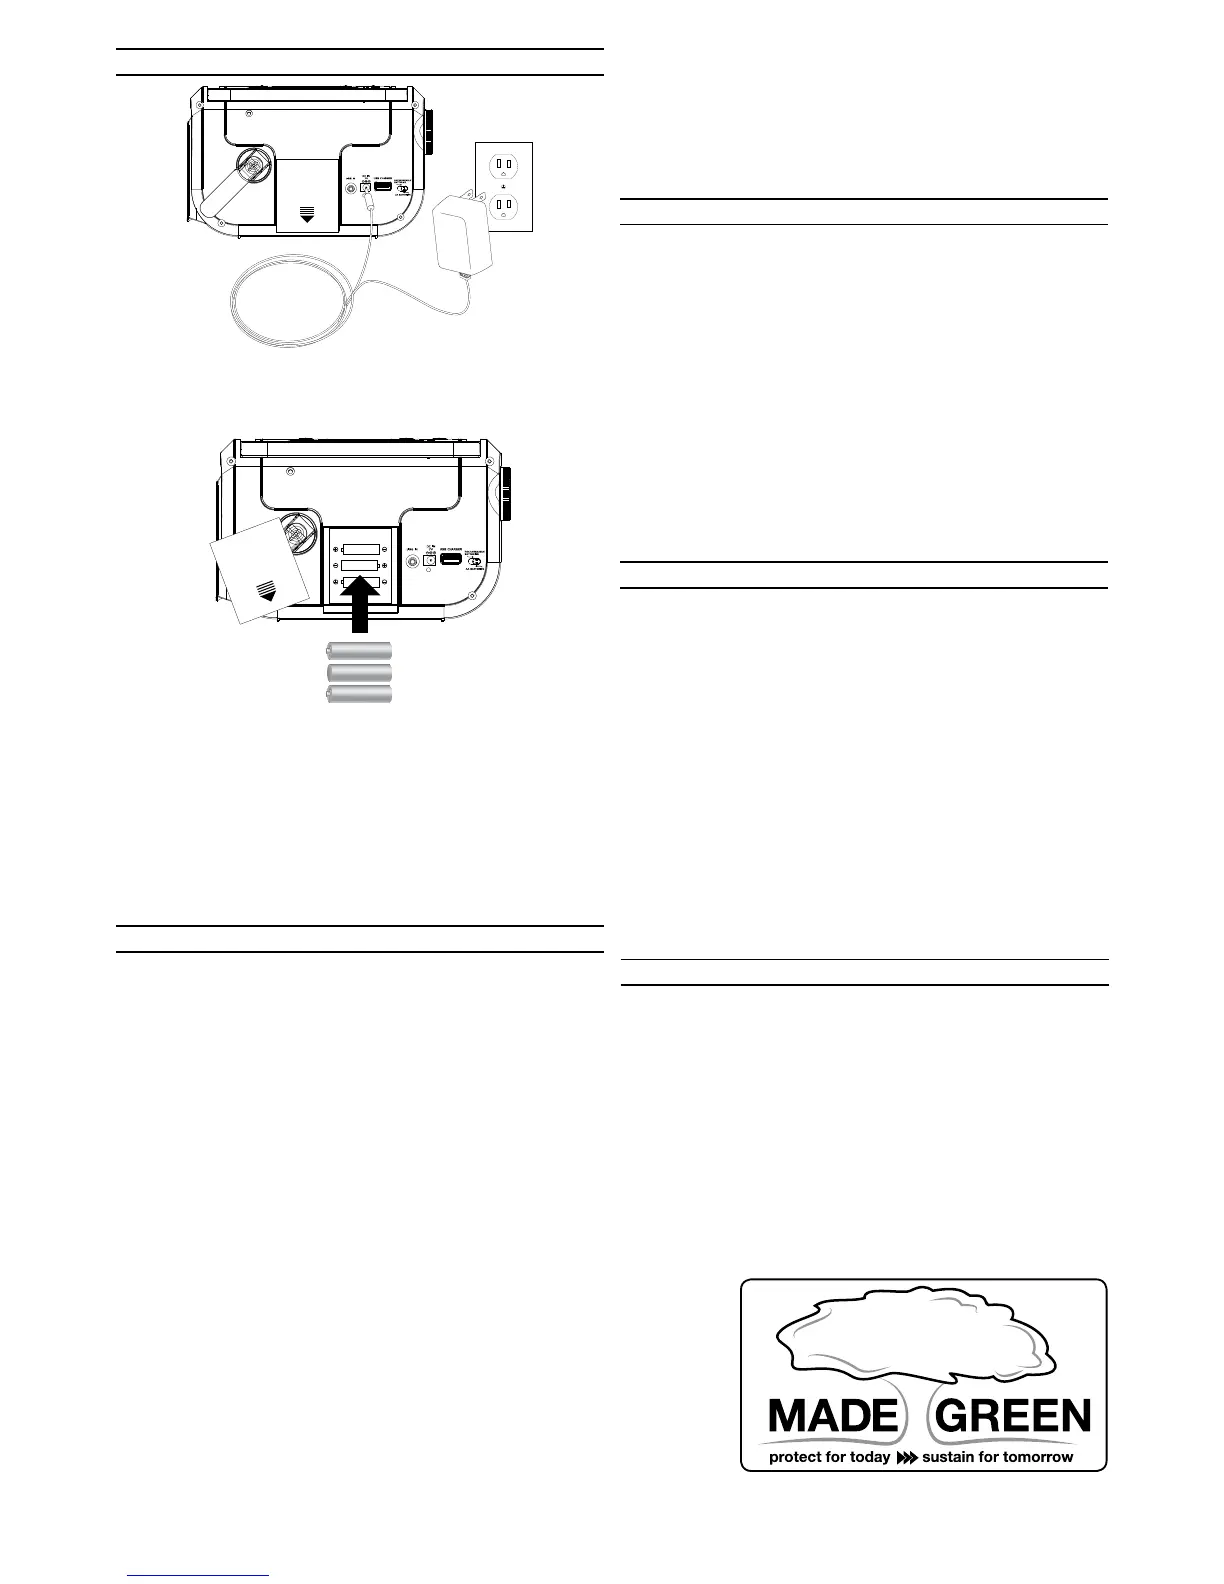
AC Power
To power the unit, plug one end of the included AC/DC adaptor into the unit
and the other into a standard AC outlet.
AA Battery Power
Requires 3 AA batteries (not included).
Turn the Battery switch to the AA Batteries setting.
Internal Battery
Turn the Battery switch to the Rechargeable Batteries setting. The Battery
Indicator will turn red to indicate charging.
Note: Using the Dynamo Hand-Crank will recharge the internal battery or slowly
charge connected devices.
“AA ”Size /LR 6
“AA ”Size /LR 6
“AA ”Size /LR 6
OPEN
Charging the Unit with Solar Power
Pull the Solar Panel outwards from the side of the unit, and face the panel
upward toward direct sunlight and turn the unit o.
The internal battery will charge once the solar panel detects enough sunlight.
Note: To fully charge the unit on solar power alone may take 15+ hours depending
on weather conditions.

 Loading...