FILLING THE OIL TANK
1. Place the chainsaw on a flat, solid surface with the oil filler cap facing upwards.
2. Clean the area around the oil filler cap with a suitable cloth.
3. Unscrew the oil filler cap.
4. Add chainsaw oil, until the reservoir is full.
5. Avoid dirt or debris from entering the oil tank.
6. Refit the oil filler cap and tighten sufficiently.
CAUTION
To allow venting of the oil reservoir, small breather channels are provided between the oil filler cap and the
strainer. To prevent leakage, ensure the machine is left in a horizontal position (oil filler cap uppermost)
when not in use. It is important you only use recommended oil to avoid damage to the chainsaw.
Never use recycled or old chain oil. Use of non-approved oil will invalidate the manufacturer’s warranty.
OPERATION
STARTING THE MACHINE
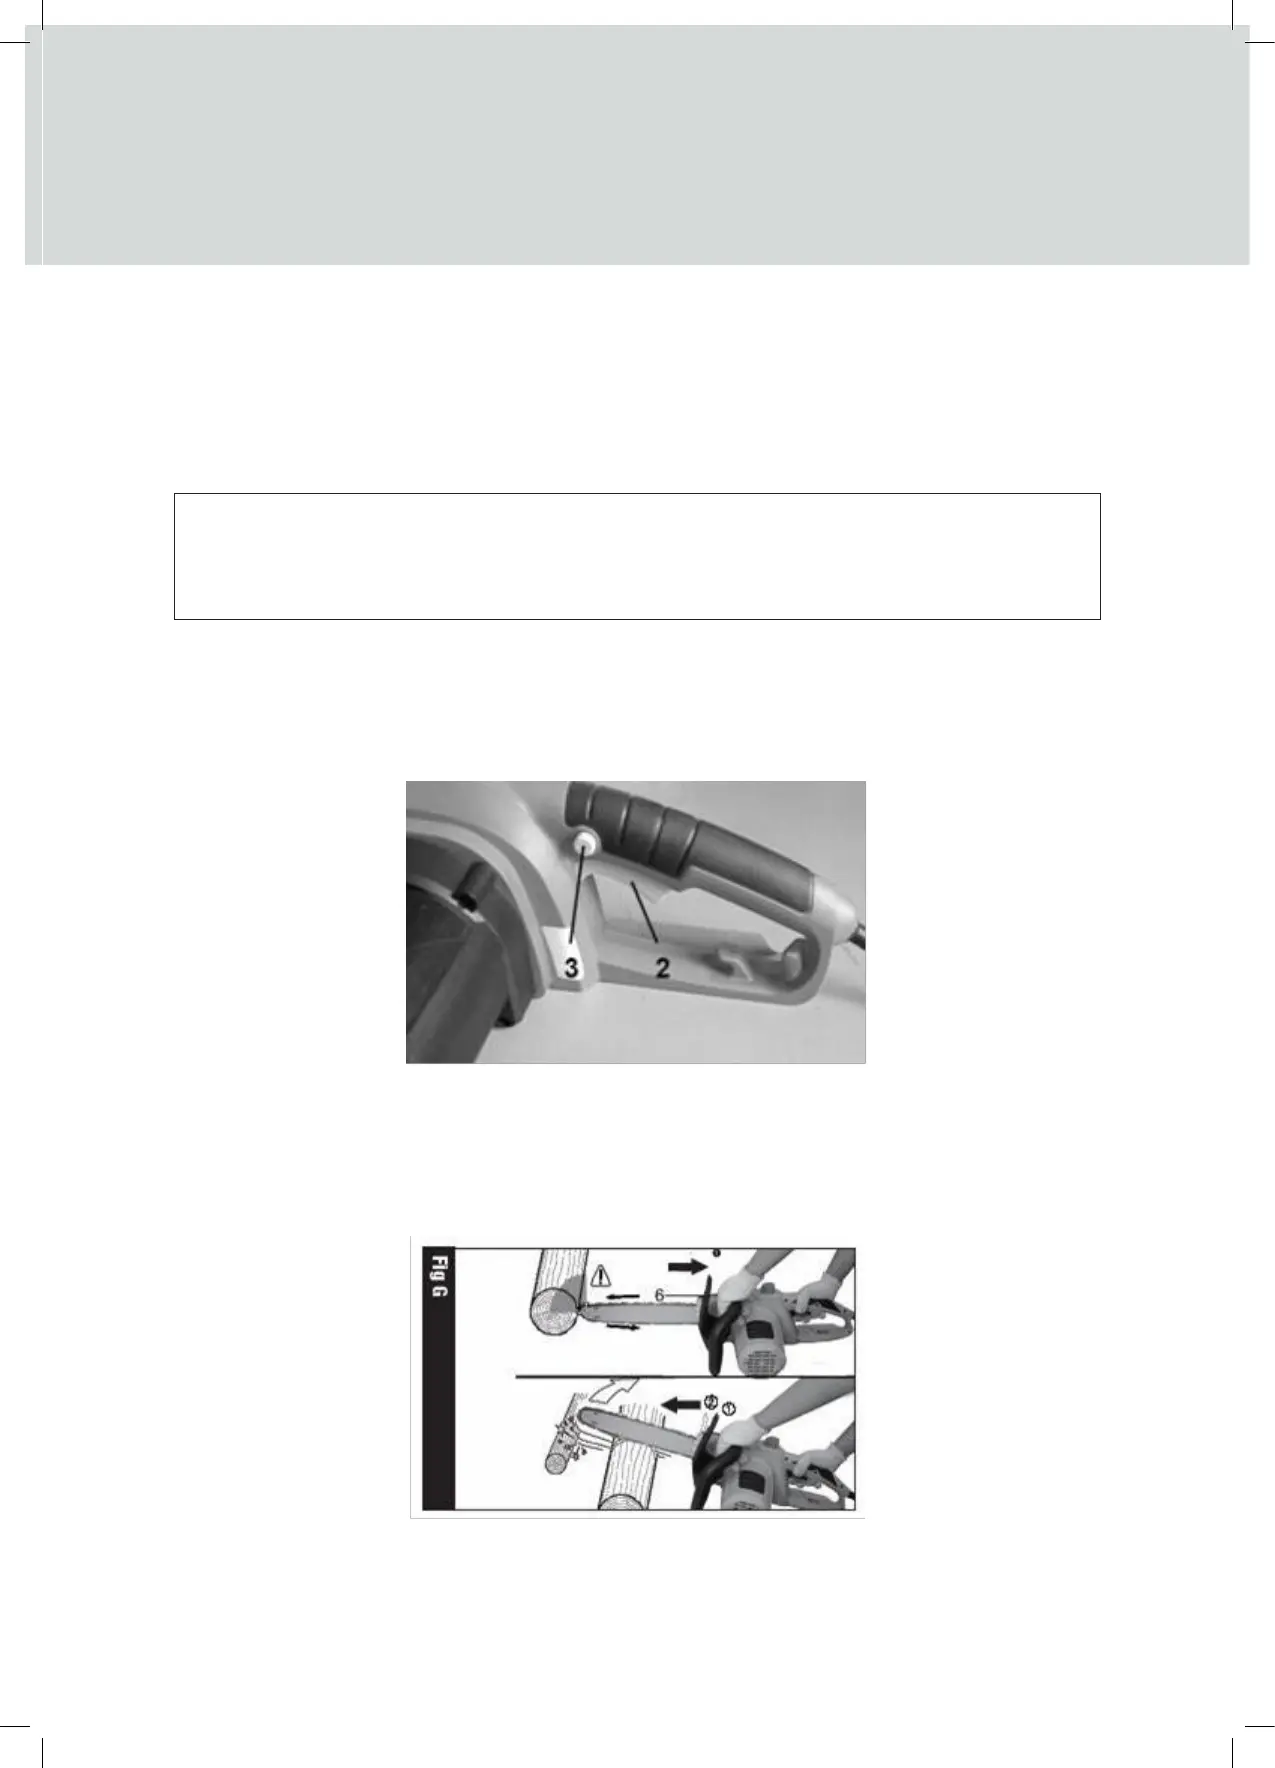
1. Using your right hand, press the safety button (3) with your thumb.
2. Then fully press the throttle trigger (2) with your index finger.
3. The safety button (3) can now be released.
CHAIN BRAKE
The chain brake is a safety mechanism activated through the front hand guard when kickback occurs. The
chain stops immediately.
The following function check should be carried out at regular intervals.
1. Push the front hand guard forwards and start the chainsaw.
2. The chain MUST NOT rotate.
3. To deactivate the kickback brake, pull the hand guard backwards and release the throttle trigger.
STOPPING THE MACHINE
1. To stop the machine, release the throttle trigger (2).
2. Do not stop the chainsaw, by activating the front hand guard (chain brake).
CAUTION
The chain is not yet tensioned; do not attempt to use the machine, until the assembly instructions are
completed thoroughly.
CHAIN TENSION
Always check the chain tension before use, after the first cuts and regularly during use, approx. every 10
minutes. Upon initial operation, new chains can lengthen considerably.
WARNING
Unplug the chainsaw from the power source before adjusting the chain tension
Cutting edges on the chain are extremely sharp. Always use protective gloves when handling the chain.
Always maintain proper chain tension. A loose chain will increase the risk of kickback. A loose chain may
jump out of the guide bar groove, which may injure the operator and damage the chain, chain bar and drive
sprocket, beyond repair.
The life of a saw chain will rely on sufficient lubrication and correct tensioning.
Avoid tensioning the chain if it is hot. This will cause the chain to be over tensioned, when it cools down.
1. Place the chainsaw on a flat, solid surface.
2. Rotate the locking knob/chain tensioning knob clockwise, until the locking knob is screwed tightly. The
correct chain tension will be reached automatically. The ratchet mechanism prevents the chain tension
from loosening.
3. The correct chain tension is reached when the chain can be raised 3-6mm from the centre of the chain
bar. This should be done, by using one hand to raise the chain against the weight of the machine.
4. If the chain loses tension, unscrew the locking knob/chain tensioning knob completely. Then screw on the
cover plate with the locking knob tightly again.
LUBRICATION
CAUTION
The Chainsaw IS NOT supplied filled with chain oil. It is essential to fill the oil canister with chain oil before
use. We recommend the use of Handy Parts Chainsaw Oil (HP-177 - 500ml/HP-146 - 1 litre)
Never operate the chainsaw without chain oil or at an empty oil tank level, as this will result in extensive
damage to the product, not covered by the manufacturer’s warranty.
Chain life and cutting capacity depend on optimum lubrication. Therefore, the chain is automatically oiled
during operation via the oil outlet.

 Loading...