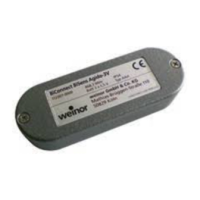
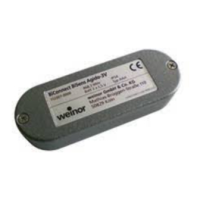
Item number 117879-0000 We reserve the right to make technical changes
BiConnect BiSens Agido-3V
when inserting
the batteries.
or
press key if no
receiver in the bidirectional
receiver is being paired.
mode selected;
Compatibility
mode for sys-
tems operated
using a Remoto
hand transmitter.
If none of the keys are pressed when inserting the
batteries, the receiver will determine the mode the first
time it is programmed.
If an incorrect mode is active, the sensor will need to
Check that the batteries have been correctly in-
serted
To perform the next step, hold the sensor as shown.
This will make it easier to follow the description.
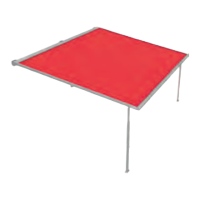
On a preset hand transmitter, select the channel used
to operate the folding arm awning.
down the LEARN key on the
back of the hand transmitter
at the same time as the UP
and DOWN keys on the front
for at least 3 seconds.
If the awning moves UP and
DOWN, go to Point 8.
If the awning does not move
UP and DOWN, go to Point
7.
The remote receiver now enters the programming
mode for about 2 minutes. During this time the awning
will move up for 4 seconds then down for 4 seconds.
STOP/P key
on the
Agido-3V for 3
seconds until the
orange transmitter
LED flashes quickly.
The awning will now
move UP and
DOWN for 2
minutes.
If the system is in
programming mode, the orange transmitter LED will
flash quickly every time the key is pressed.
Immediately after the awning starts moving up (within
the first second), press the UP key on the
Agido-3V. The drive will briefly stop to confirm the
command.
If the receiver does not confirm the command, simply
repeat this step on one of the next cycles.
Immediately after the awning starts moving down
(within the first second), press the DOWN key
on the Agido-3V. The drive will stop.
Function check / Set threshold value:
On pressing the UP key on the Agido-3V,
the awning should retract.
On pressing the DOWN key
on the Agi-
do-3V, the awning should extend (into sun protection
position).
If it does not move in the correct direction, the Agido-
3V must be deleted from the receiver and pro-
grammed again according to Steps 3 – 9. When doing
so, pay special attention to the awning direction.
Set the threshold value to a low level, e.g. 1.
When the sensor is very gently shaken, the awning
should retract immediately.
It is NOT possible to stop the awning moving using the
STOP key on the hand transmitter.
Now set the threshold value for regular use to a less
sensitive level.
We recommend that you select threshold value 4 or 5
to begin with.
If the awning retracts too early when in use, the value
Reattach the sensor cover and seal and tighten the
Check that everything is correctly installed and work-
ing properly by setting the drop profile in motion at the
 Loading...