Instructions for Assembly
Item number 116519-0000 Subject to technical modifications
Version 4 23.04.2014 Page 29/47
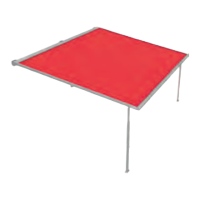
Cassita II/Cassita II LED
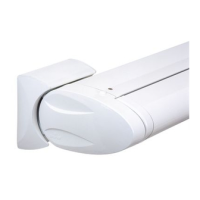
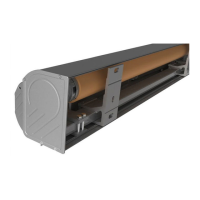
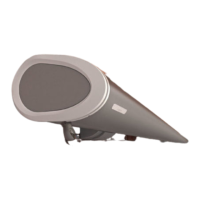
5.6 Assembling the light bar
The width of the LED light bar ensures that the wall brackets have to be pushed onto
the left and right of the end pieces of the LED light bar as far as they will go.
This means that, once the awning is attached, the adjusting bracket/headplate is flush
with the wall bracket.
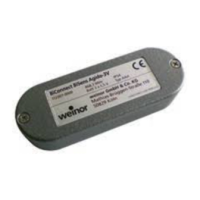
Please refer to the LED light bar assembly instructions for information on the electrical
connection for the LED light bar.
1. Mount the wall bracket
1. Mark holes to be drilled,
drill holes and install bracket on
wall. Affix the bracket using 3
screws.
2. Align the wall bracket.
2. Mount the light bar
1. Slide the light bar into the wall
bracket as far as it will go.
2. Slide the second wall bracket onto
the light bar.
3. Mark holes to be drilled, drill holes
and screw the light bar onto the
wall.
4. Align the wall brackets with the light
bar.
3. Attach the awning See Section 5.2.1, point 3
4. Mount the clamp parts on the wall
bracket
See Section 5.2.1, point 4
5. Mount wall bracket cover caps and
wall bracket cover profile
See Section 5.2.1, point 5

 Loading...