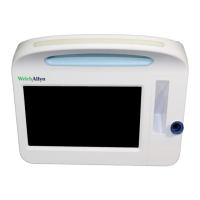
Note If you loosened the monitor mounting bracket in order to
open the USB door, shift the monitor forward on the bracket
as you did in step 1, close the door, and then slide the
monitor back into its mounted position. Ensure that the
monitor is seated firmly on the bracket, then tighten the
screw on the bracket into the screw hole on the back of the
monitor. (See "Mount the monitor on a stand" in this section
for more detail.)
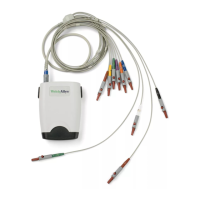
Note Some accessories require a license to enable them for use. These
accessories are packaged with an authorization code and instructions for
activating the license using the Welch Allyn Service Tool. For more
information, refer to the instructions and the service tool installation guide.
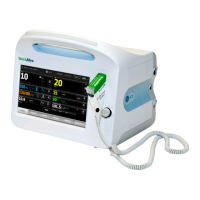
Detach a USB accessory
1. On the rear of the monitor, loosen the screw on the USB door and open it.
2. Detach the accessory's USB cable from USB port on the monitor.
3. Close the door and tighten the screw.
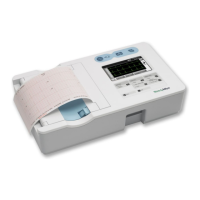
Insert a new roll of paper
The printer is located on the top of the monitor. Follow these steps to insert the roll of
printer paper:
1.
Grasp the two tabs on the printer door and pull up to open.
2. Insert a new roll of paper.
Note The paper roll must be installed so that it unwinds from the
bottom of the roll, as illustrated. If the paper roll is not
installed correctly, the printer will not print properly.
3. Advance the end of the roll past the roller so that it extends past the printer door, as
shown.
Directions for use Setup 39
 Loading...