ASSEMBLY & ADJUSTMENTS
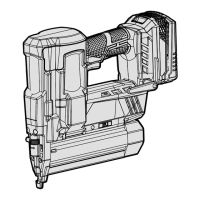
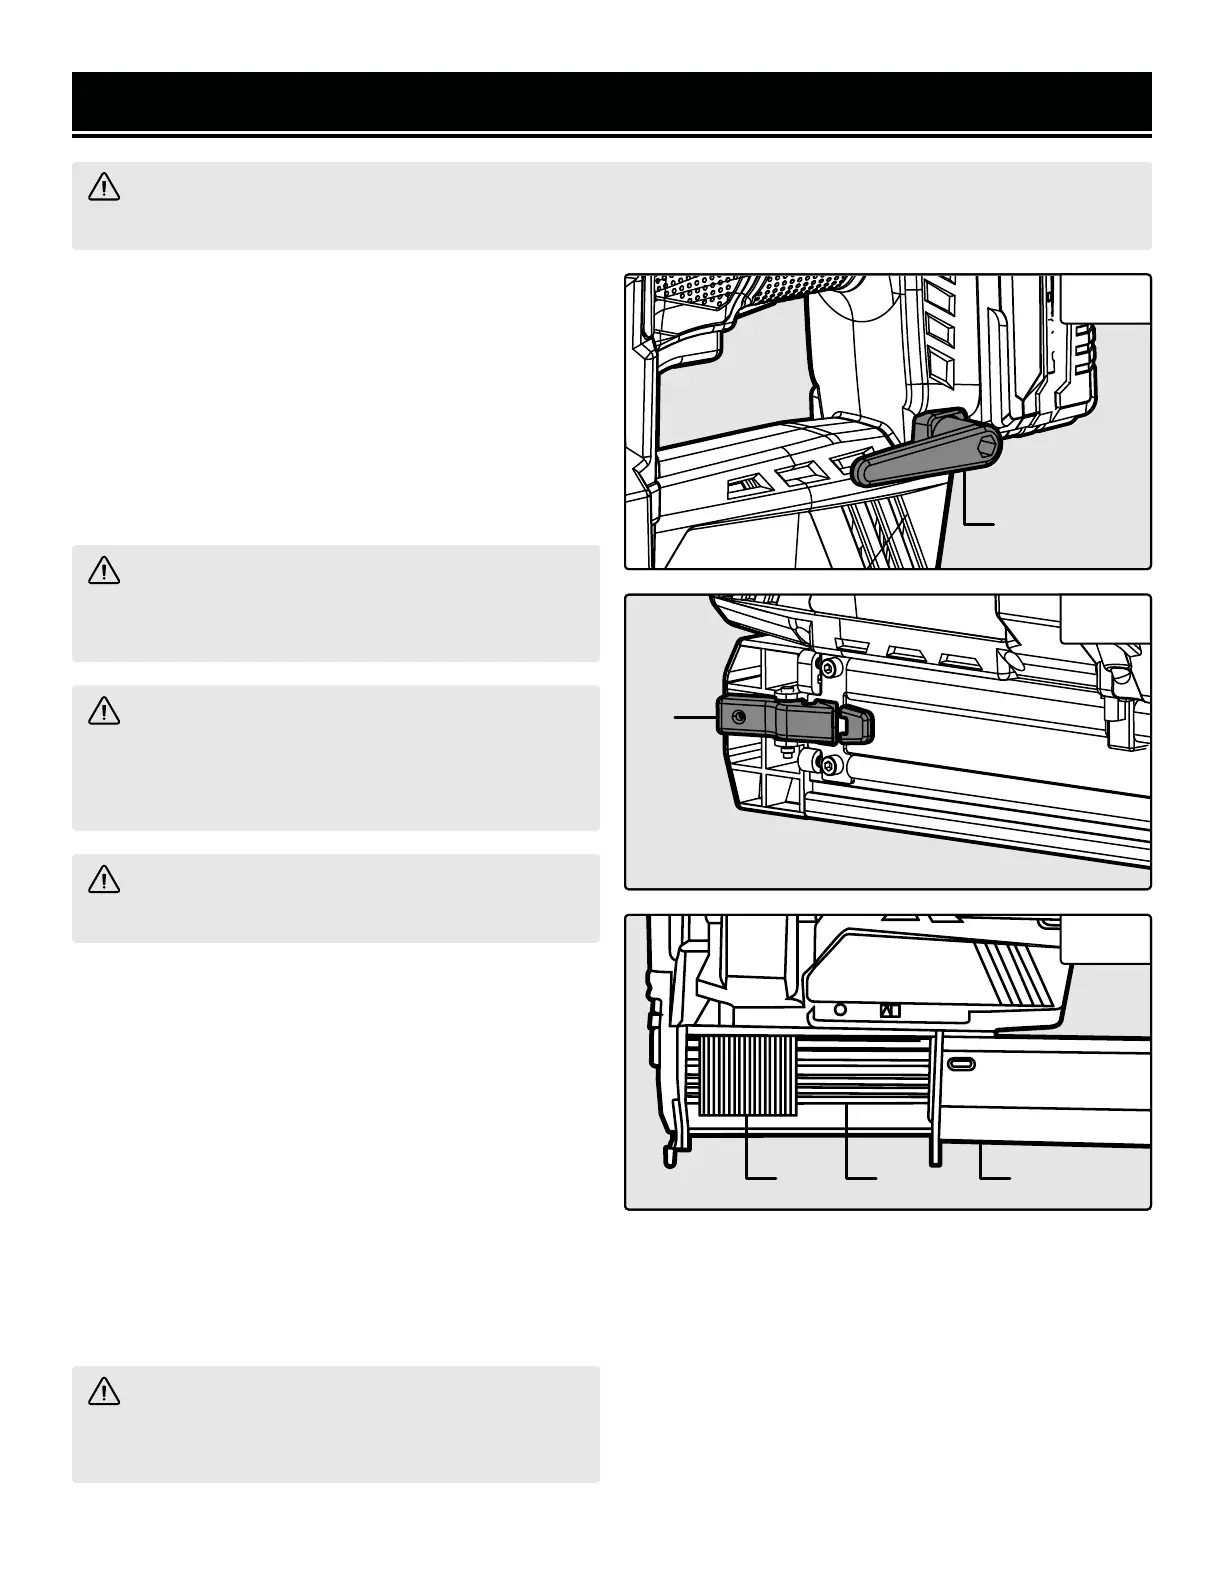
ADJUSTING THE BELT HOOK
1. Using a screwdriver (not included), loosen the belt
hook screw by turning it counterclockwise.
2. Rotate the belt hook (Fig. 1- 1) to your desired posi-
tion.
3. Using a screwdriver (not included), tighten the belt
hook screw by turning it clockwise. Make sure that the
belt hook is secure before beginning operation.
Fig. 1
WARNING! To avoid injury from accidental start-
ups, make sure that the tool is OFF and the battery is
removed from the nailer when loading fasteners.
LOADING & UNLOADING FASTENERS
1. Unlock the magazine latch (Fig. 2 - 1) and pull back on
the magazine cover (Fig. 3 - 1).
NOTE: Your nailer is designed to work with 18-gauge
brad nails 3/4” to 2” long. Up to 100 fasteners may be
loaded in the magazine.
2. Place a clip of nails (Fig. 3 - 2) onto the magazine rail
(Fig. 3 - 3), with the nail tips pointing downwards. Make
sure the nail tips are against the bottom of the magazine.
3. Push the magazine cover forward until it clicks shut.
Make sure it is locked in place and the magazine latch is
secure before beginning operation.
WARNING! To avoid injury from accidental startups, make sure that the tool is OFF and the battery is re-
moved when assembling the tool or when making any adjustments.
WARNING! Only use fasteners that are recom-
mended for the tool. Using fasteners that do not
match the specifications of the tool can result in per-
sonal injury or damage to the tool.
WARNING! Hold the nailer with the magazine at
your side. NEVER point the tip at yourself or others.
Fig. 2
Fig. 3
WARNING! Always unload the fasteners once
you’ve completed operation. The tool should not be
loaded when it is not in use.
1
1
132
11
 Loading...