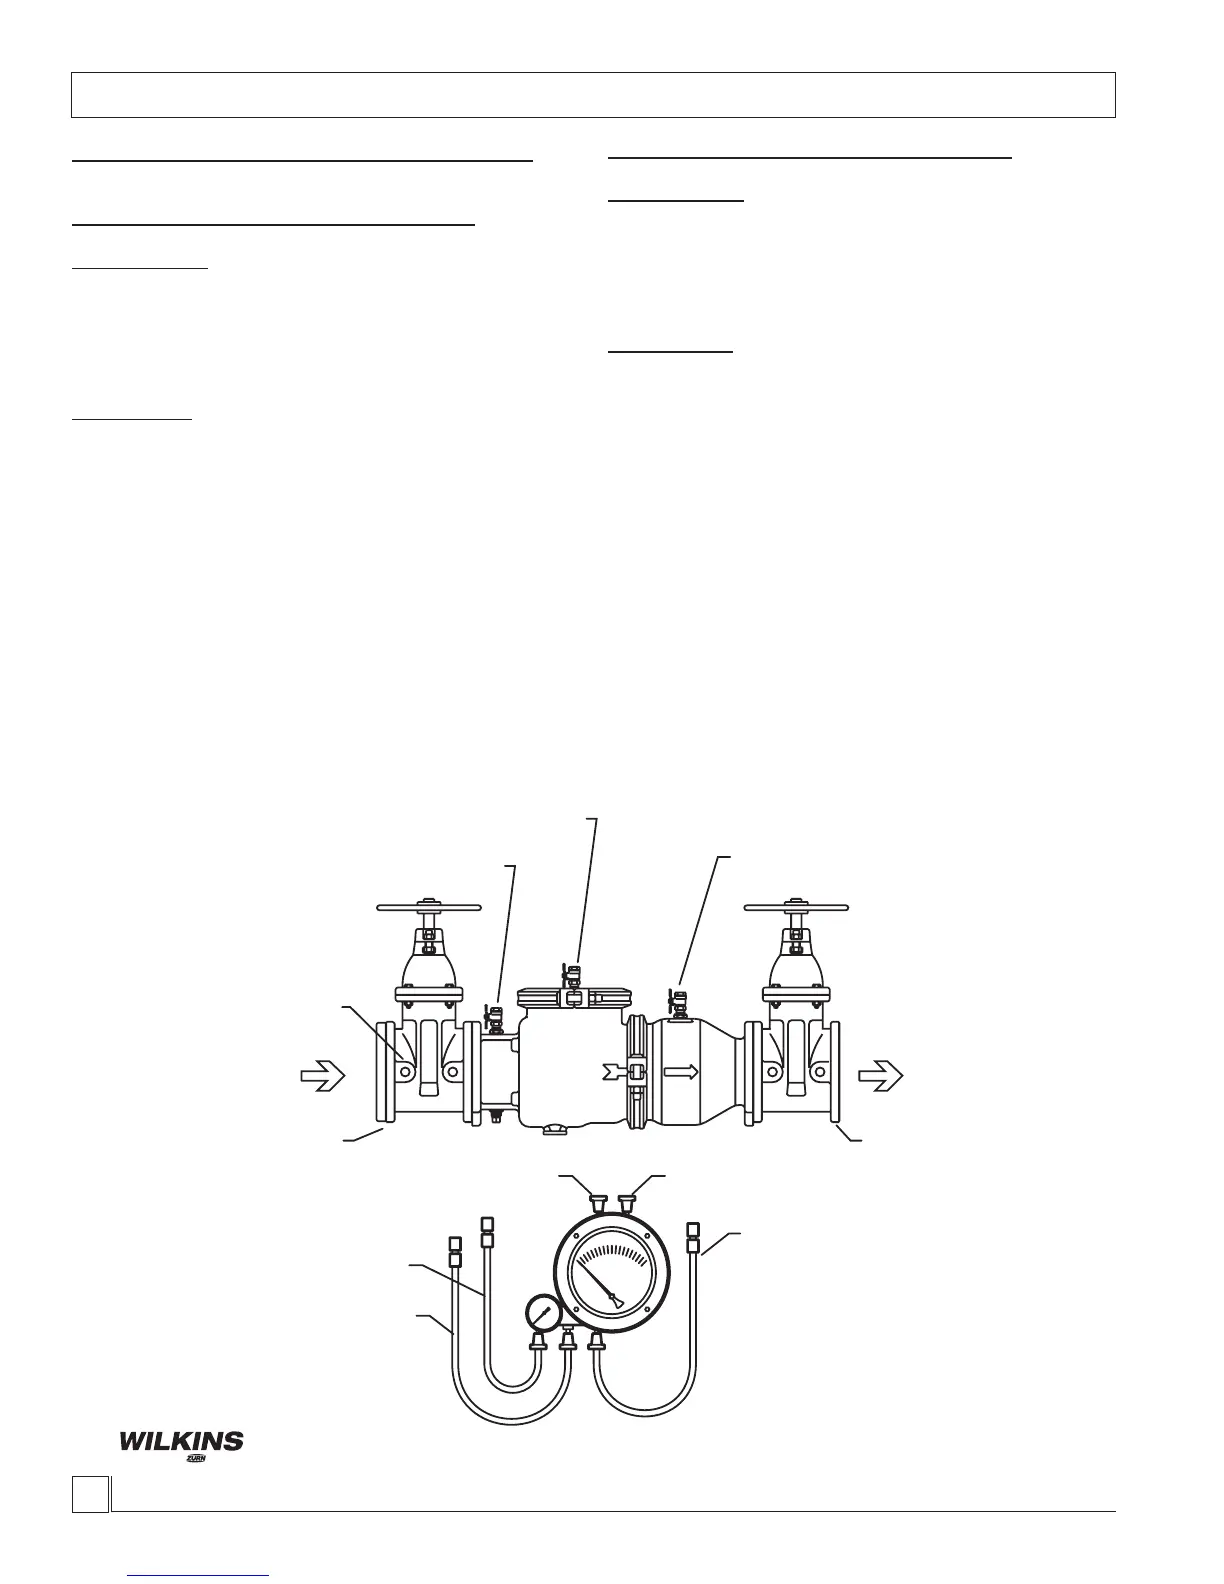
VENT HOSE
LOW SIDE HOSE
HIGH SIDE HOSE
LOW SIDE BLEED
NEEDLE VALVE
#1 TEST COCK
#4 TEST COCK
#3 TEST COCK
#2 TEST COCK
#2 SHUT-OFF
VALVE
#1 SHUT-OFF
VALVE
HIGH SIDE BLEED
NEEDLE VALVE
Testing Procedures
2
WILKINS, a ZURN company
1747 Commerce Way, Paso Robles, CA 93446 Phone:805/238-7100 Fax:805/238-5766
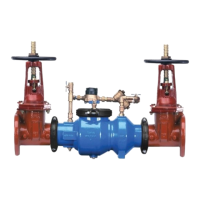
MODEL 350 DOUBLE CHECK VALVE ASSEMBLY
Equipment Required: Differential pressure gauge test kit.
TEST NO. 1 - TIGHTNESS OF #1 CHECK VALVE
REQUIREMENT:
The static pressure drop across check valve #1 shall be at least
1.0 psid. If test cock #3 is not at the highest point of the check
valve body, then a vertical tube must be installed on test cock #3
so that it rises to the top of the check valve body.
PROCEDURE:
1. Slowly open all 4 test cocks to remove any foreign material
and attach ttings.
2. Attach hose from the high side of the test kit to the #2 test cock.
3. Open test cock #2 and bleed all air from the hose and gauge
by opening the high side bleed needle valve. Close high side
bleed needle valve. If a tube is attached to test cock #3, open
test cock #3 to ll the tube. Close test cock #3. Close #2
shut-off valve then close the #1 shut-off valve.
4. Hold gauge at same level as test cock #3 or water level in tube.
Slowly open test cock #3. Record the static pressure drop
across check valve #1 after gauge reading stabilizes and
water stops running out of test cock #3.
5. Close all test cocks, open shut-off valve #1 and remove test
equipment.
TEST NO. 2 - TIGHTNESS OF #2 CHECK VALVE
REQUIREMENT:
The static pressure drop across check valve #2 shall be at least
1.0 psid. If test cock #4 is not at the highest point of the check
valve body, then a vertical tube must be installed on test cock #4
so that it rises to the top of the check valve body.
PROCEDURE:
1. Attach hose from the high side of the test kit to the #3 test cock.
2. Open test cock #3 and bleed all air from the hose and gauge
by opening the high side bleed needle valve. Close high
side bleed needle valve. If a tube is attached to test cock
#4, open test cock #4 to ll the tube. Close test cock #4.
Close #1 shut-off valve.
3. Hold gauge at same level as test cock #4 or water level in
tube. Slowly open test cock #4. Record the static pressure
drop across check valve #2 after gauge reading stabilizes and
water stops running out of test cock #4.
4. Close all test cocks, slowly open shut-off valve #1 & #2 and
remove test equipment.
 Loading...