Press Menu on
your remote.
Select option 6,
System Setup.
Select option 1,
Installation.
Select option 1,
Point Dish.
Select
Check
Switch
.
With the antenna still
turned off, select
Test.
It will go through a number
of steps, then return to
the screen shown here
with previous information
cleared. If at any point it
asks you to save, select
Save or Yes.
Next, select
Test again.
This time it will install the
proper switch for use with
the Carryout antenna. Once
the steps are complete, you
will see a similar screen to
what is shown to the right.
The wording and look used
in your receiver
may differ
slightly. Press Menu, then
select Parental, Fav’s &
Setup.
Then select
System Setup.
In your Receiver’s Menu,
you will need to identify
the
Satellite Menu.
Once there, find the option
for Satellite Setup.
Select the option for
3 LNBs or 3 Satellites.
If given the option of
SWM or Multiswitch,
select Multiswitch.
The receiver will
automatically verify
your setup.
You may see errors
for certain satellites
during this step, but
that is normal.
DISH Receiver Setup DIRECTV Receiver Setup
BEFORE turning the antenna on, follow the steps
below to clear any existing receiver settings.
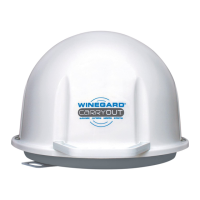
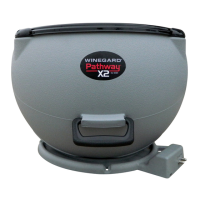
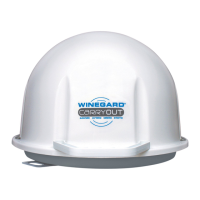
Now turn on the Carryout antenna. Allow it 3–4 minutes to acquire satellites.
When you see SW64 as the Installed Switch, the Carryout antenna is ready for use. The Carryout antenna is now ready for use.
Check out online receiver setup guides for your antenna at
www.winegard.com/receivers/setupguide.php.
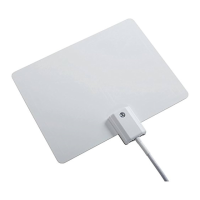
Plug in the antenna and allow it a few minutes to acquire
the satellites. Then, follow the steps shown below.
Check out online receiver setup guides for your antenna at
www.winegard.com/receivers/setupguide.php.
 Loading...