79
• For non-DISH Pro receiver models 1000, 2000, 3000, 4000, 5000, JVC D-VHS, 7100, and
7200, this screen should identify the installed switch as an SW21 4Sat. You should see all of
the satellites received by your system from switch ports 1 through 3 (except FSS satellites) on
the Satellite line, and the words Even and Odd under the Dish Input numbers. You should
also see the message Satellite reception verified.
Figure 5. Non-DISH Pro Installation Summary
4. If you do not see the information as described in step 3 of this procedure, you will need to
check all cables and switches, and then run Check Switch again. Select Details for
information that may be helpful in troubleshooting the problem or in reporting it to the DISH
Network Customer Service Center.
Adding More Switches
You can install two additional DISH Pro or DISH Pro Plus switches to the system, to support up
to 12 satellite receivers total. Add the switches by repeating the previous installation
instructions except connect the ports marked TO DISH on each added switch to the ports
marked TO ADDITIONAL SWITCHES on an installed switch. See Figure 6.
Note: You must use the same group of trunk ports on each switch throughout the system.
However, cables can be connected to any port in the group. For example: If TO DISH
port numbers 1 through 3 are connected on the first switch, you must connect all switches
together using ports 1 through 3.
Very important!
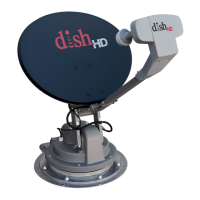
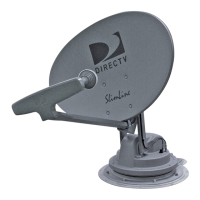
The TRAV’LER antenna, for DISH Network will see the 119 the 110 and the 129 satellites only.
These will be the three you will see on the installed switch screen.
 Loading...