Operation 13
MAN1298 (4/02/2020)
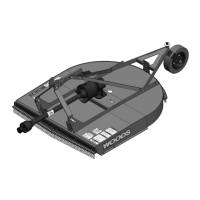
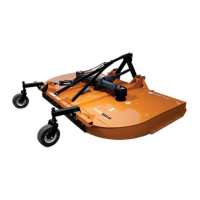
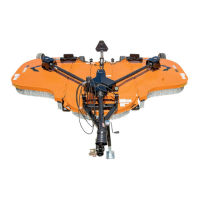
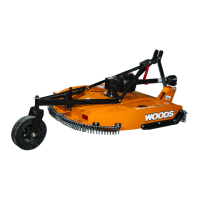
ATTACHING CUTTER TO TRACTOR
Figure 2. Standard Hitch and Quick Hitch Configurations
Quick Hitch
1. Break link pivot must be located in rear location.
2. Install quick hitch sleeves over hitch pins and
secure with klik pin.
3. Attach tractor with the quick hitch to the cutter and
secure according to the quick hitch manufacturer’s
instructions.
DRIVELINE ATTACHMENT
Make sure driveline will not bottom out at the short-
est length and that it has at least 4" overlap at the
longest length.
Attach the cutter to the tractor 3-point hitch (or quick
hitch if available). Do not attach driveline. Raise and
lower cutter to determine maximum and minimum dis-
tance between the tractor PTO shaft and the gearbox
input shaft. If the distance is too large, the driveline will
be too short for proper engagement. If distance is too
small, the driveline may bottom out in operation and
damage the cutter or tractor.
There must be at least 4 inches of engagement at the
cutter’s lowest possible point of operation.
If driveline is too short, please call your Woods dealer
for a longer driveline.
The driveline must not bottom out when raised to the
maximum height possible.
If driveline is too long, please follow the instructions for
shortening the driveline.
INSTALLATION AND REMOVAL
OF DRIVELINE (TRACTOR PTO)
To Install:
Pull locking collar back and at the same time push
driveline onto tractor PTO shaft until locking device
engages.
To Remove:
Hold driveline into position, pull locking collar back, and
slide driveline off tractor PTO shaft.
Figure 3. Lock Collar
SHORTENING DRIVELINE
1. Move cutter up and down to get the shortest
possible distance between tractor PTO shaft and
gearbox input shaft.
 Loading...