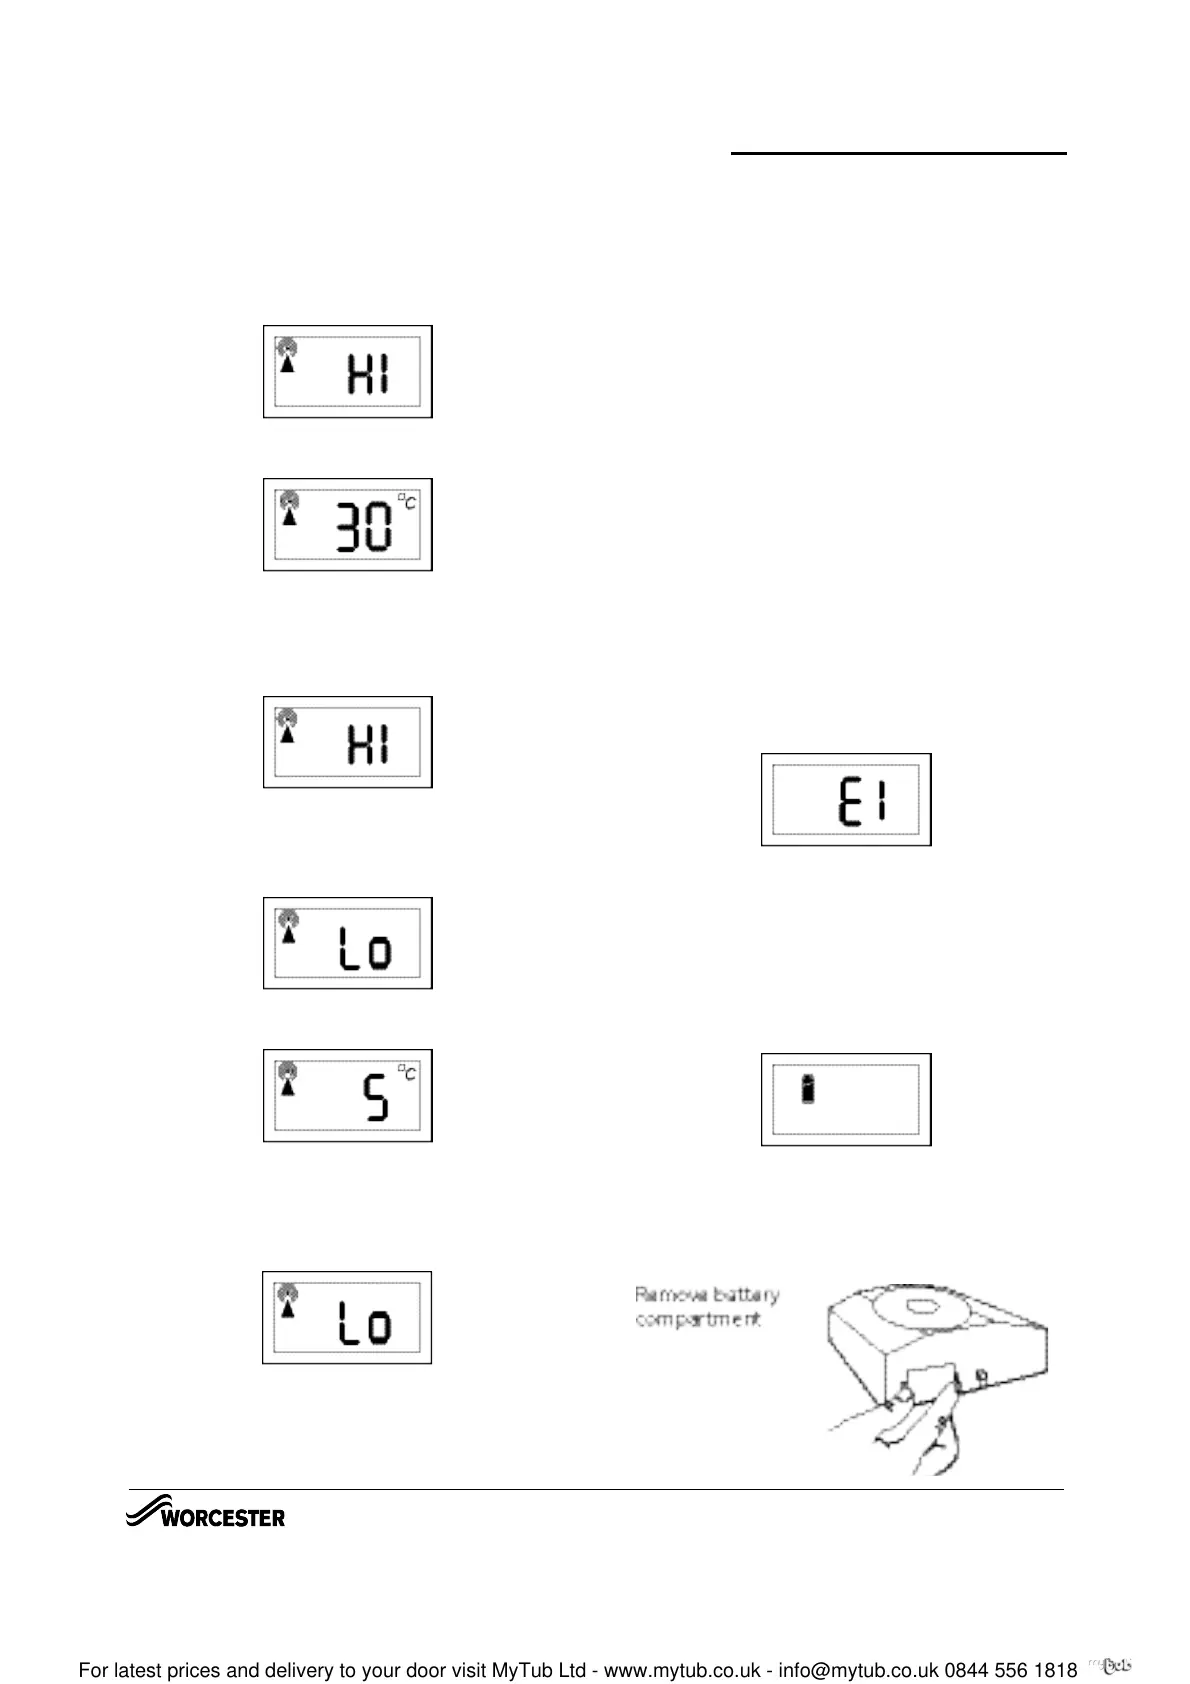
Changing the Maximum Temperature Setting
• To adjust the maximum temperature setting enter
the user menu as described above, then rotate
the dial clockwise until ‘HI’ is showing.
• Then press the Set button, the current setting is
shown.
• Rotate the dial clockwise to increase the maxi-
mum temperature setting (max. 30°C) and anti-
clockwise to reduce the maximum temperature
setting (min. 5°C or min. temp. setting). Press
the Set button to confirm, the display will show.
Changing the Minimum Temperature Setting
• To adjust the minimum temperature setting enter
the user menu as described above, then rotate
the dial clockwise until Lo Is showing.
• Then press the Set button, the current setting is
shown.
• Rotate the dial clockwise to increase the mini-
mum temperature setting (max. 30°C or max.
temp. setting) and anti-clockwise to reduce the
minimum temperature setting (min. 5°C). Press
the Set button to confirm, the display will show.
When adjusting the settings within the menu, if the
maximum or minimum possible setting are reached,
the display will flash to indicate you cannot adjust
the product further, e.g. you cannot set the Preset
higher than the maximum temperature setting.
To return to normal operation, either press the Set
button for more than 5 seconds or wait for 1 minute
and it will return automatically.
TAMPER PROOFING (All Models)
To tamper proof the product i.e. prevent unautho-
rised adjustment of the product set the Min. and
Max. temperatures to the same desired value.
FAULT DIAGNOSIS (All Models)
If the display shows E1, the following faults could
have occurred:
1. Internal temperature sensor has failed.
Replace the unit,
2. Ambient temperature is outside product
operating temperature range - 0°C to 50°C.
When the ambient temperature is back within the
operating range, the unit will function correctly.
BATTERY REPLACEMENT (All Models)
• When the batteries are getting low (approx. 30
days battery life remaining) the battery symbol
will flash in the display, it is recommended to
change the batteries during this period.
• After approximately 30 days, a continuous battery
symbol only will be shown in the display and the
unit will remain OFF.
Remove the battery compartment by pinching the
tabs and withdrawing down. Replace the spent
batteries with 2 x AA 1.5V alkaline batteries ensur-
ing correct orientation. Replace the battery com-
partment pressing fully home.
5
DT20RF PROGRAMMER
INSTRUCTION MANUAL
8 716 114 478a (08.07)
OPER AT I NG & INSTA L L AT I ON
INST R UCT IONS
DIGISTAT ROOM THERMOSTAT
ADVANCED SETTING