OPERATION AND SERVICE INFORMATION
3-31
Read all of manual to become thoroughly familiar with this vehicle. Pay particular attention to all Notes, Cautions and Warnings
REPLACING THE FUEL FILTER
To prevent a possible explo-
sion, do not smoke near the
fuel tank or in an area where
gasoline is being handled. Do not perform proce-
dures involving fuel system near open fire or elec-
trical items which could produce a spark.
Do not handle gasoline in an area that is not ade-
quately ventilated.
Always wear safety glasses to prevent possible
eye injury from gasoline or gasoline vapor.
To replace fuel filter, use a pair of pliers to move clamps off ends of filter
and pull filter up higher than the fuel pump to reduce the amount of gas
that will spill (Ref Fig. 24 on page 3-32). Remove hose coming from
fuel tank first and plug. Remove filter from hose going to fuel pump and
discard.
Orient direction of new fuel filter according to the
FLOW arrow on the side of filter.
Install new fuel filter and reposition the clamps over the inlet and outlet.
CHECKING THE OIL LEVEL
Tool List Qty. Required
Clean cloth............................................................................ 2
Never overfill the engine with oil,
foaming may result and oil may
enter the breather system.
When adding oil between oil changes, do not mix
brands and viscosity grades of oil. Both the oil dip-
stick and fill cap must be in place before operating the engine.
Failure to install the dipstick and fill cap will result in oil becoming
contaminated and/or oil being discharged into the engine com-
partment.
Check oil level daily before starting the engine. The vehicle must be on
a level surface with the parking brake engaged. Use a cloth to wipe
clean the oil dipstick handle and oil fill cap (Ref Fig. 24 on page 3-32).
This is necessary to prevent debris from falling into the engine.
Remove the dipstick and wipe off the entire area indicated with a clean
cloth (Ref Fig. 25 on page 3-32).
Insert the dipstick fully into the dipstick tube and remove. Examine the
level of oil on the dipstick. Oil should be at the FULL mark (Ref Fig. 26
on page 3-32).
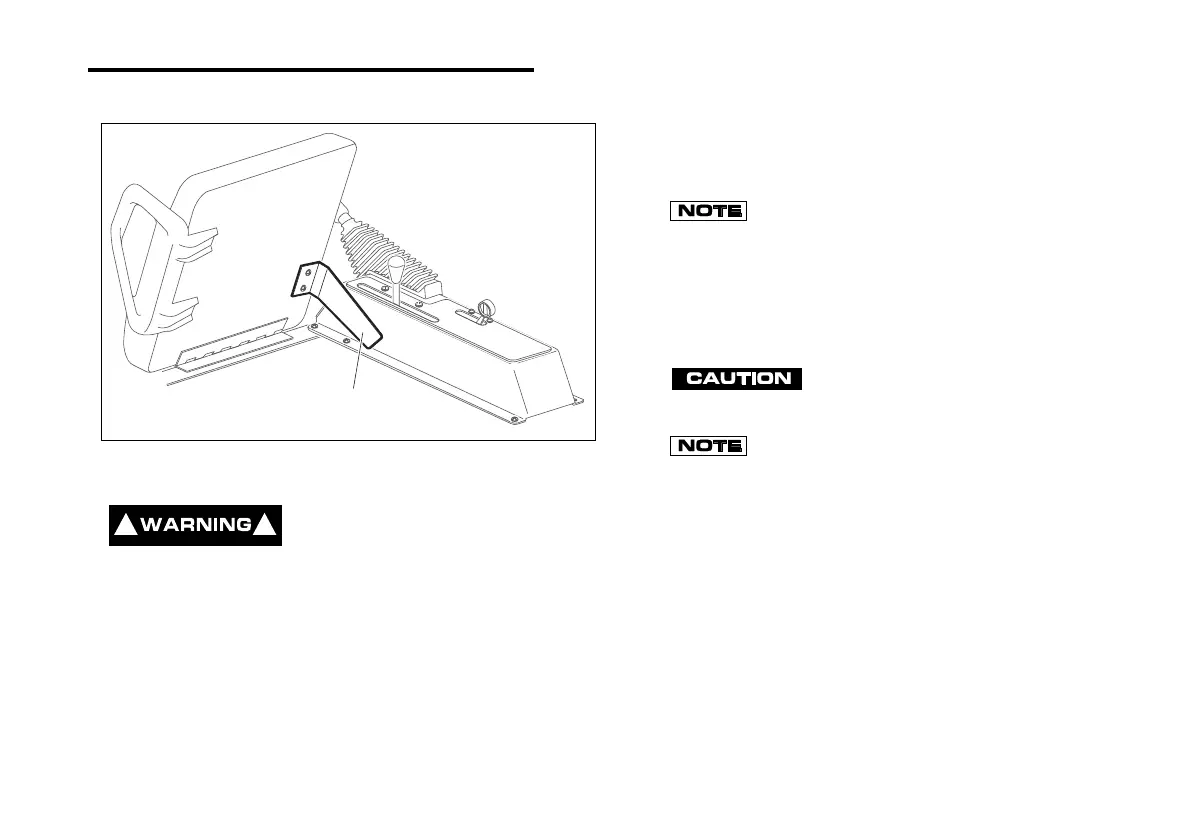
Fig. 23 Seat Prop
Seat
Prop
! !
 Loading...