11
OPERATING INSTRUCTIONS
NOTE: Before using the tool, read the instruction book carefully.
ASSEMBLY
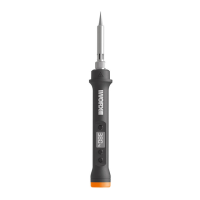
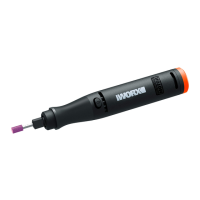
1. Assemble the crafter tips as shown in Fig. A1-A3.
2. Connect the crafter and the hub. (See Fig. B)
WARNING: Before operation, make sure the speed control button on the
hub is at the“Min“ position. (See Fig. C)
OPERATION
1. Confirm the speed control button is set to “Min”. Grasp the tool by the grip.Press
on/off switch on the hub. Then press and hold the power button on the crafter to start
working. (See Fig. D)
NOTE: The speed is fixed, and can not be adjusted by the speed control button on the
hub.
During operation, the crafter will enter into auto sleep with no movement for
approximately 5 minutes or more. The temperature will drop to 200 °C and the crafter
automatically turns off 10 minutes later. It will display “OFF”.
WARNING: During initial use, the crafter may generate a light smoke
due to elements heating, which is normal.
While the crafter is heating, DO NOT touch the metallic parts near the tip
and DO NOT remove or replace the tip.
Never operate the crafter while people, especially young children are nearby.
Be careful. The crafter remains hot after the work is concluded.
2. Press the on/off switch on the hub to turn off after use.
NOTE: Use the trestle to place the crafter when not in use.
3. Adjust temperature as needed.
Press on/off switch on the hub. Use “+” or”-” button to adjust temperature (the
temperature will increase / decrease by 10 °C each time the “+” or “-” button is
pressed).
NOTE: The temperature cannot be adjusted during the heating or cooling process.
4. Switch °F and °C as needed. (See Fig. E1, E2)
Press on/off switch on the hub. With the crafter turned off, press both “+” and ”-”
button and “UNI” will be shown on the LCD display. Then press both “+” and ”-” button
to switch the temperature mode. After selection, wait for 3 seconds and then it will
display “OFF”.
5. Your Wood & Metal Crafter comes with an optional silicon Comfort Sleeve. To