10
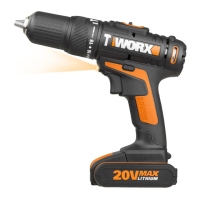
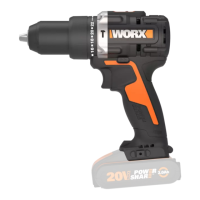
20V Cordless Drill Driver EN
vibration and noise accessories.
Plan your work schedule to spread any high vibration
tool use across a number of days.
ACCESSORIES
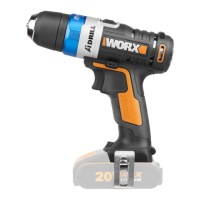
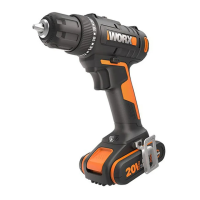
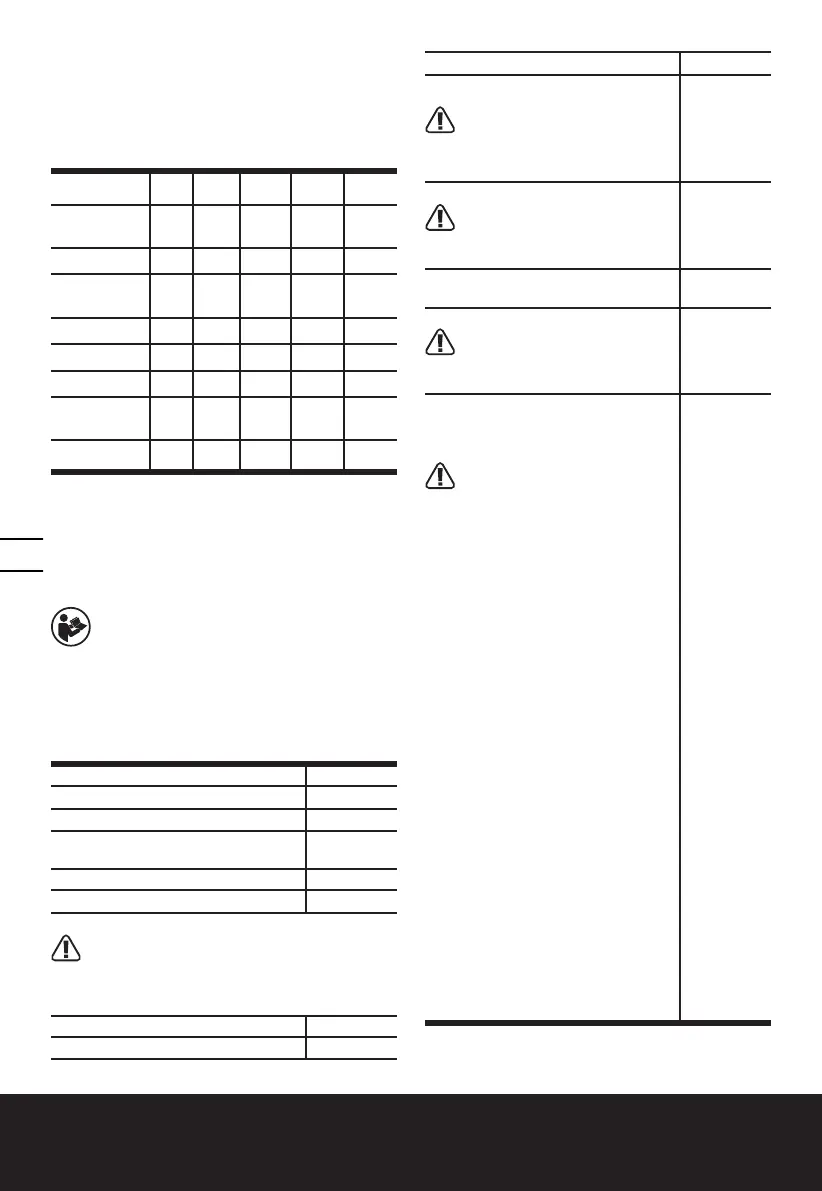
WX101 WX101.1 WX101.2 WX101.5 WX101.9
Battery pack
(WA3550.1)
2 2 / / /
Charger (WA3760)
1 1 / / /
Battery pack
(WA3551.1)
/ / 1 1 /
Charger (WA3860)
/ / / / /
Charger (WA3880)
/ / 1 1 /
Double ended bits
1 1 1 / 1
35pcs Accessories
(WA1133)
/ / / 1 /
carry bag WA0086
1 / / / /
We recommend that you purchase your accessories
from the same store that sold you the tool. Refer to
the accessory packaging for further details. Store
personnel can assist you and offer advice.
OPERATING INSTRUCTIONS
NOTE: Before using the tool, read the
instruction book carefully.
INTENDED USE:
The machine is intended for driving in and loosening
screws as well as for drilling in wood, metal and
plastic.
ASSEMBLY AND OPERATION
ACTION FIGURE
BEFORE OPERATION
Removing the battery pack See Fig. A1
Charging the battery
See Fig. A2,
A3
Installing the battery pack See Fig. A4
ASSEMBLY
CHUCK ADJUSTMENT
WARNING: Always lock off trigger switch and
disconnect tool from power source when
changing accessories. Always ensure the bit is
secure before starting the tool. Damage to the Chuck
or a loose bit may cause possible personal injury.
-- Removing the bits See Fig. B1
-- Inserting the bits See Fig. B2
OPERATION
Forward/reverse rotation control
WARNING: Never change the
direction of rotation when the
chuck is rotating, wait until it has
stopped!
See Fig.
C1, C2, C3
TWO-SPEED GEAR CONTROL
WARNING: To prevent gear
damage, always allow the chuck
to come to a complete stop before
changing the direction of rotation.
See Fig. D
TORQUE ADJUSTMENT
Drilling, Screw driving
See Fig E1,
E2
Operating the On/Off switch
WARNING: Do not operate for
long periods at low speed
because excess heat will be produced
internally.
See Fig F
LED light indicator
Before operation, the LED light will
be activated when the On/Off switch
is slightly depressed.
WARNING: To turn on the light,
press the On/Off switch and
make sure the Forward/Reverse
Rotation Control is on right/left
position.
The tool and battery are equipped
with a protection system. When
the LED Light is quickly flashing 60
seconds and turn off, the system
will automatically cut off power to
the tool to extend battery life. The
tool will automatically stop during
operation if the tool and/or battery
are placed under one of the following
conditions:
• Overloaded: The tool is operated
in a manner that causes it to draw
an abnormally high current. In this
situation, release the Trigger Switch
on the tool and stop the application
that caused the tool to become
overloaded. Then pull the Trigger
Switch again to restart.
• Overheated: Under the condition
above, if the tool does not start, the
Tool and Battery are overheated. In
this situation, let the Tool and Battery
cool before pulling the Trigger Switch
again.
• Low battery voltage: The
remaining Battery capacity is too low
and the tool will not operate. In this
situation, remove and recharge the
Battery.
See Fig. F

 Loading...