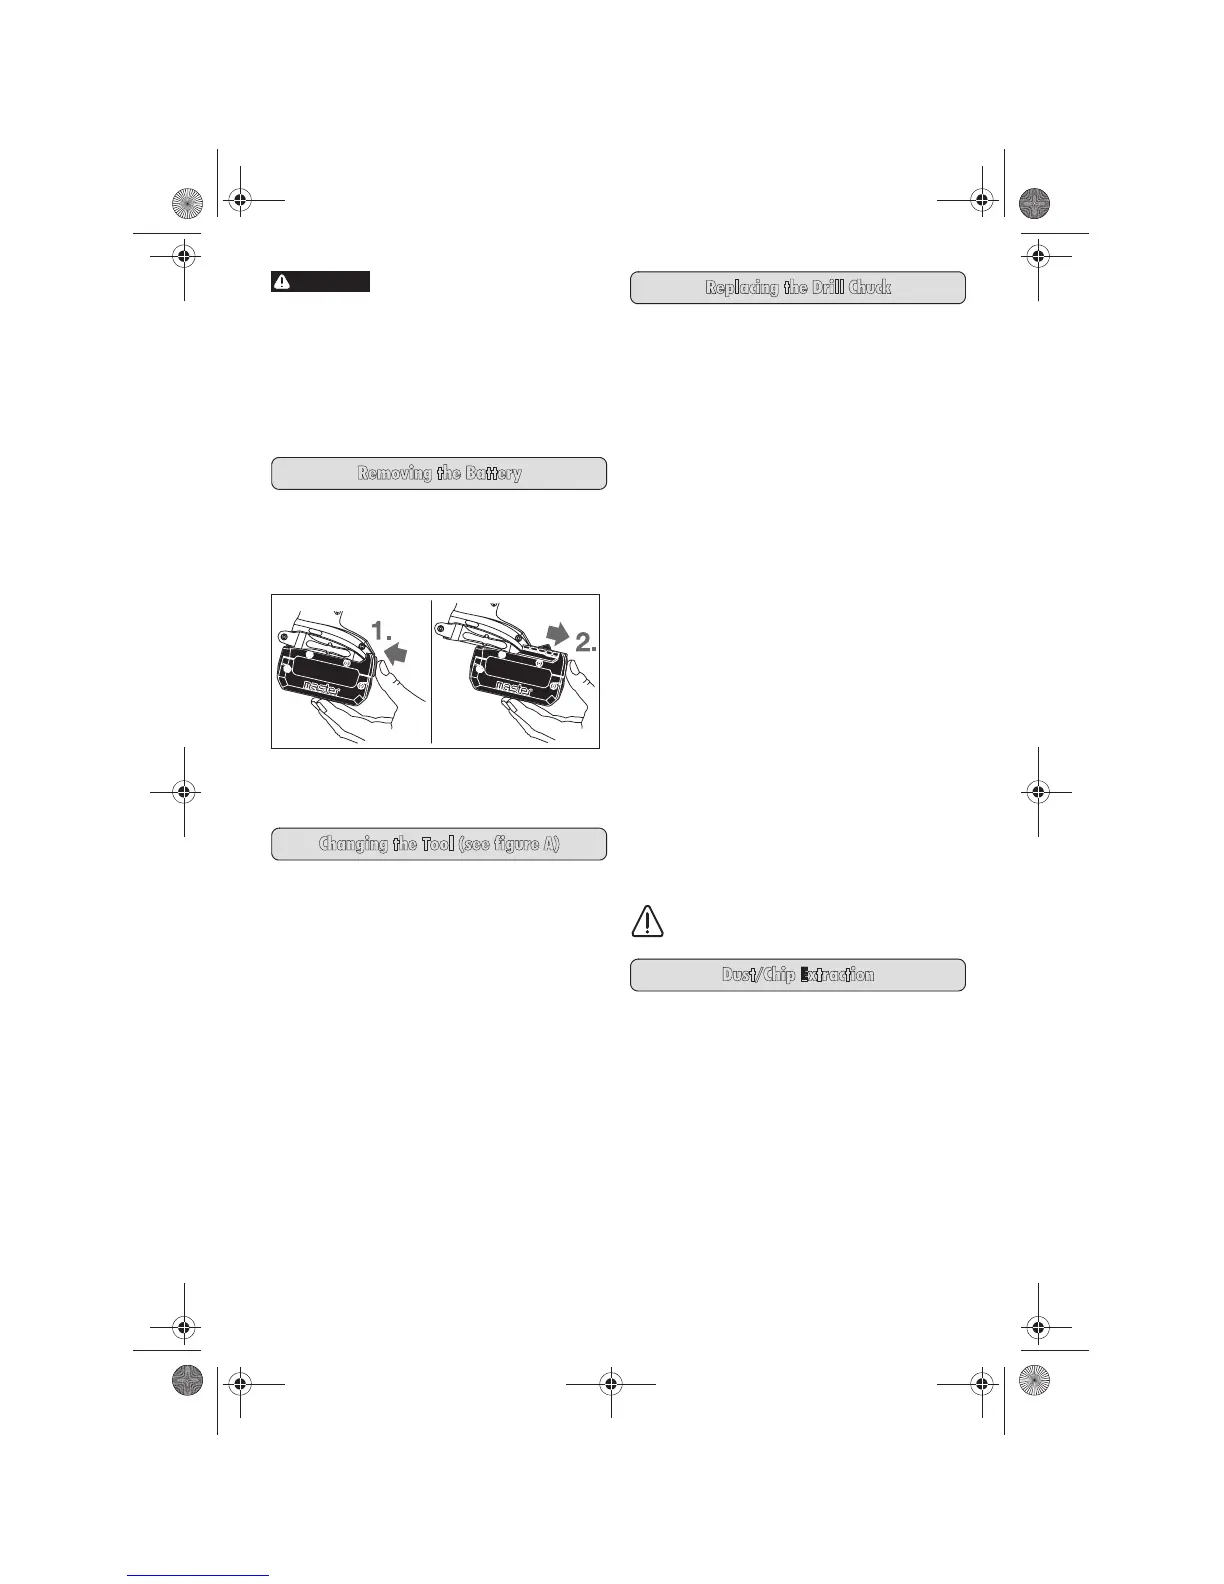
Removing the Battery
The battery 7 is equipped with two locking levels that
should prevent the battery from falling out when
pushing the battery unlocking button 6 unintention-
ally. As long as the battery is inserted in the power
tool, it is held in position by means of a spring.
To remove the battery 7, press the unlocking button
6 and pull out the battery toward the front. Do not
exert any force.
Changing the Tool (see figure A)
❏ Before any work on the machine (e. g.,
maintenance, tool change, etc.) as well as
during transport and storage, set the
rotational direction switch to the centre
position. Unintentional actuation of the On/Off
switch can lead to injuries.
The drill spindle is locked when the On/Off switch 9
is not pressed. This makes quick, convenient and
easy changing of the tool in the drill chuck possible.
Open the keyless chuck 1 by turning in rotation
direction n, until the tool can be inserted. Insert the
tool.
Firmly tighten the collar of the keyless chuck 1 by
hand in rotation direction o until the locking action
(“click”) is no longer heard. This automatically locks
the chuck.
The locking is released again to remove the tool
when the collar is turned in the opposite direction.
Replacing the Drill Chuck
❏ Before any work on the machine (e. g.,
maintenance, tool change, etc.) as well as
during transport and storage, set the
rotational direction switch to the centre
position. Unintentional actuation of the On/Off
switch can lead to injuries.
Removing the Securing Screw
(see figure B)
The keyless chuck 1 is secured with a securing screw
11 against unintentional loosening from the drill
spindle. Completely open the keyless chuck 1 and
unscrew the securing screw 11 in rotation direction
n. Please note that the securing screw has a
left-hand thread.
Removing the Drill Chuck
(see figure C)
Clamp the short end of an Allen key 12 into the key-
less chuck 1.
Place the machine on a stable surface (e. g. a work-
bench). Hold the machine firmly and loosen the key-
less chuck 1 by turning the Allen key 12 in rotation
direction n. Loosen a tight-seated keyless chuck by
giving the long end of the Allen key 12 a light blow.
Remove the Allen key from the keyless chuck and
completely unscrew the keyless chuck.
Mounting the Drill Chuck
(see figure D)
The keyless chuck is mounted in reverse order.
☞
Note: After mounting the keyless chuck,
screw the securing screw 11 in again.
The drill chuck must be tightened with a
tightening torque of approx. 15–25 Nm.
Dust/Chip Extraction
❏ Dusts from materials such as lead-containing
coatings, some wood types, minerals and metal
can be harmful to one’s health. Touching or
breathing-in the dusts can cause allergic reac-
tions and/or lead to respiratory infections of the
user or bystanders.
Certain dusts, such as oak or beech dust, are
considered as carcinogenic, especially in con-
nection with wood-treatment additives (chro-
mate, wood preservative). Materials containing
asbestos may only be worked by specialists.
• Provide for good ventilation of the working
place.
• It is recommended to wear a P2 filter-class respi-
rator.
Observe the relevant regulations in your country
for the materials to be worked.
WARNING
OBJ_BUCH-810-001.book Page 13 Thursday, October 23, 2008 8:13 AM
 Loading...