Hood hung prior to oven installation: Yes No
Hood hung to local codes: Yes No
All shroud panels properly installed: Yes No
Grease filters properly installed: Yes No
Grease trays properly installed: Yes No
Crumb trays easily removable: Yes No
Oven power cords connected to hood: Yes No
Electric Oven N/A
Oven switch cords connected to hood: YesNo
Lights operate: YesNo
Light globes installed over bulbs: YesNo
Exhaust fan purchased from XLT: YesNo
Correct fan rotation: YesNo
HUI properly programmed: YesNo
Smoke test performed: YesNo
Air balance test performed: Yes No
Notes:
Hood Initial Start-up Checklist - Remove & Return to XLT Ovens
Serial #:
Incoming power supplied:
Volts Amps
Hz Phase
Number of bends in duct run: _______45º ________ 90º
Height from bottom of hood to finished floor:
Inches
Length of duct run (from top of hood to fan):
Feet Inches
Exhaust fan serial #:
Rating of exhaust fan: CFM
Installer Information
Date of installation: _____________________________
Installed by: XLT installer: ____________Other:
Company:
Phone #:
Installer:
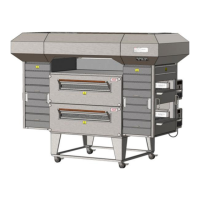
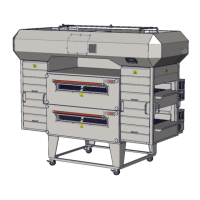
Hood Size: 1832 2440 3240 3255
3270 3855 3870
Contact Information
Store Name: Address:
City: ____________________ State: _____ Zip:_______Phone #:
E-mail: _______________________________________Contact Person: ___________________________________
HVAC/Contractor Contact:_______________________Address:
City: ____________________ State: _____ Zip:_______Phone #: _______________ Cell:
E-mail:
Step 1: Fill out all information and print legibly
Step 2: Verify all information is correct before turning hood on
XLT Ovens
PO Box 9090
Wichita, KS 67277
FAX: 316-943-2769
Customer Signature: Date:
 Loading...