MOXF6/MOXF8 Owner’s Manual
Quick Guide
39
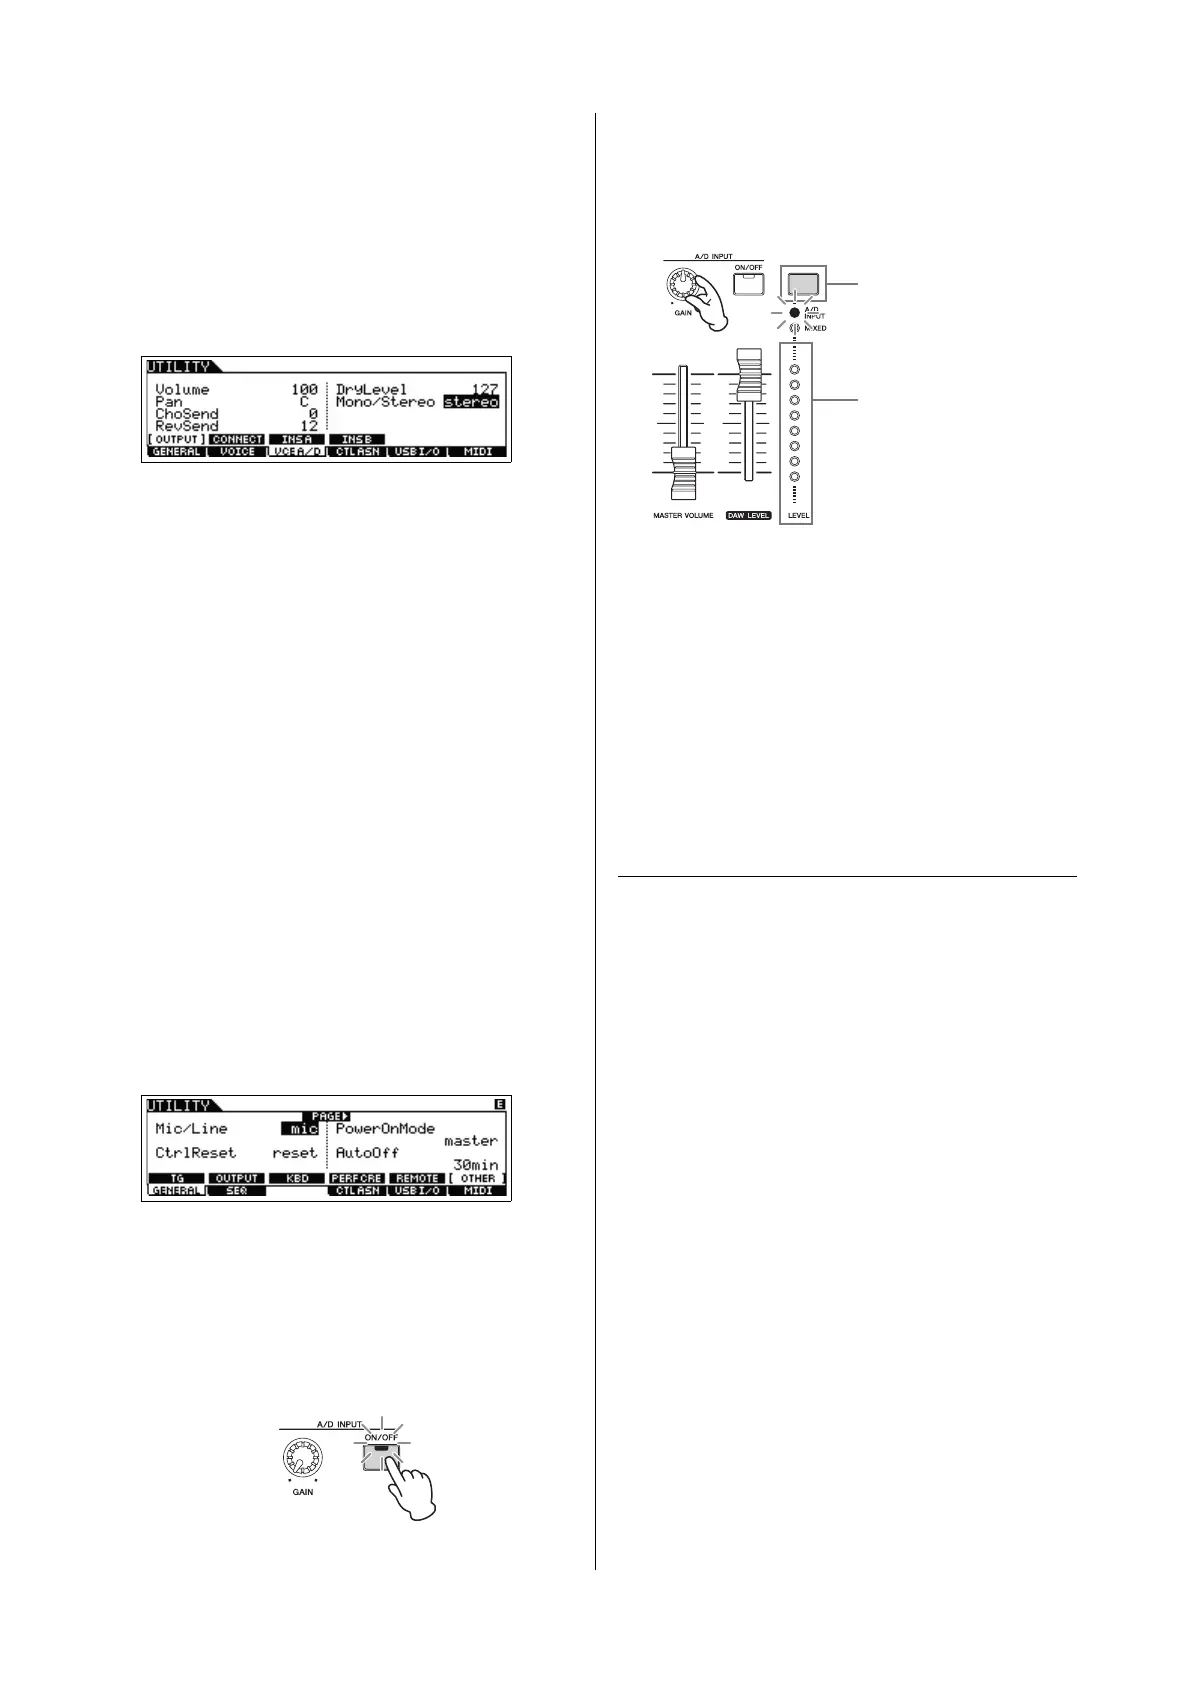
5 Press [UTILITY] [F3] VCE A/D [SF1] OUTPUT,
then set the “Mono/Stereo” parameter.
This parameter determines the signal configuration for the
audio signal via the A/D INPUT [L]/[R] jacks, or how the signal
or signals are routed (stereo or mono).
When connecting the audio device as shown in step 2, set
this parameter to “stereo” or “LRMono.” When connecting
the microphone as shown in step 2, set this parameter to
“LMono.”
If necessary, set the other parameters.
NOTE For details about the parameters including Mono/Stereo,
see the “Reference Manual” PDF document.
NOTE The above parameter settings including Mono/Stereo are
applied to the entire Voice mode. If necessary, press the
[STORE] button to store these with the Utility settings.
NOTE The above parameter settings including Mono/Stereo differ
depending on the selected mode.
NOTE
For the Performance mode, set the above parameters on the
display called up via [PERFORM]
[EDIT] [COMMON]
[F5] A/D IN [SF1] OUTPUT. The settings will be stored
for each Performance.
For the Song/Pattern mode, set this parameter on the display
called up via [SONG] or [PATTERN]
[MIXING] [EDIT]
[COMMON]
[F5] A/D IN
[SF1] OUTPUT. The settings
will be stored for each Song/Pattern.
6 Press [UTILITY] [F1] GENERAL [SF6] OTHER,
then set the “Mic/Line” parameter according to
the equipment connected to the A/D INPUT [L]/[R]
jacks.
When connecting equipment of low output level (such as a
microphone, guitar, bass), set this parameter to “mic.” When
connecting equipment of high output level (such as a
synthesizer keyboard, CD player), set this parameter to “line.”
NOTE This setting is available for all modes. If necessary, press
the [STORE] button to store this with the Utility settings.
7 Press the A/D INPUT [ON/OFF] button so that its
lamp lights.
This setting enables audio signals to be input from the
connected audio device.
8 Press the [LEVEL] meter button so that the
[A/D
INPUT] lamp lights, then adjust the input level
by
using the [GAIN] knob.
NOTE Adjust the [GAIN] knob to raise the input level as far as
possible without allowing distortion to occur.
9 Press the [VOICE] button, then select the desired
Voice.
Play the keyboard wile you sing into the microphone or play
back the audio equipment.
10 If necessary, press the [STORE] button to store
the Voice.
Playing the keyboard along with
Vocoder
This instrument features a Vocoder function. This is a
distinctive, “robot voice” effect which extracts the
characteristic of the microphone sound and adds it to the
sound of your keyboard performance. In these example
instructions, you’ll learn how to use the Vocoder in the Voice
mode.
NOTE For details about the Vocoder, see the “Reference Manual” PDF
document.
1 Connect the microphone by following steps 1 – 8
on the previous page.
2 Press the [VOICE] button, then select the desired
Voice to which the Vocoder is applied.
This instrument features special Voices specifically designed
for use with the Vocoder. Call up the Category Search display
then select the desired Voice from the “Vocoder” Main
Category.
NOTE
If you use the Vocoder effect in the Performance/Song/Pattern
mode, assign the Voice for the Vocoder to Part 1. Vocoder
cannot be applied to any of the other Parts.
[LEVEL] meter button
[LEVEL] meter
 Loading...