Initial Track Recording 55
01V96 Version 2—Owner’s Manual
5
Tutorial
4 Make sure that the S buttons for Input Channels 17–24 are turned on and
the 1–8 buttons are turned off, then use the PAN control to pan the moni-
toring signal.
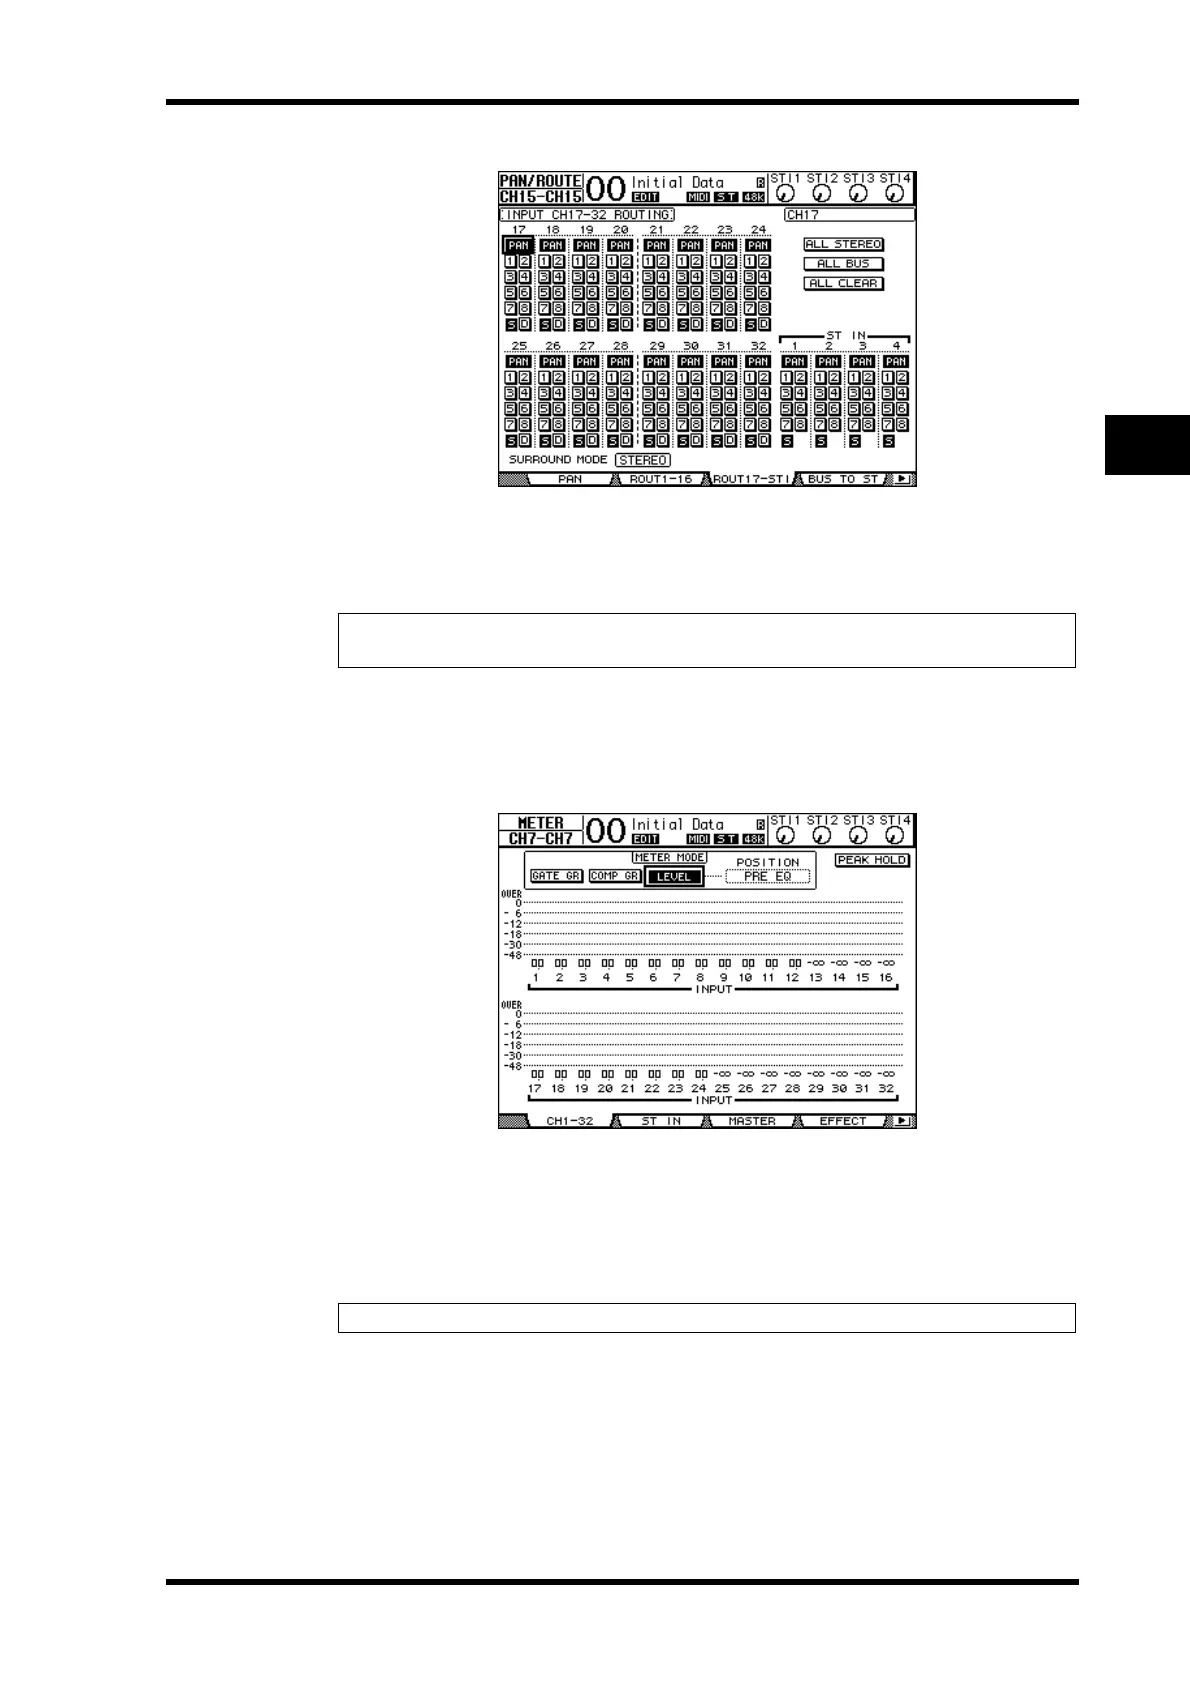
5 Press the DISPLAY ACCESS [HOME] button, then press the [F1] button to dis-
play the Meter | CH1-32 page.
6 Make sure that [ON] button indicators 1–8 are steadily lit, then raise the [STE-
REO] fader to 0 dB.
7 While the musicians play the musical instruments, adjust faders 1–8, [MON-
ITOR OUT] control, and [PHONES] control to set the appropriate monitoring
level.
Now you can monitor via the monitoring system and headphones the signals sent from
Input Channels 17–24 to the Stereo Bus.
Tip: Controlling Input Channel 17–32 Pan settings, faders, and the [ON] buttons will affect
the monitoring signal, but will not affect the signal recorded to the digital MTR.
Note: If the L & R level meters reach the “OVER” position, lower the [STEREO] fader.
 Loading...