Do you have a question about the Yamaha SWR2311P-10G and is the answer not in the manual?
| Model | SWR2311P-10G |
|---|---|
| Power over Ethernet (PoE) | Yes |
| Weight | 3.5 kg |
| MAC Address Table | 8K |
| Jumbo Frame Support | Yes, up to 9216 bytes |
| Input Voltage | 100-240 VAC, 50/60 Hz |
| Rack Mountable | Yes |
| Type | Managed |
| Layer | L2 |
| L2 Features | VLAN, STP, RSTP, MSTP |
| Management | Web GUI, SNMP |
| Dimensions (W x H x D) | 440 x 44 x 350 mm (17.3" x 1.7" x 13.8") |
| Operating Temperature | 0 to 50 °C |
| Storage Temperature | -40°C to 70°C |
| Humidity | 10% to 90% (non-condensing) |
Lists essential safety guidelines for using the product, including warnings against water and proper cleaning methods.
Guidelines for safely handling the power cord, plug, and voltage requirements to prevent electrical hazards.
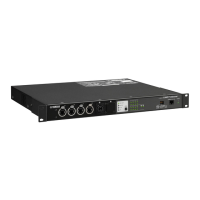
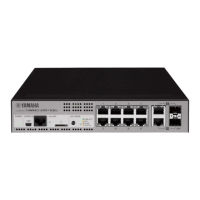
Details the components and indicators on the front of the unit, including power, console ports, and LEDs.
Provides instructions for mounting the unit in a standard 19-inch rack, including ventilation and safety advice.
Details how to mount the unit on a wall or ceiling using a specific accessory, including warnings.
Step-by-step guide to access and modify unit settings using the Web Graphical User Interface.
Instructions for connecting and using the console port for command-line configuration.
Detailed steps for attaching the power cord clamp and connecting the unit to a power outlet.
Procedure to reset the unit to its factory default configuration using the Web GUI.