7 Disassembly and Reassembly of the Wrist Unit
7-1
HW1484673
HW1484673
7 Disassembly and Reassembly of the Wrist Unit
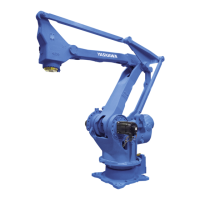
• Refer to fig. 7-1 “Disassembly and Reassembly of the Wrist Unit” .
Disassembly
1. Turn OFF the power supply of the YRC1000.
2. Unscrew the hexagon socket head cap screws , and then remove
the wrist unit from the flange by using the tapped holes on the
wrist unit .
Reassembly
1. Apply ThreeBond 1206C to the contact surface of the wrist unit and
the flange .
2. Mount the wrist unit on the flange , and then tighten the hexagon
socket head cap screws with the tightening torque shown in
table 7-1 “Wrist Unit Parts Checklist” .
3. Turn ON the power supply of the YRC1000.
Fig. 7-1: Disassembly and Reassembly of the Wrist Unit
Refer to chapter 2 “Notes for Maintenance” , chapter 3
“Home Position Return” , and chapter 4.2 “Removing,
Applying, Assembling of Sealing Bond” .
1
Table 7-1: Wrist Unit Parts Checklist
No. Item Qty. Note
Wrist unit HW0174045-C 1
Flange HW0312838-1 1
Hexagon socket head cap screw
M8 (length: 85 mm)
Conical spring washer 2L-8
12
each
Tightening torque 40 N•m
1
2
3
3
2
1

 Loading...