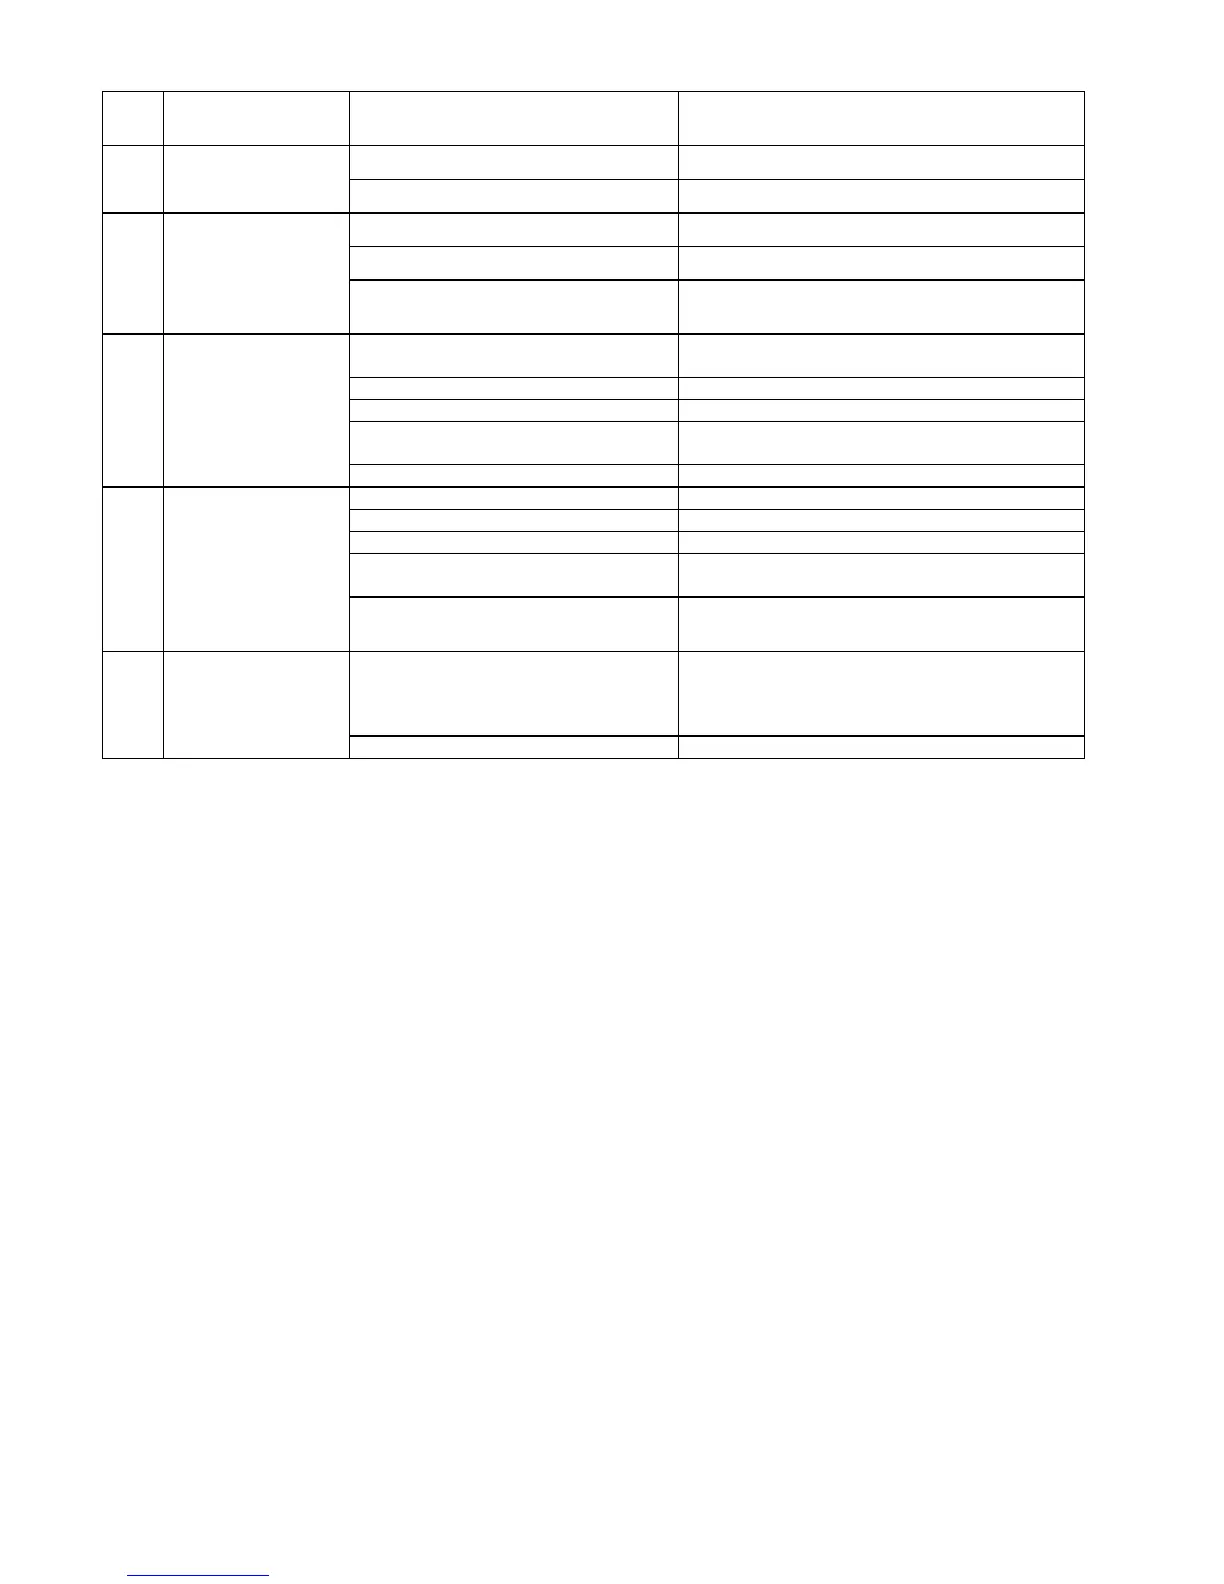
Otwarty obwód układu żarzenia
magnetronu, uszkodzenie magnetronu
Wymienić magnetron na nowy.
3
Żywność jest
podgrzewana, ale
lampka nie świeci.
Wypięta końcówka konektorowa.
Podłączyć końcówkę konektorową.
Wymienić lampkę.
4
Żywność jest
podgrzewana, ale nie
obraca się talerz
obrotowy.
Uszkodzony wózek obrotowy
Wypięta końcówka konektorowa
Podłączyć końcówkę konektorową.
Uszkodzony silnik talerza
obrotowego
Wymienić silnik talerza obrotowego
5
Kuchenka może grzać
przez 2-3 minuty, ale
nie grzeje dłużej niż
cztery minuty.
5.1. Otwarty obwód uzwoje
5.3. Wypięła się końcówka konektor
Podłączyć końcówkę konektorową.
5.4. Wałek wentylatora zablok
łożysku.
Usunąć przyczynę lub wymienić część na nowa
Usunąć przyczynę lub wymienić część na n
6.2. Pęknięta siatka metalowa drzwi.
6.3. Zbyt duża szczelina drzwi.
6.4. Uszkodzone punkty zgrzewów
6.5. Poluzowany wkręt mocujący
magnetron.
Dokręcić wkręt.
7
Nie można otworzyć
drzwi.
7.1. Po długotrwałym użytkowaniu, zuż
cie spowodowało powiększenie szczeliny
na sworzniu drzwi i otworze sworznia, a
tym samym powodując wygięcie drzwi.
Wyregulować zawias aby poprawić ustawienie
drzwi.
7.2. Uszkodzony zaczep drzwi.
PRECAUTIONS
Do not start or allow the oven to be operated when the door is open.
Do not place anything between the front part of the oven and the door; do not allow any dirt nor cleanser
residues to accumulate on the contact surface.
Do not use damaged appliance. It is very important the door closes accurately and does not show any signs
of damage.
Repairs shall be made only by a properly trained service technician.
Any repair shall be performed after the device is disconnected from the mains.
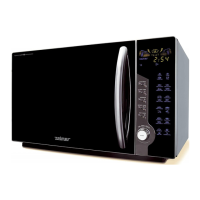
DISASSEMBLY OF THE MICROWAVE OVEN, TYPE 29Z024.
Before starting to work, carefully review the content of this Service Manual and Operation Manual of the
product.
Disassembly shall be made on a table covered with a clean felt or other soft material, so as not to scratch the
parts.
Case
- Remove the power cord (51) from the outlet
- Remove the glass tray (18) and roller ring (17) from the cavity (22)
-
Unscrew the seven screws (100) securing the outer enclosure (35) to the base plate (58) and cavity (22)
- Pull the outer enclosure (35) back by 25 mm and remove it.
Door unit
- Make the steps outlined in the paragraph “Case”
- Unscrew the two screws (102) of the upper hinge (21)
- Open the door
- Remove the top hinge with the door from the oven by lifting the door up, paying attention to remove it also from
the bottom hinge
- Remove the door assembly (1). Remove the chock cover (10), the outer door frame (62), the door hook (60)
 Loading...