17
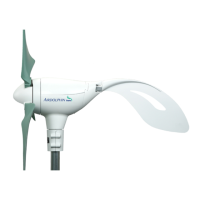
6. Assembling the Airdolphin (Z-1000)
Verify that hub II
rotates smoothly.
The blades are
attached to hub I.
4. Rotate hub 2 while holding hub 1 (to
which the blades have been attached).
Hub 2 will come free. If it rotates, rotor
assembly is complete.
In the event that Hub
2 d o e s n ot rot a t e
smoothly, return to
step 2 above, make certain that the blades are
securely fastened, and repeat the assembly pro-
cedures.
m
Attaching the rotor to the body
C Ring
Shaft
Rotor
Hexagonal Nut
C Ring
Shaft
C Ring
C Ring
Shaft
C Ring
Hub 2
Hub 2 Indentation (for C-Ring)
Body
Key
1. Fit the C ring onto the shaft of the body facing downwards as shown as in the illustration below.
2. Referring to the figure shown below, attach the rotor to the shaft.
* When attaching the rotor to the shaft, make
sure that the C-ring, which is installed first,
securely fits into the appropriate indentation.
Slide hub 2 onto the shaft so that hub 2’s key
fits snugly onto the C ring slot.
2
1
Verify that hub 2
rotates smoothly.
The blades are
attached to hub 1.
0
 Loading...