14
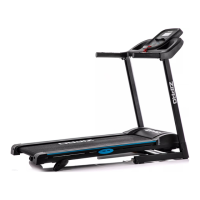
ASSEMBLY DIAGRAM (→ See page 2)
ATTENTION! Do not use parts other than those provided by the manufacturer.
PARTS LIST
Heart rate sensor / Quick Start/Stop button
Heart rate sensor / Quick speed change +/-
Inclination adjustment lock
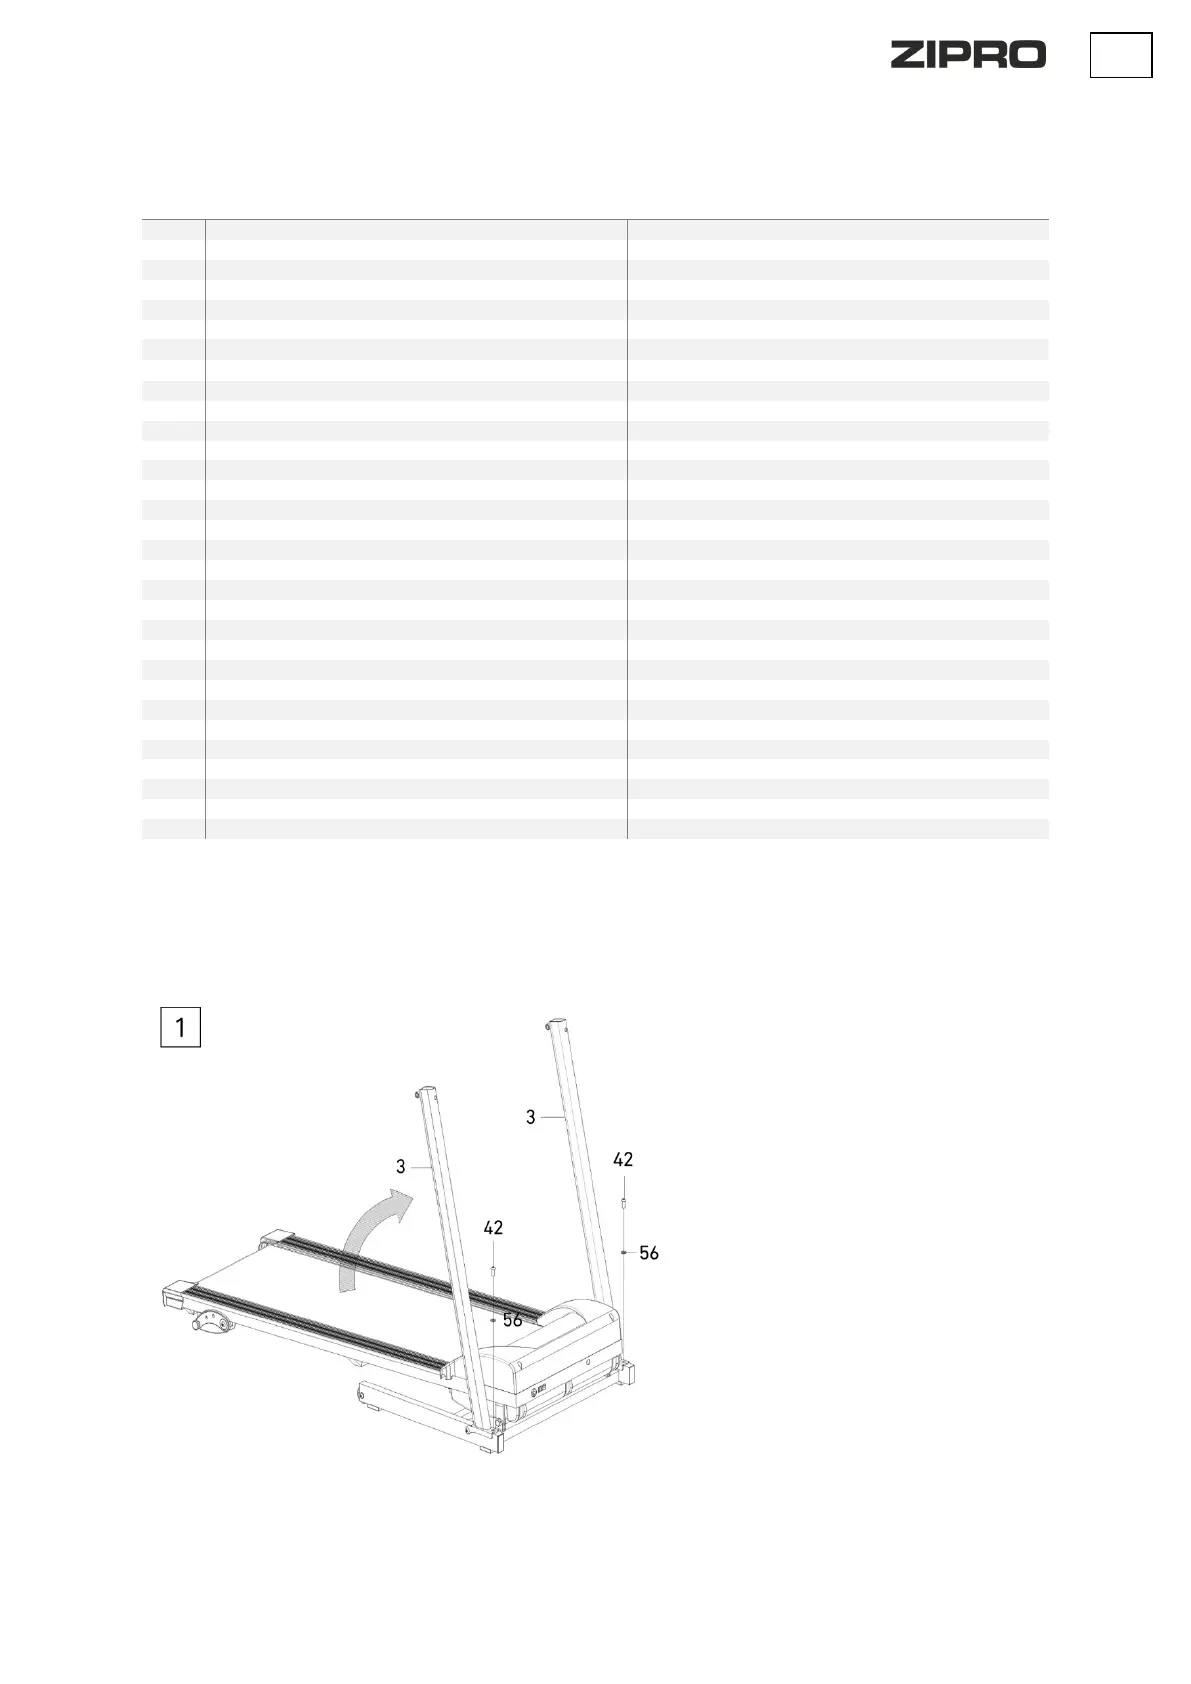
ASSEMBLY MANUAL
CAUTION! Follow the steps below during the assembly and use tools supplied with the product.
Prepare sufficient space for the assembly operation.
It is advisable to assemble the product with another person because of the weight of some elements.
Erect the left and right treadmill column (3) as shown in
the picture.
Take care not to exert excessive pressure during
assembly/disassembly.
Fix the columns to the lower frame using bolts (42) and
washers (56).