SZM-4000 Master Daughter Board
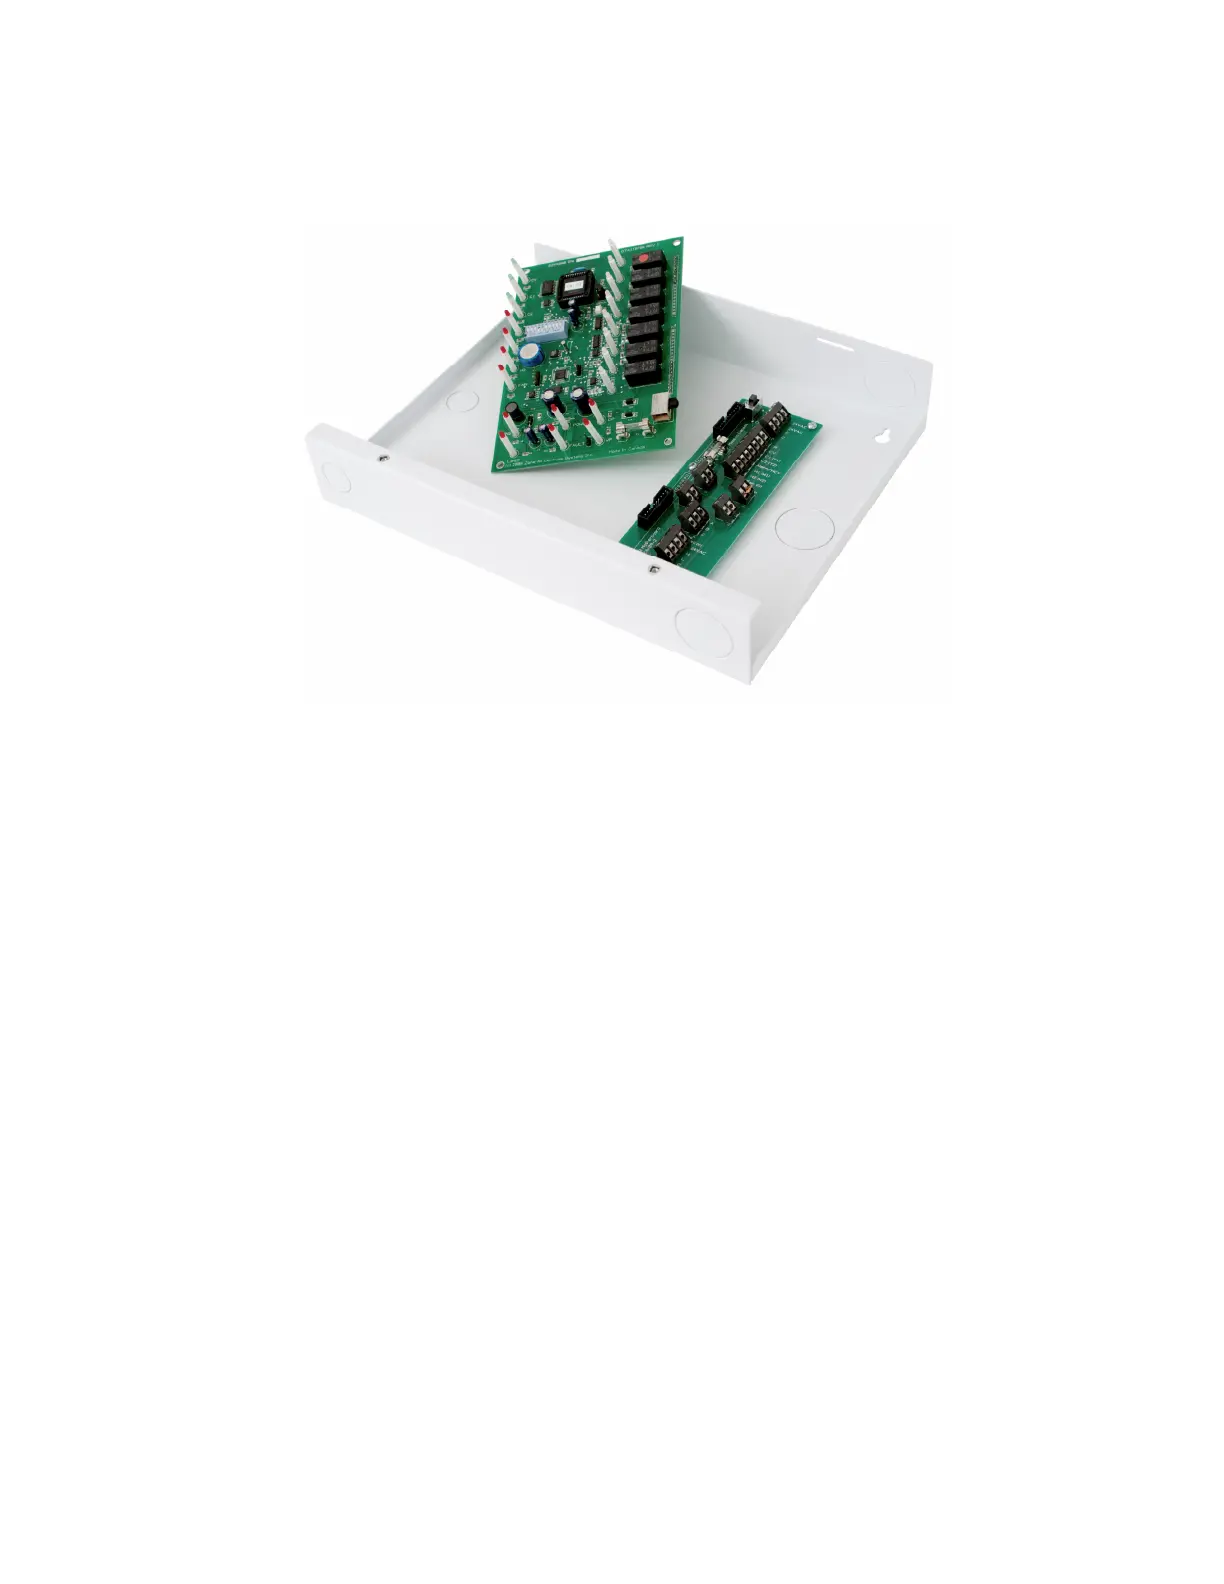
Figure 2.2 Mother and Daughter Boards
Swapping out a Master daughter board with a known good board is a
simple and time efficient method of confirming whether or not a problem
exists with the daughter board or elsewhere.
Removing the board is accomplished by turning off the power switch, and
removing the two mounting screws on the left hand side. While
supporting the board by the connectors, simply rock it out of the
connectors until it is free. Installing the new board is as simple as
plugging in the replacement, installing the mounting screws, and turning
the power on.
When the system is connected to a PC it may be necessary to re-serialize
the board to match the board it replaced. This is accomplished by pulling
down dip switch #10 and entering ‘SET SERIAL NUMBER’ under the
‘SETUP’ menu in the Starcom Building software. Once serialized it will be
necessary to transmit all of the user settings to the new board. This is done
by selecting the ‘UPDATE MASTERS’ form which is also located under
the ‘SETUP’ menu.
SZM-4000 Master Motherboard
Normally there shouldn't be any need to replace the motherboard as there
are no electronic components. The motherboard contains all of the
connectors that are used to connect the SZM-4000 Master to the Starzone
 Loading...