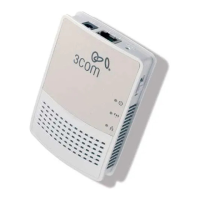
Installing Your Business Modem
2
-5
Modem Driver
Installation
Once your Business Modem is attached to your computer, you will need
to install it’s drivers. The process will vary depending on your operating
system.
Macintosh users: You will not need to install drivers to use your Business
Modem.
WINDOWS 950 AND 950a
1 When Windows detects the modem, click Driver from disk provided
by hardware manufacturer. Then click OK.
2 When you see the “Install From Disk” dialog box, hold down the SHIFT
key while inserting the Connections CD into your CD-ROM drive. Release
the SHIFT key when the light on your CD-ROM drive stops blinking. Then
type D:\ (where “D” is the letter name of your CD-ROM drive), and click
OK.
3 Follow the on-screen instrcutions to complete installation of the drivers.
WINDOWS 950b
1 When Windows detects the modem, hold down the SHIFT key while
inserting the Connections CD into your CD-ROM drive. Release the SHIFT
key when the light on your CD-ROM drive stops blinking. Then click
Next.
2 Click Finish.
3 If you are prompted for the installation disk, type the location of the CD
(typically D:\, where “D” is the letter name of your CD-ROM drive).
WINDOWS NT 4.0
NOTE: If you have installed the Windows NT Plug and Play utility (Service
Pack 3), you should follow the instructions under “WINDOWS 950 AND
950a” above. Otherwise, continue below.
1 Double-click the My Computer on your desktop.
2 Double-click Control Panel.
3 Double-click the Ports icon.
4 Click Add.