Introduction
The Dual Speed Hub 500 is supplied with two mounting brackets and
four screws. These are used for rack mounting and wall mounting the
unit. When mounting the unit, you should take note of the guidelines
given in
“
Positioning the Dual Speed Hub 500
”
overleaf.
Wall Mounting the Units
CAUTION:
Disconnect all cables from the unit(s) before
continuing. Remove the self-adhesive pads from the underside
of the unit(s), if already fitted.
The maximum number of units that you can wall mount
together is two units.
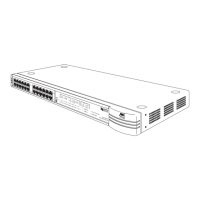
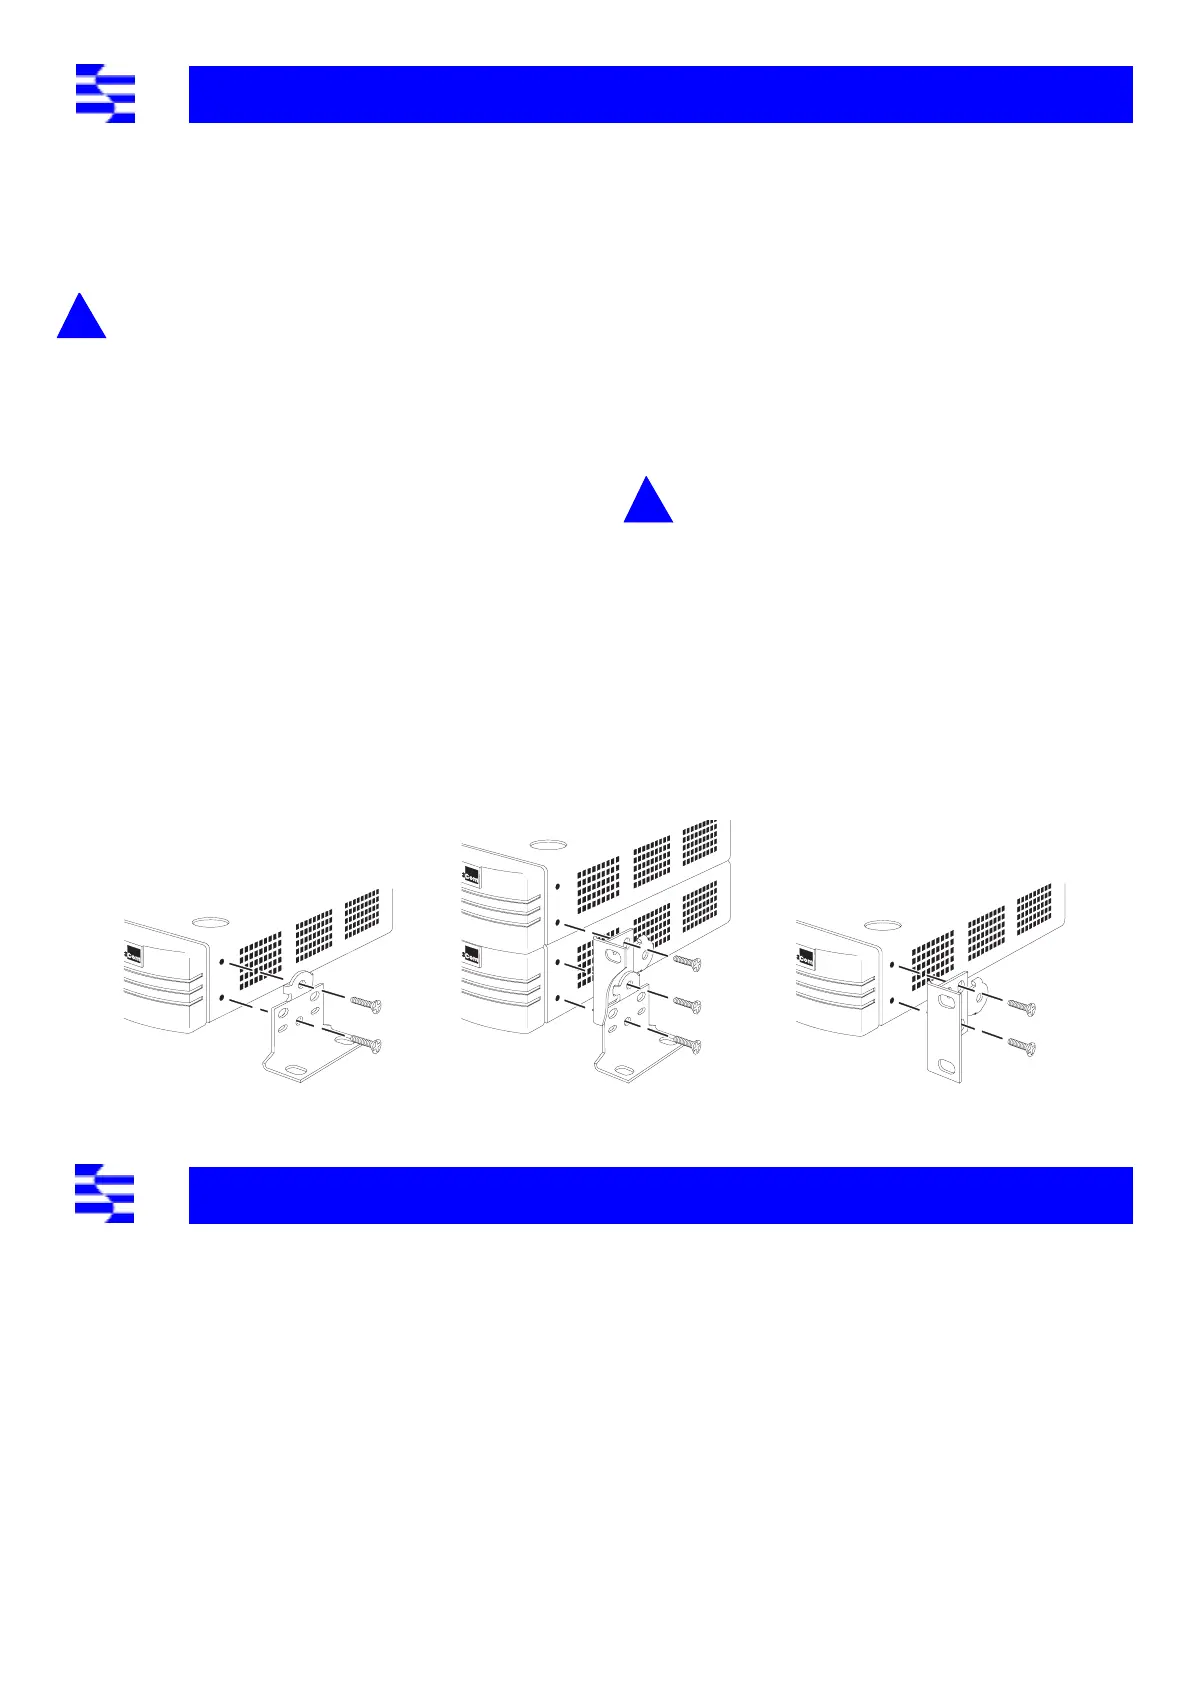
Fitting the brackets to wall mount one unit:
1
Place the unit the right way up on a hard, flat surface with the
front facing towards you.
2
Locate a mounting bracket over the mounting holes on one side
of the unit, as shown in Figure 1 below.
3
Insert the two screws and fully tighten with a screwdriver.
Repeat the last two steps for the other side of the unit.
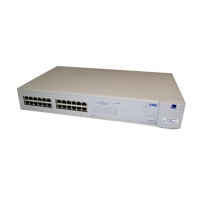
Fitting the brackets to wall mount two units:
1
Stack the units the right way up on a hard, flat surface with the
front facing towards you.
2
Locate two mounting brackets over the mounting holes on one
side of the units, as shown in Figure 2 below.
3
Insert the three screws and fully tighten with a screwdriver.
Repeat the last two steps for the other side of the units.
To wall mount the unit(s):
Ensure that the wall you are going to use is smooth, flat, dry and sturdy.
Attach a piece of plywood, about 30cm x 50cm x 1.5cm (12in. x 20in. x
0.5in.) in size, securely to the wall if necessary, and mount the unit(s) as
follows:
1
Position the unit(s) against the wall (or plywood) ensuring that
the ventilation holes face sideways. Mark on the wall the position
of the screws holes for both wall brackets. Drill the four holes.
2
Using suitable fixings and screws (not provided), attach the unit(s)
securely to the wall (or plywood).
Reconnect all cables.
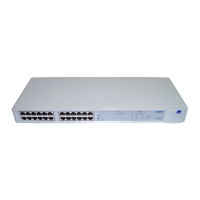
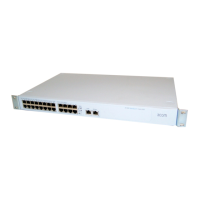
Rack Mounting the Units
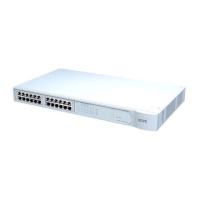
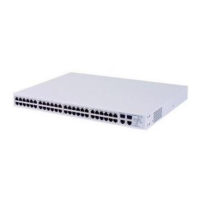
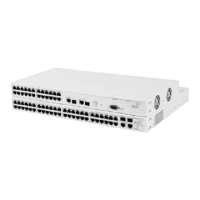
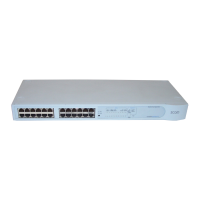
The Dual Speed Hub 500 is 1U high and will fit a standard 19in. rack.
CAUTION:
Disconnect all cables from the unit before
continuing. Remove the self-adhesive pads from the underside
of unit, if already fitted.
1
Place the unit the right way up on a hard, flat surface with the
front facing towards you.
2
Locate a mounting bracket over the mounting holes on one side
of the unit, as shown in Figure 3 below.
3
Insert the two screws and fully tighten with a suitable screwdriver.
4
Repeat the two previous steps for the other side of the unit.
5
Insert the unit into the 19in. rack and secure with suitable screws
(not provided).
Reconnect all cables.
Related Standards
The SuperStack® II Dual Speed Hub 500 has been designed and certified
to the following standards:
Environmental
Physical
Electrical
M
OUNTING
K
IT
I
NSTRUCTIONS
Figure 2 Wall Mounting Two UnitsFigure 1 Wall Mounting One Unit Figure 3 Rack Mounting
T
ECHNICAL
I
NFORMATION
Functional
ISO/IEC 8802-3, IEEE 802.3, IEEE 802.3u, IEEE 802.1D
Safety
UL 1950, EN 60950, CSA 22.2 #950, IEC 950
EMC
EN 55022 Class A*, EN 50082-1, FCC Part 15
Subpart B Class A, ICES-003 Class A, VCCI Class A*,
AS/NZS 3548 Class A*
*The use of unscreened cables (Category 3 or 5 for 10BASE-T ports
or Category 5 for 100BASE-TX ports) complies with the Class A
requirements.
Environmental
EN 60068 (IEC 68)
Operating Temperature
0–50
°
C (32–122
°
F)
Humidity
0–95% (non-condensing)
Width
440mm (17.3in.)
Depth
230mm (9in.)
Height
44mm (1.7in.) or 1U
Weight
3C16610: 2.55kg (5.6lb) / 3C16611: 2.66kg (5.8lb)
Mounting
free standing, or 19in. rack or wall mounted using
the mounting kit supplied
Power Inlet
IEC 320
AC Line Frequency
50/60 Hz
Power Consumption
3C16610: 36 VA / 3C16611: 40 VA
Power Dissipation
3C16610: 123 BTU/hr
3C16611: 137 BTU/hr
Input Voltage
100–240 VAC
Current Rating
1.0 Amps (maximum)
6